A while back, I talked about building a terrain table for miniature gaming using the Hexhog Tabletop system as a base. One of my first design projects was to build objective zones for Warmachine and Hordes. While there’s no reason you couldn’t set objective zone templates on a terrain space, I thought this was a cool opportunity to design something that fit a bit better with the overall ascetic. Also, I latched on to the idea because it’s something that I could do with my existing tools – this is always a boon for me because there’s a ton of things I can’t do or am really bad at, and this is something that I could.
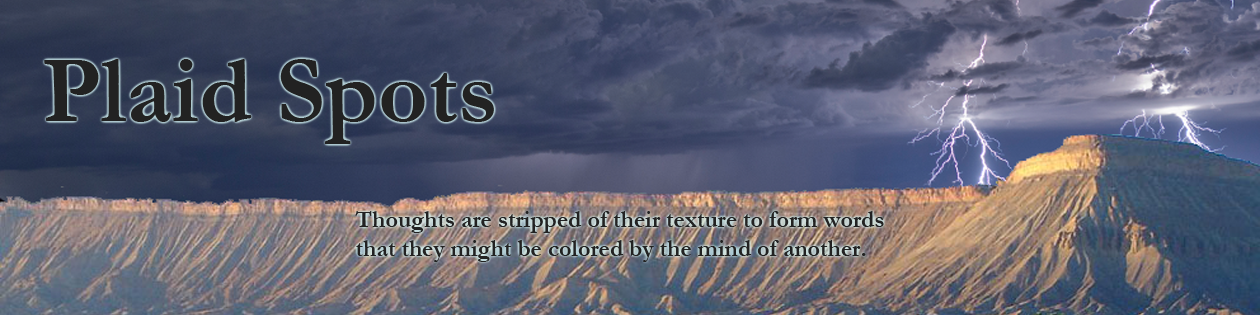
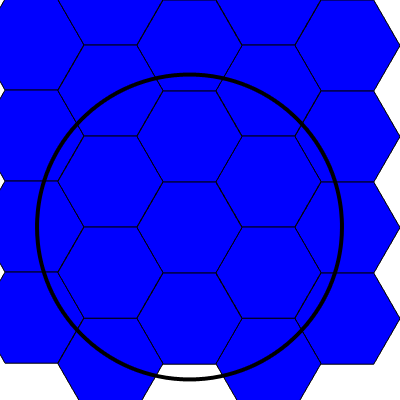
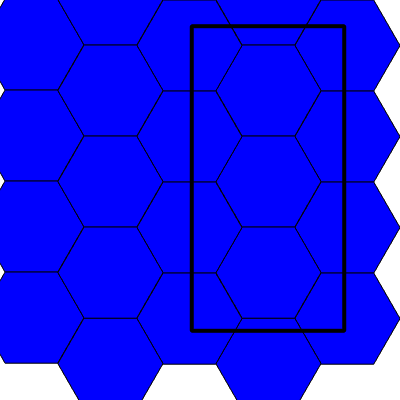
In this instance, that my toolchain matched the job to be done was important – I had everything I needed to make this particular job easy. In the case of the rectangular objective zones, all I needed was FreeCAD and MeshMixer (though, admittedly, I was just getting used to MeshMixer). For the circular zone, I really only needed to add in Adobe Illustrator – not a tool I’m totally comfortable with, but I’ve gotten the hang of using it to export vectrs for FreeCAD. Alongside these tools, though not totally necessary, I needed some way to plan my layout. I did some work with paper and pencil, but photoshop helped here so that I could easily visualize how the different zones could intersect with the hexes. I’ll show those graphics first:
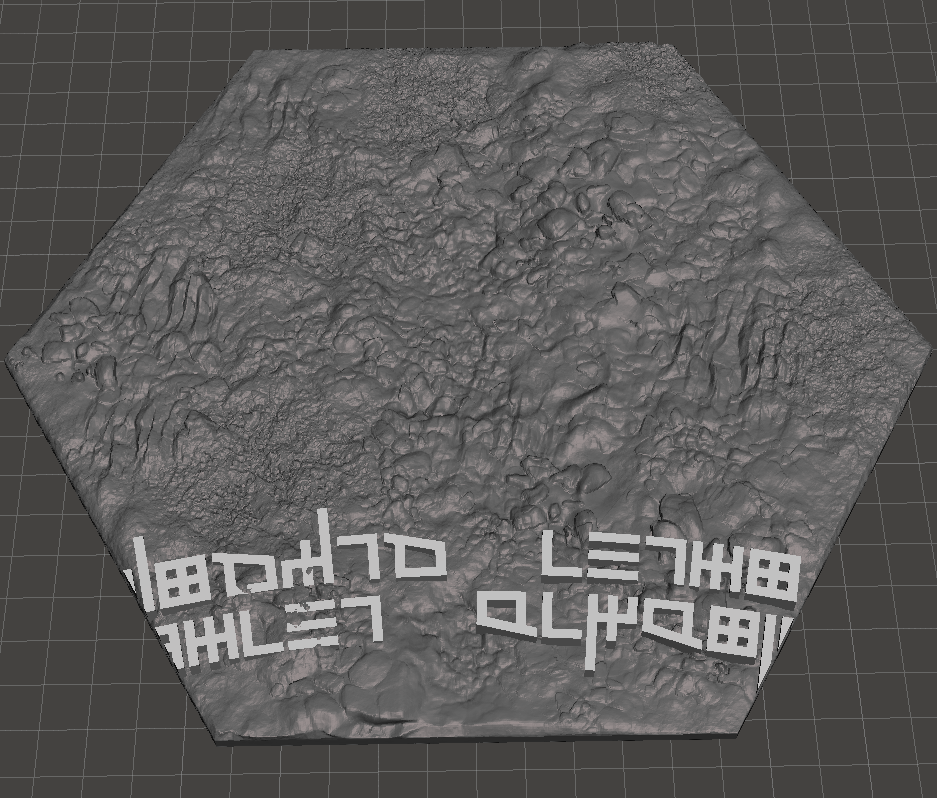
Next, using the fonts, I either used FreeCAD to construct a line of text, or inscribed it on a circle in Illustrator and exported it. Here, size was important, and, for reasons I don’t entirely understand but adapt to, Illustrator’s vectors come out to be 20% larger than they’re supposed to be when I export them. Scaling it is easier in Illustrator than FreeCAD, so I just have to remember to do that when I’m working through the process. That done, I end up with solids that I can start using:
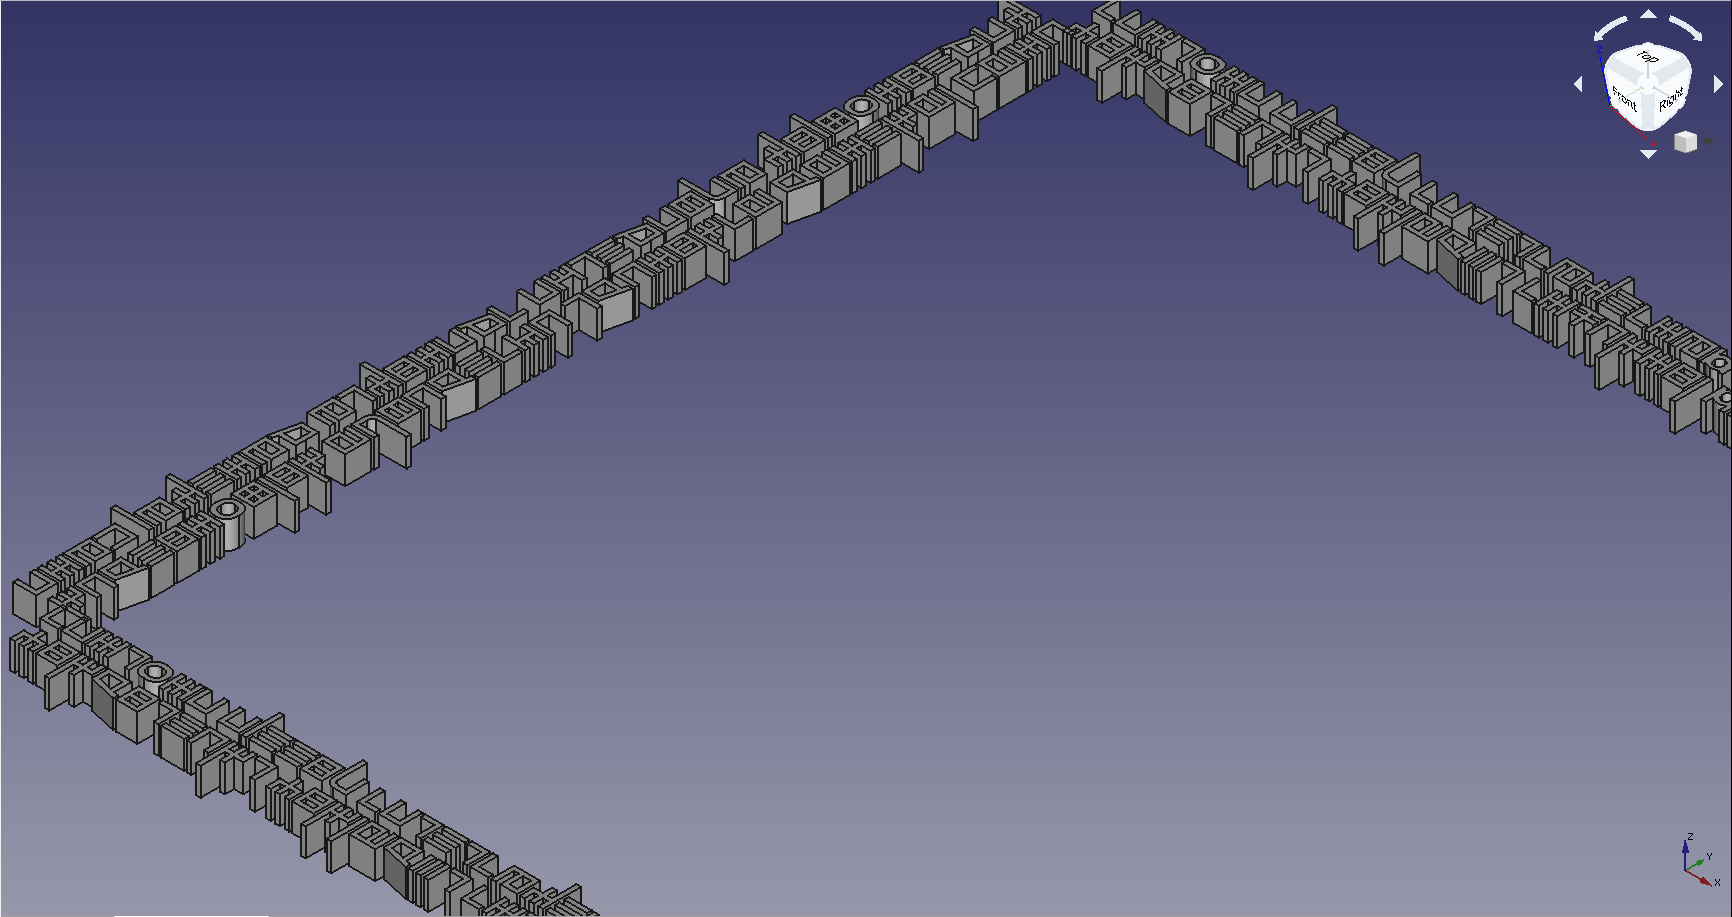
I used FreeCAD to make a target hexagonal cylinder to intersect with and did the intersection in FreeCAD. This had a lot of advantages over doing in MeshMixer, the most important of which was that FreeCAD’s intersection algorithm is far better. This gave me STLs of the runic bits that I could export and start mixing with.

Finally, I used MeshMixer to combine the two STLs – the runes, and one of the flat hexes from the Hexhog system. This I did is MeshMixer because the Hexhog terrain tiles have a lot of faces and FreeCAD doesn’t really like to deal with meshes of that complexity (at least, not on my eight year old computer it doesn’t). It’s also notable that I didn’t use union because the rune STL had very few faces, and MeshMixer’s algorithm really doesn’t do well in that case. From there, I was able to get nice STLs ready for slicing and printing.
Slicing and printing was fairly straightforward for this project, because the Hexhog STLs don’t require a lot. I printed in PLA with 0.2mm layer height and supports. The 0.2mm layer height gave a good amount of detail (considering that I’d be priming and painting over top) without taking too long to print (two tiles took about six hours). The supports are only for the underside of the Hexhog tile, as I found that it was easier to pull supports off than filing somewhat sagging bridges.
Next time, I’ll talk about painting these up to get the final product.