
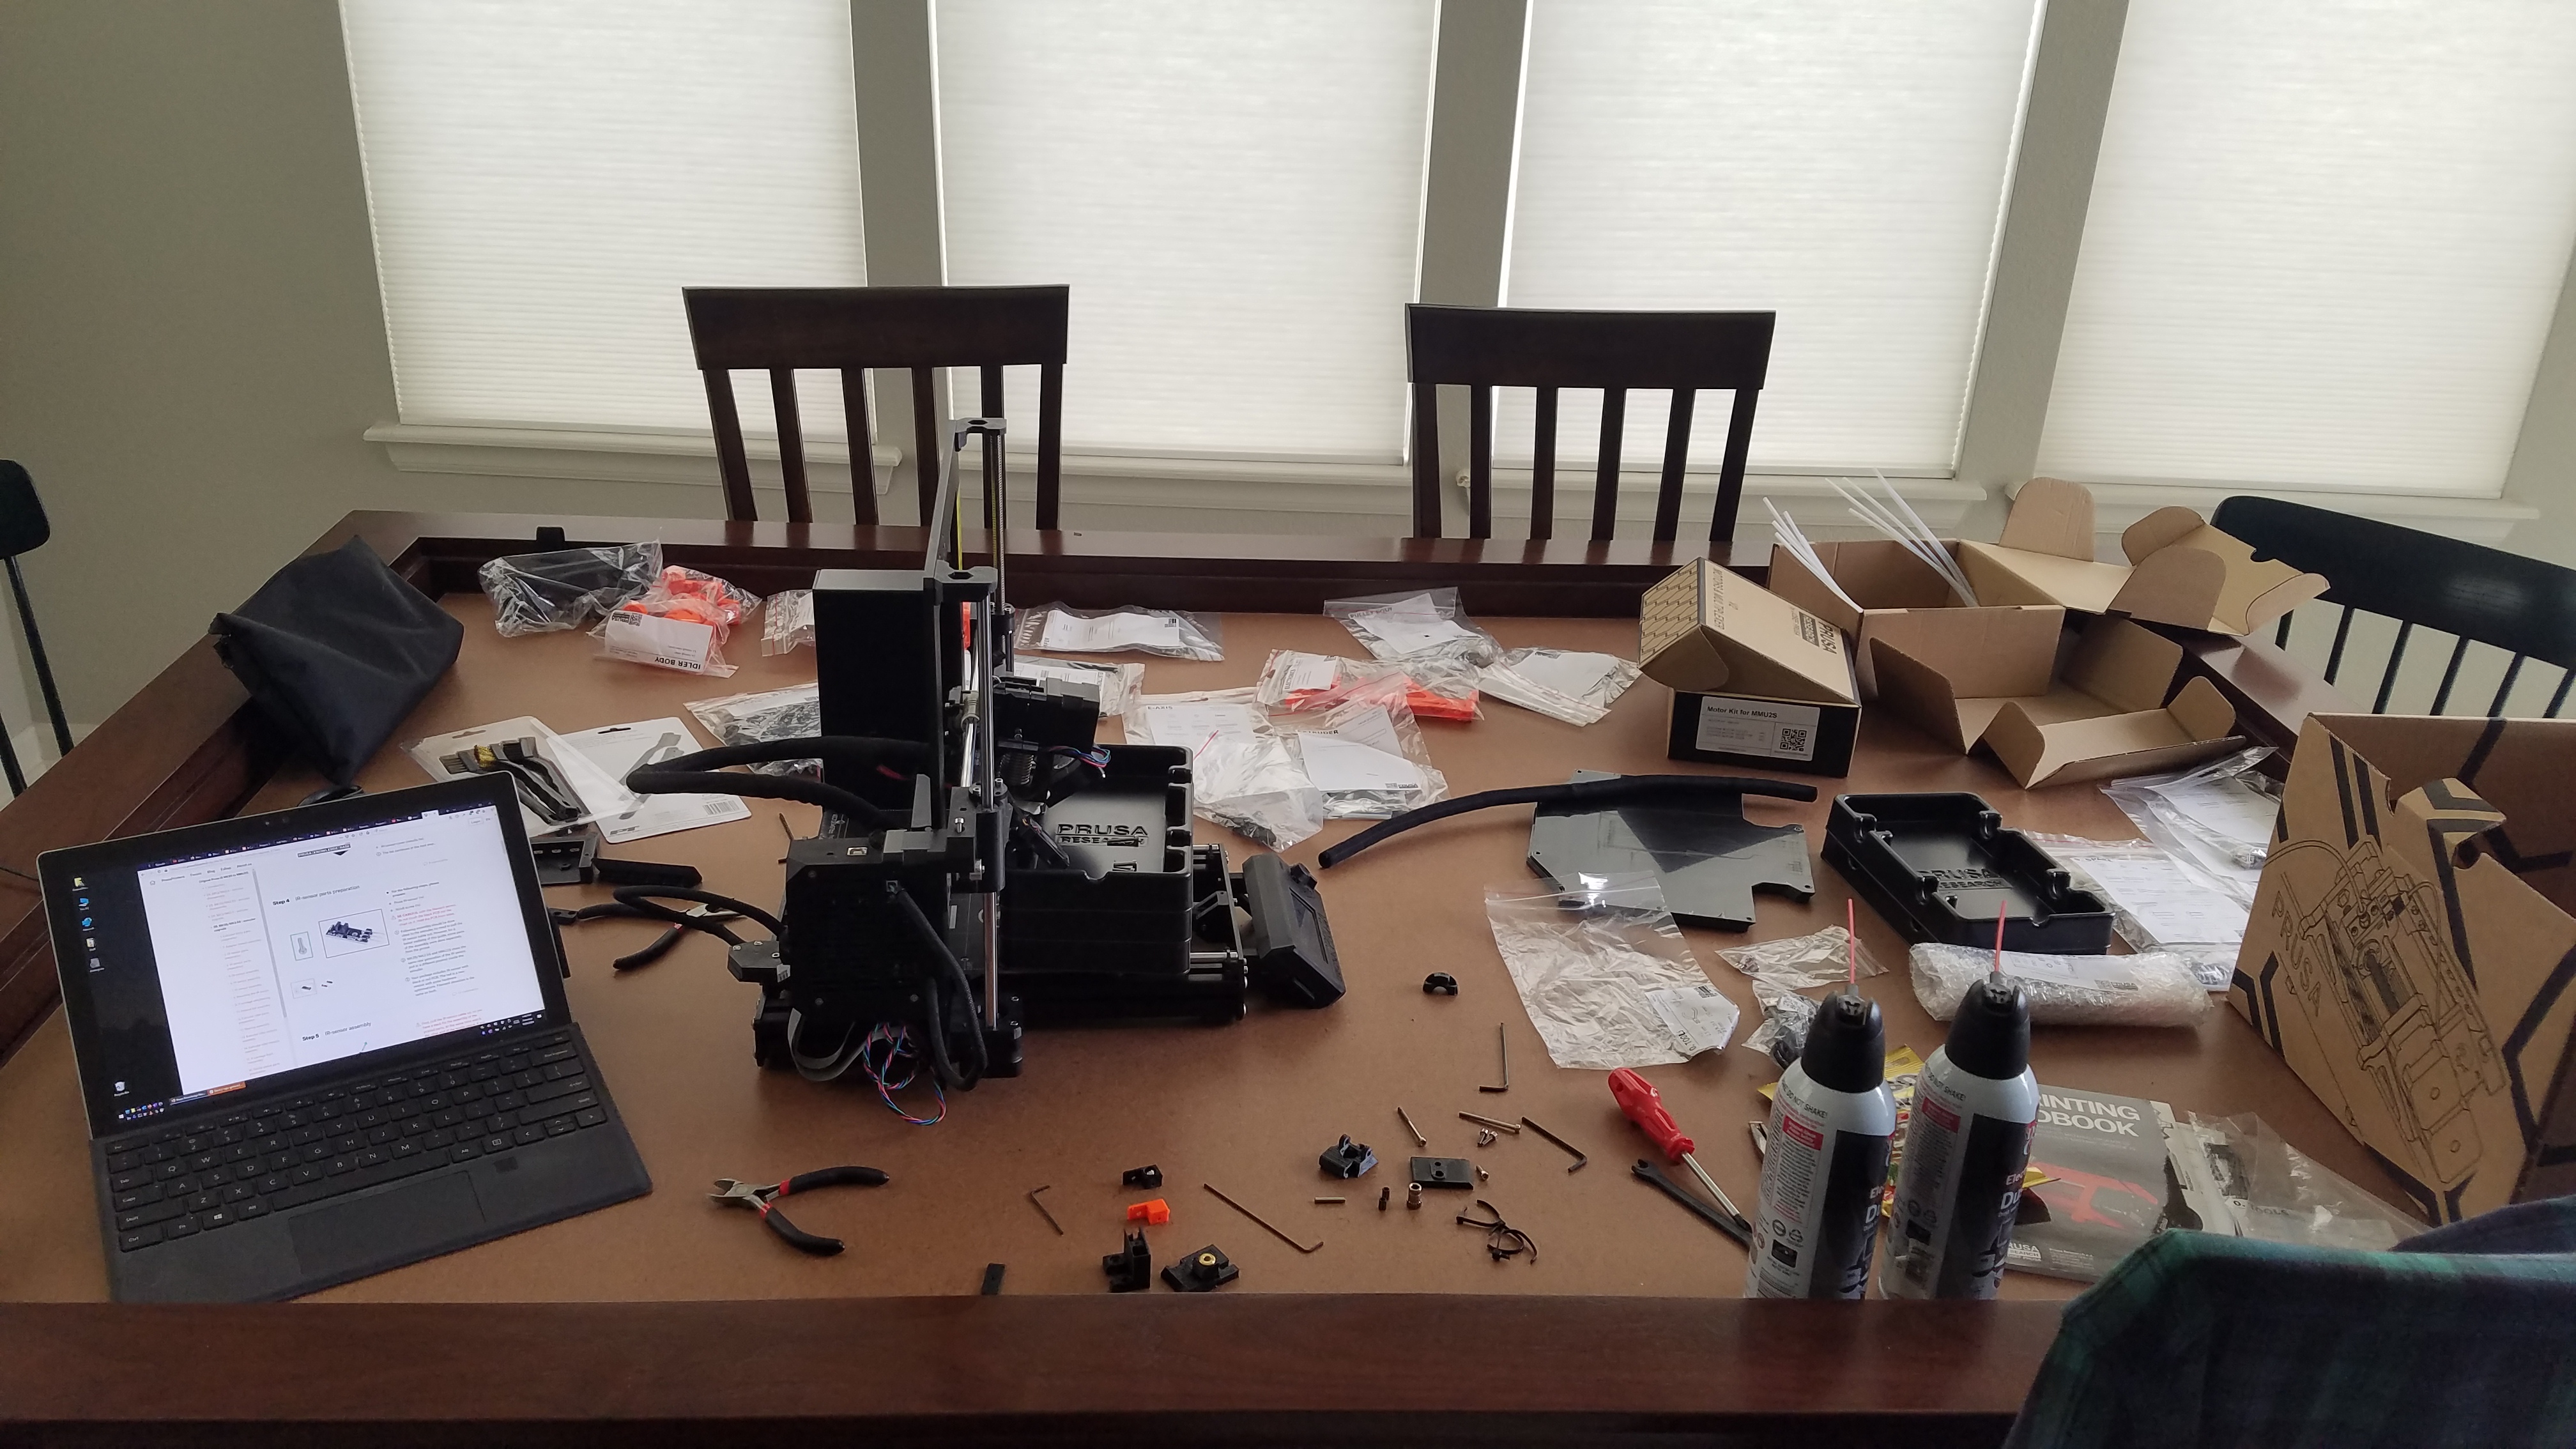
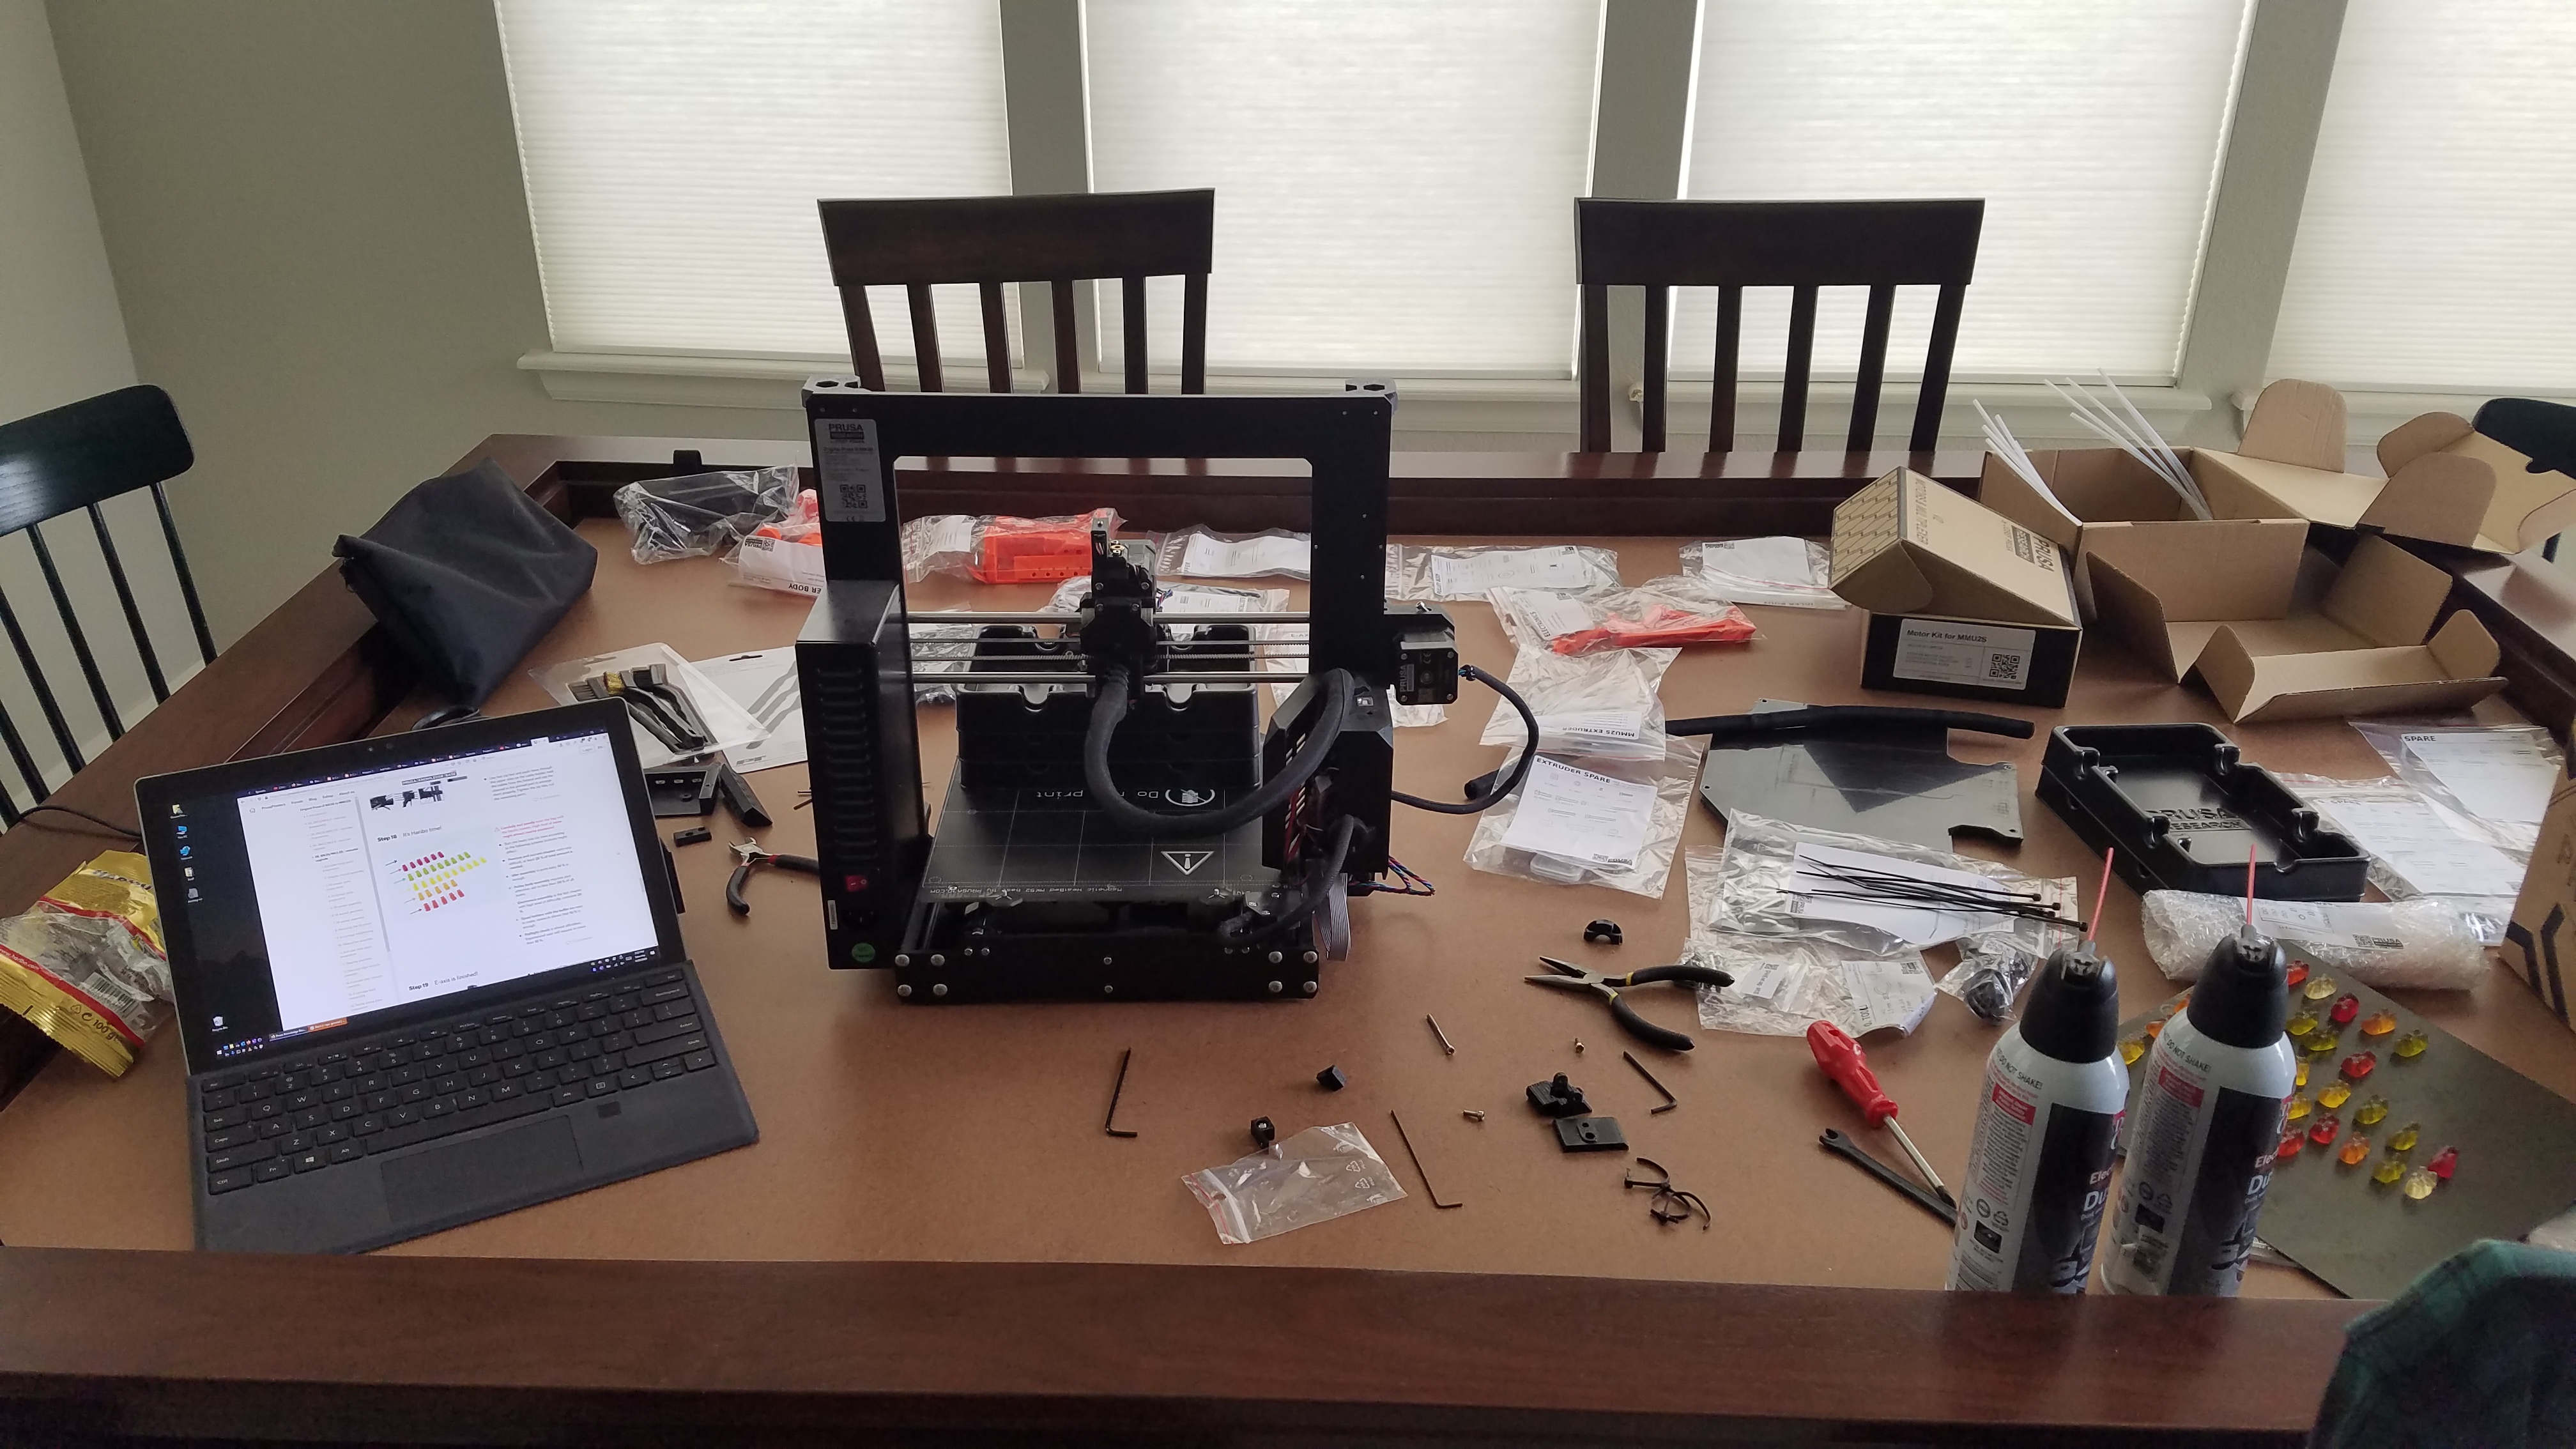
After a week of troubleshooting, I’ve finally gotten my printer back up and running again. If you read my last post, you’ll remember that I upgraded my Prusa with the new MMU2S, and while building the upgrade itself wasn’t too bad, getting everything working again afterward didn’t go well. I didn’t document the time I spent troubleshooting, taking things apart, and putting them back together, but I did document the original build, so here’s the image montage of that, then I’ll talk through the steps I took to get it all back working again.
Similar to what I did when I did my printer build, here is the images with how long each step took:


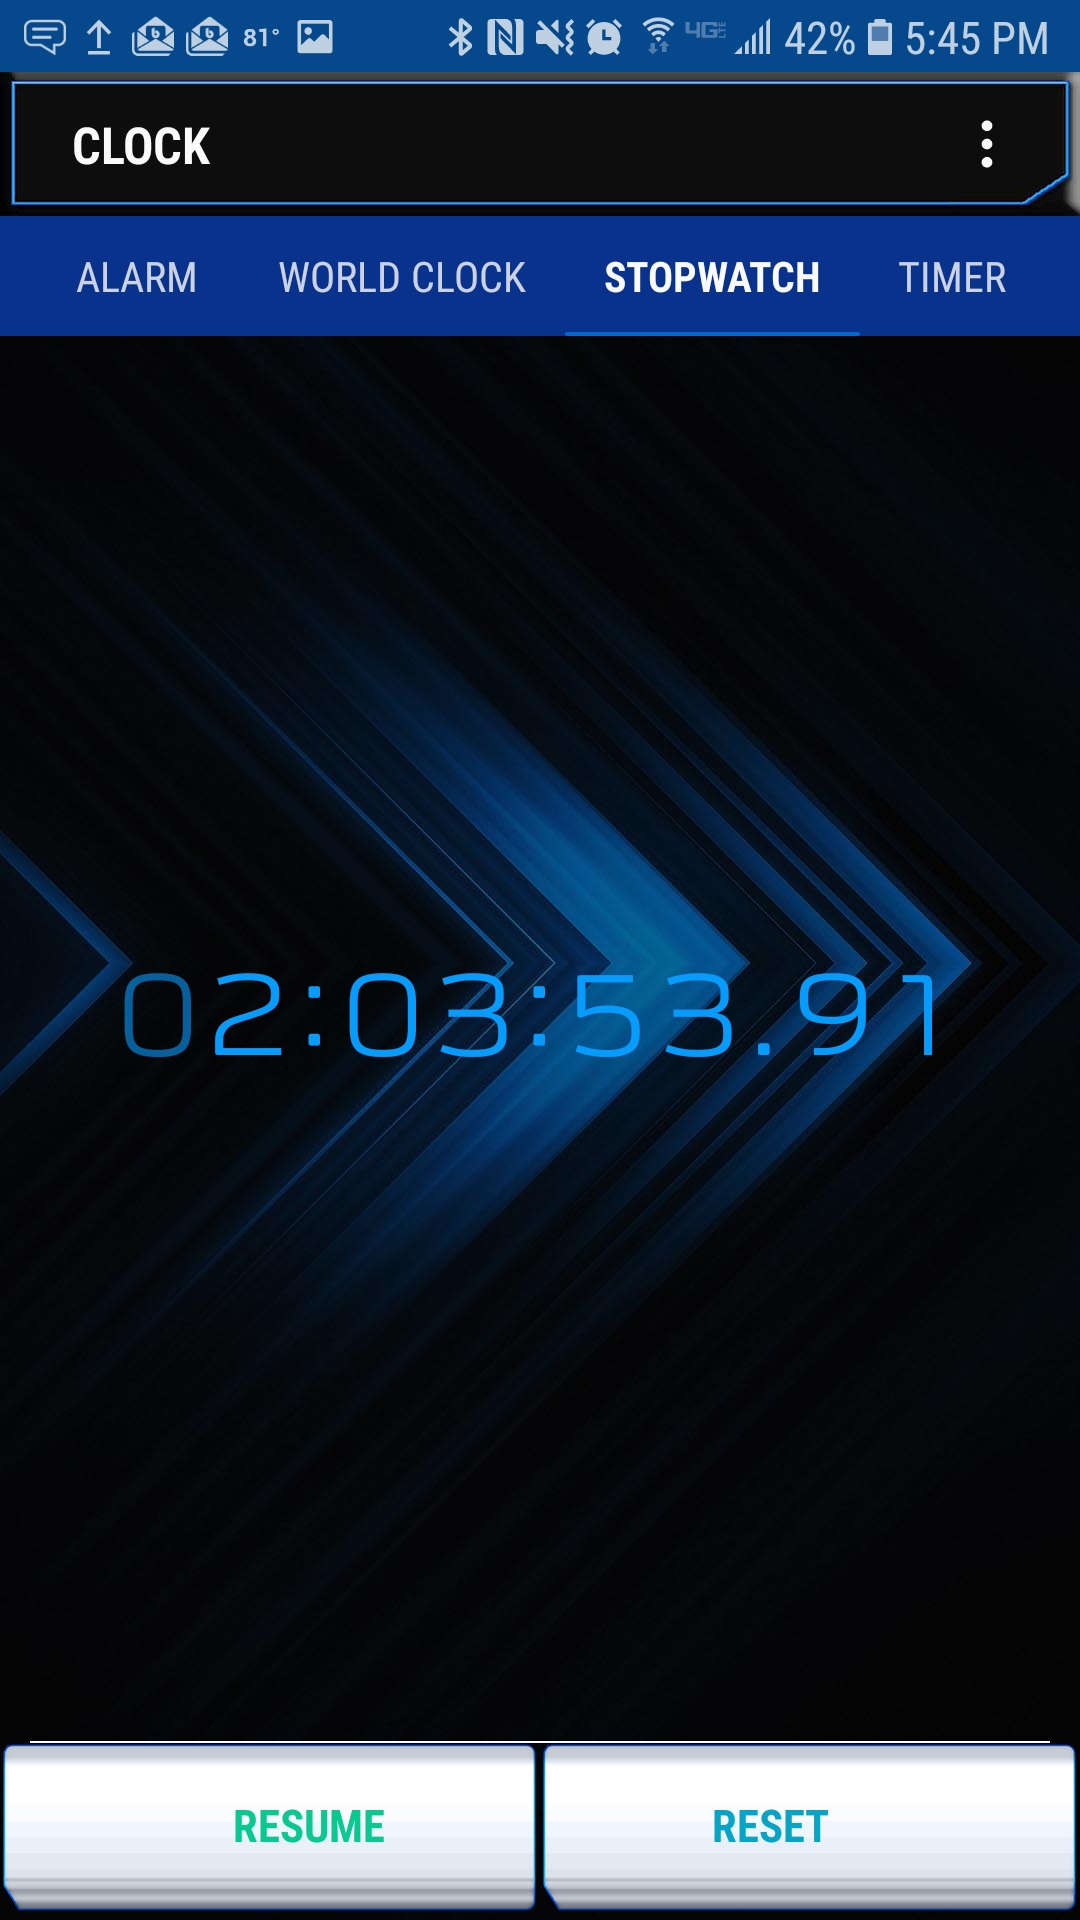

Admittedly, these timings are a bit off in a couple of cases. It took me less than two hours to assemble the idler (on account of chatting with my neighbor while the clock was running), but it also took a little bit more than 37 minutes for electronic assembly (on account of my being excited and not starting the clock until after I had mounted the electronics in the case).
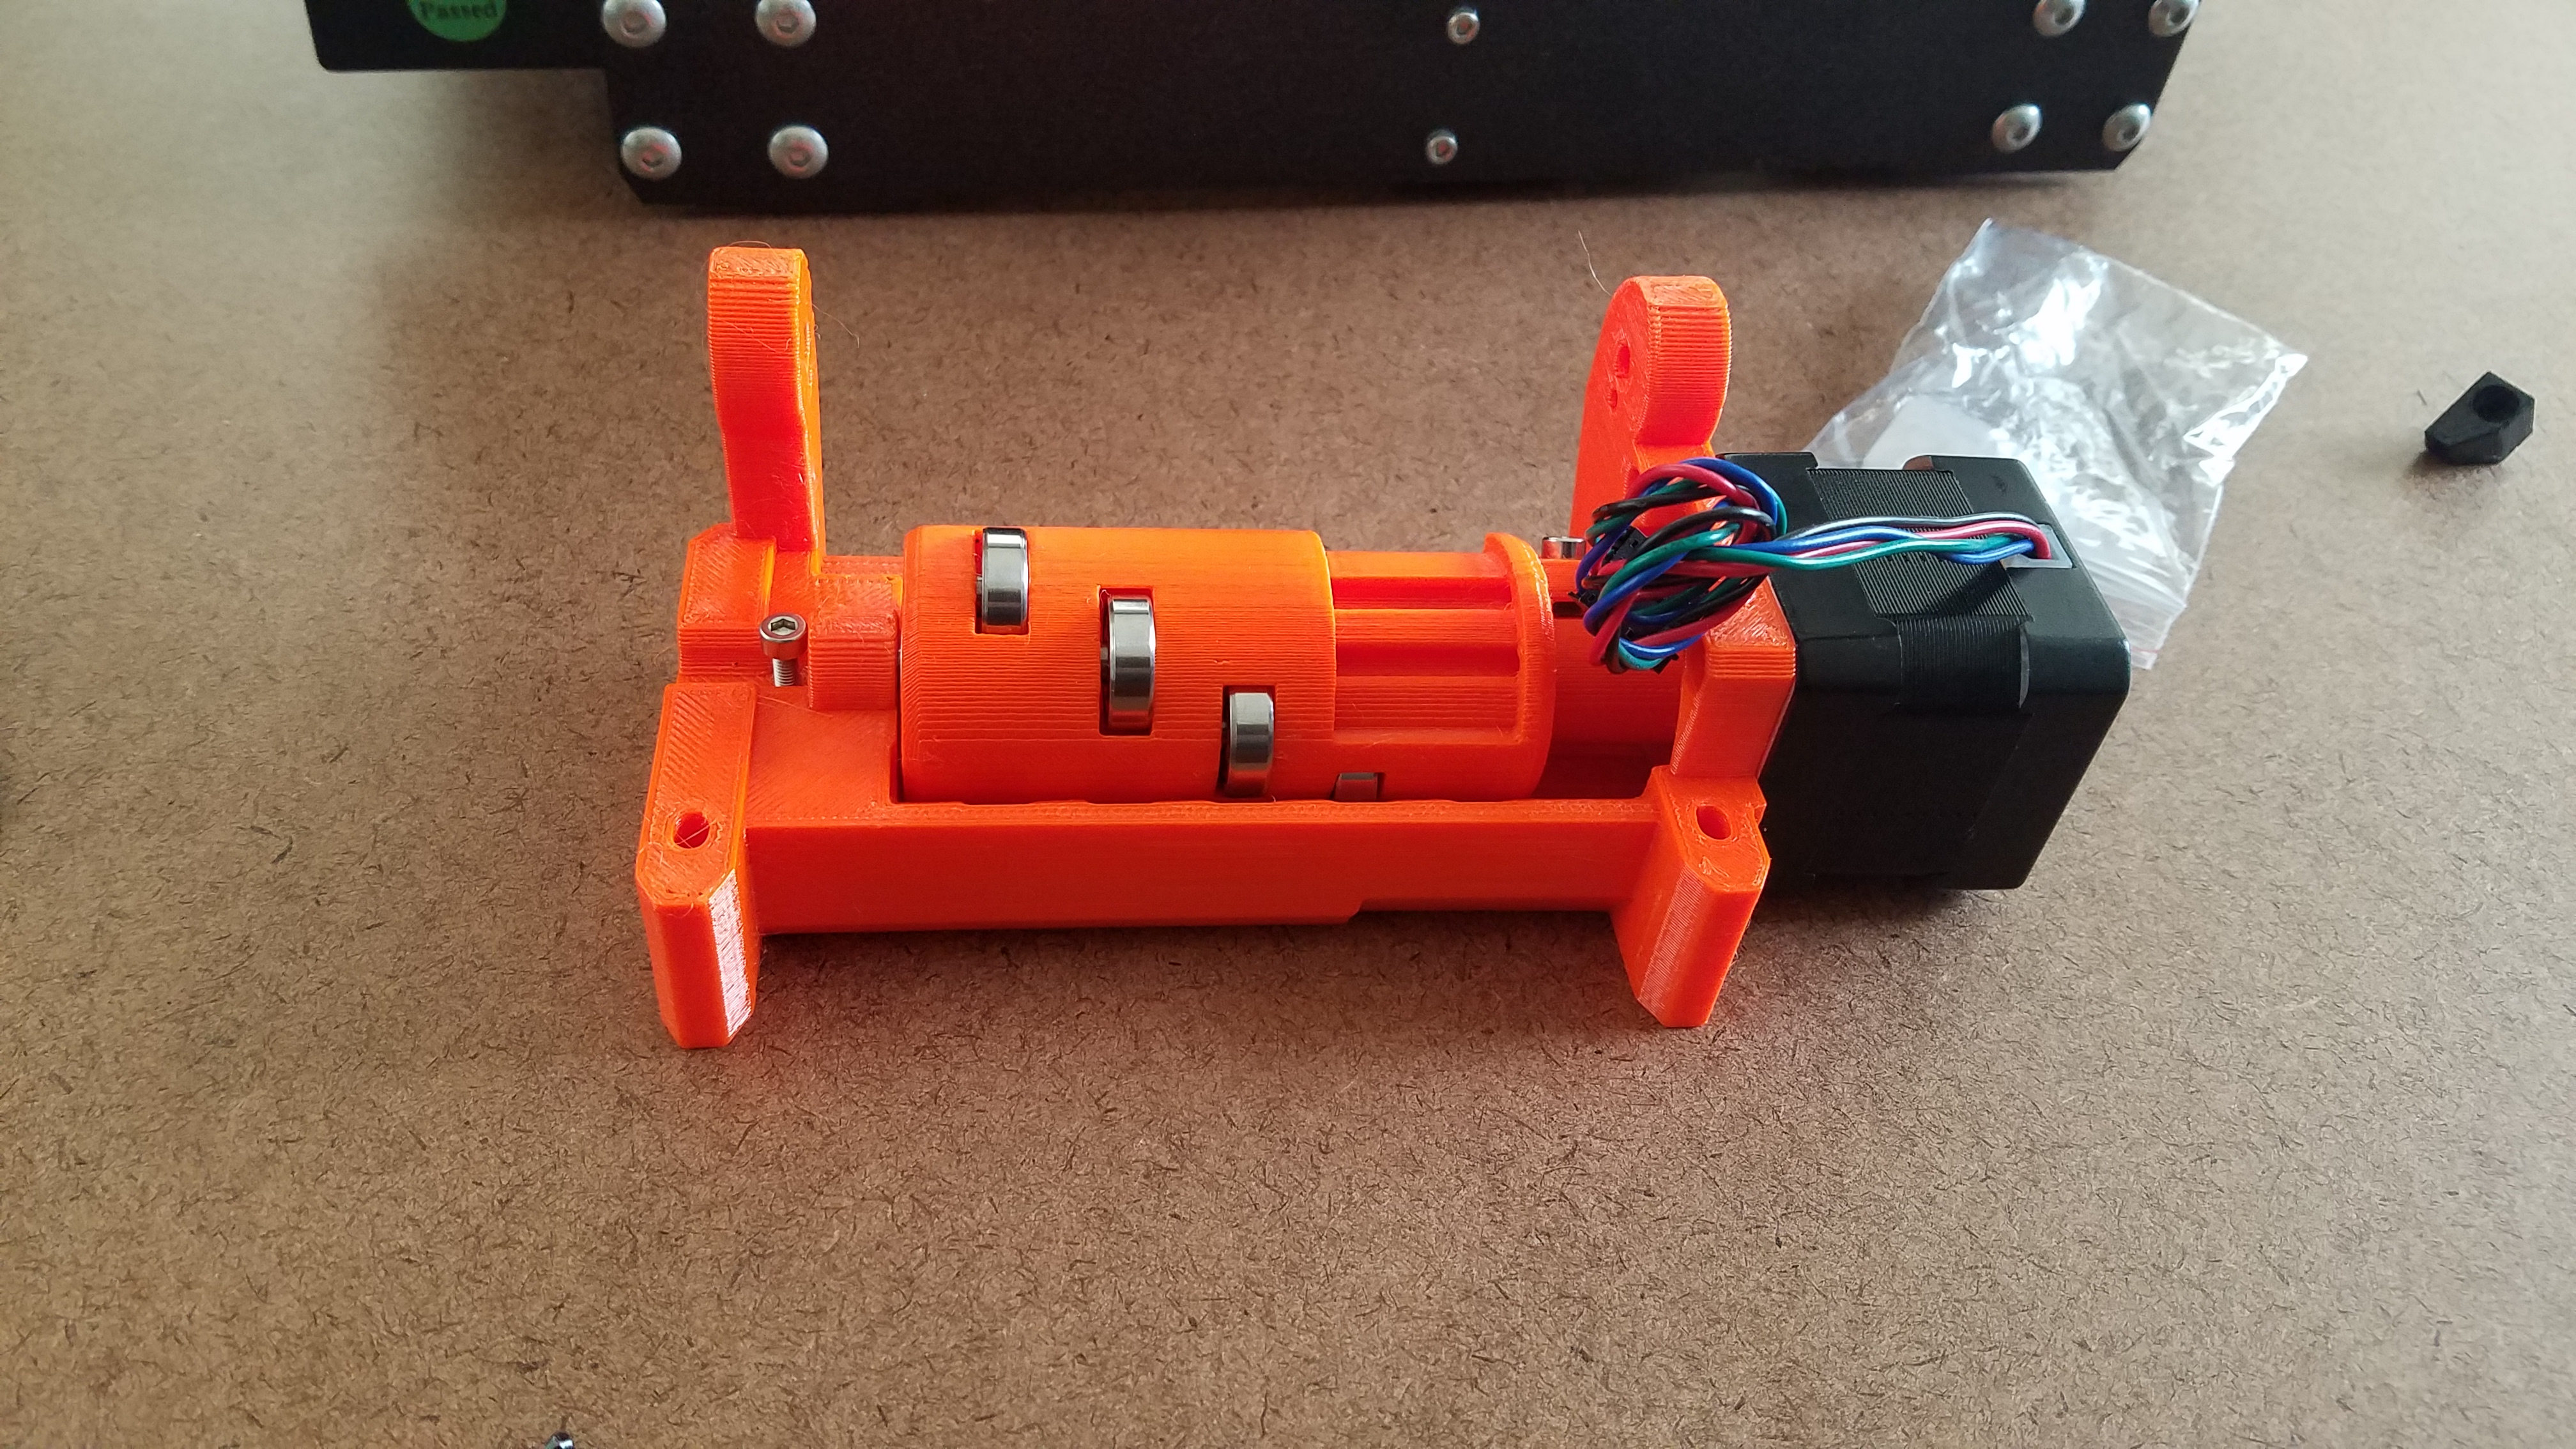
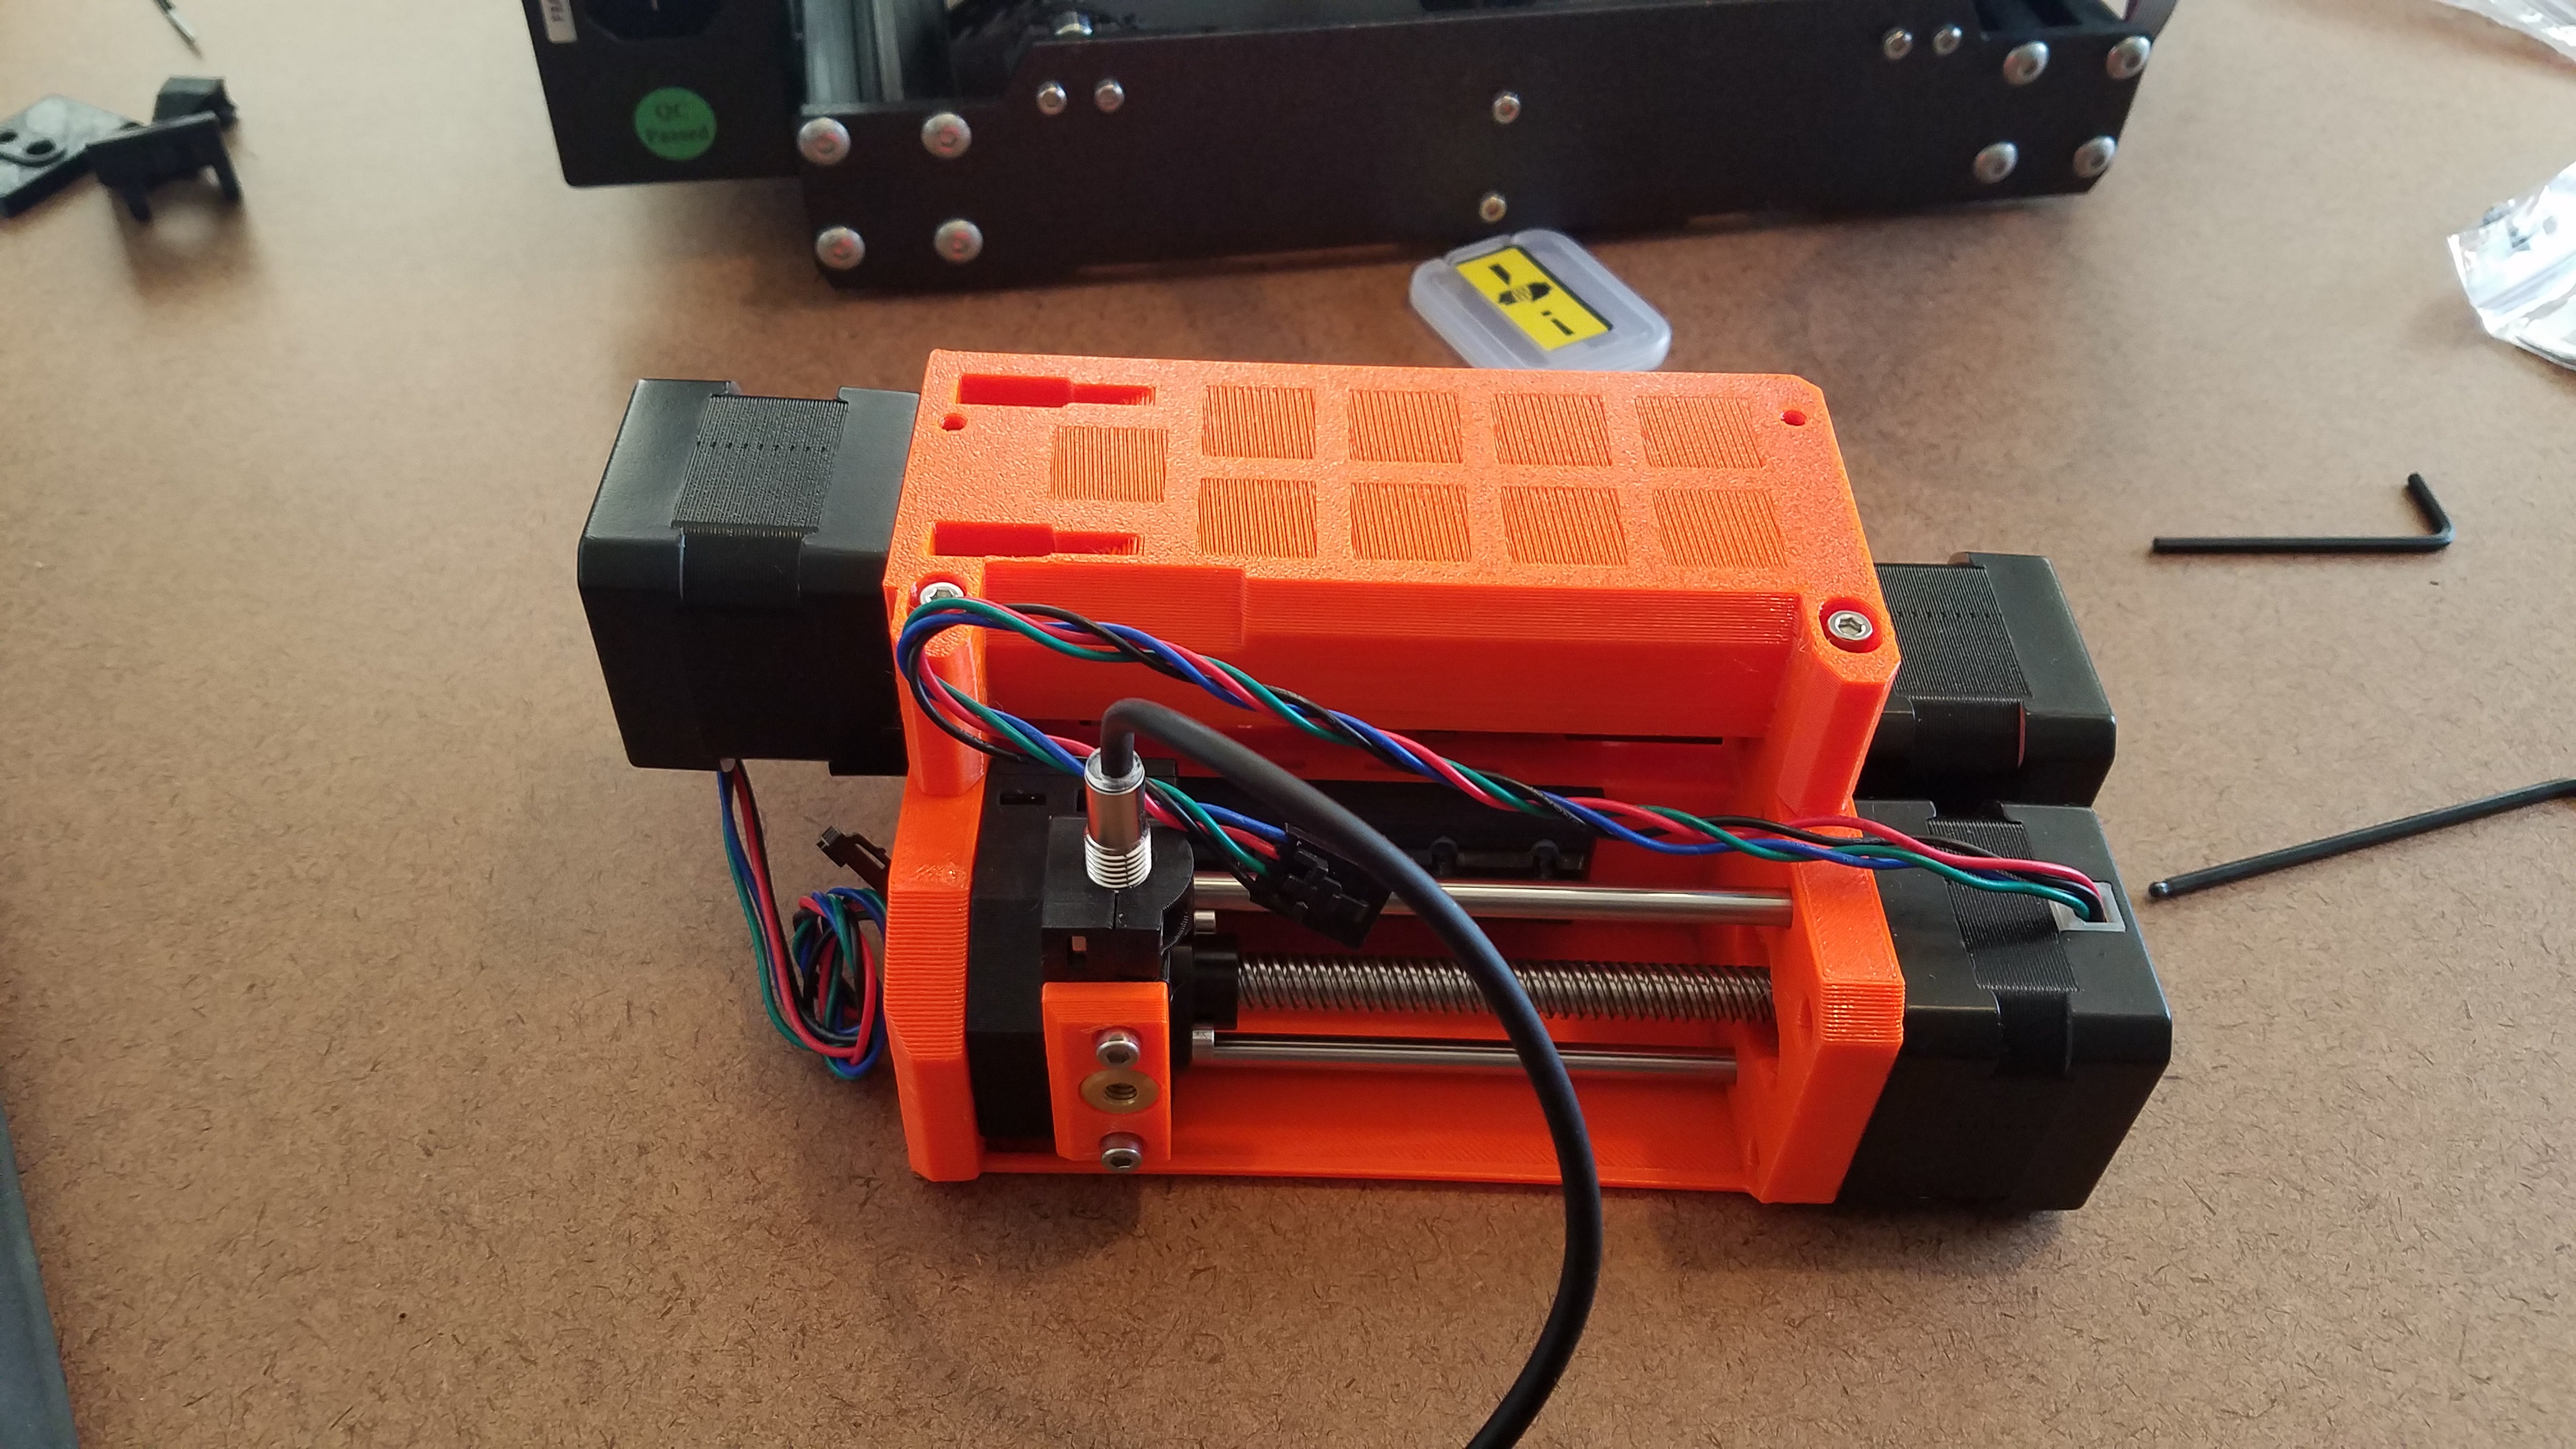
Another thing of note – all the black pieces (sans the motors, of course) in the build were mods that I printed before I started the build. These were all quality of life pieces recommended to me by my student, and I’ve already gotten a lot of use from – I’m glad I just had those built-in and didn’t have to disassemble the MMU to add them!
Also, after I got it all built… …It didn’t work, so I ended up taking a lot of it apart and putting it back together. I think if I were to characterize it, there were two main issues:
First, with the MMU itself, there was extra friction in the place where the filament enters into the MMU. When I built it, I didn’t quite have the PTFE tubes seated right, and there was a gap where the filament was moving against raw printed parts. This was entirely my fault and was due to me not quite entirely understanding one of the mods I added during the build that allowed pass-through PTFE connectors – I mistakenly thought that the connectors would cover this gap sufficiently, instead, I just needed to push the tube in further to ensure it covered the gap – problem solved.
The next problem was with the extruder rebuild. The old MK3S extruder gear/idler was working fine, but there was some debris in the extruder body that was causing significantly more interference with the new MMU2S gear/idler. I was getting some pretty significant clicking whenever the filament was trying to load as the extruder motor got caught on the debris. I took it apart, reseated the grub screw and tightened it, then blew out the body with compressed air. These two things fixed the problem, and I was able to get filament into the hot-end after that.
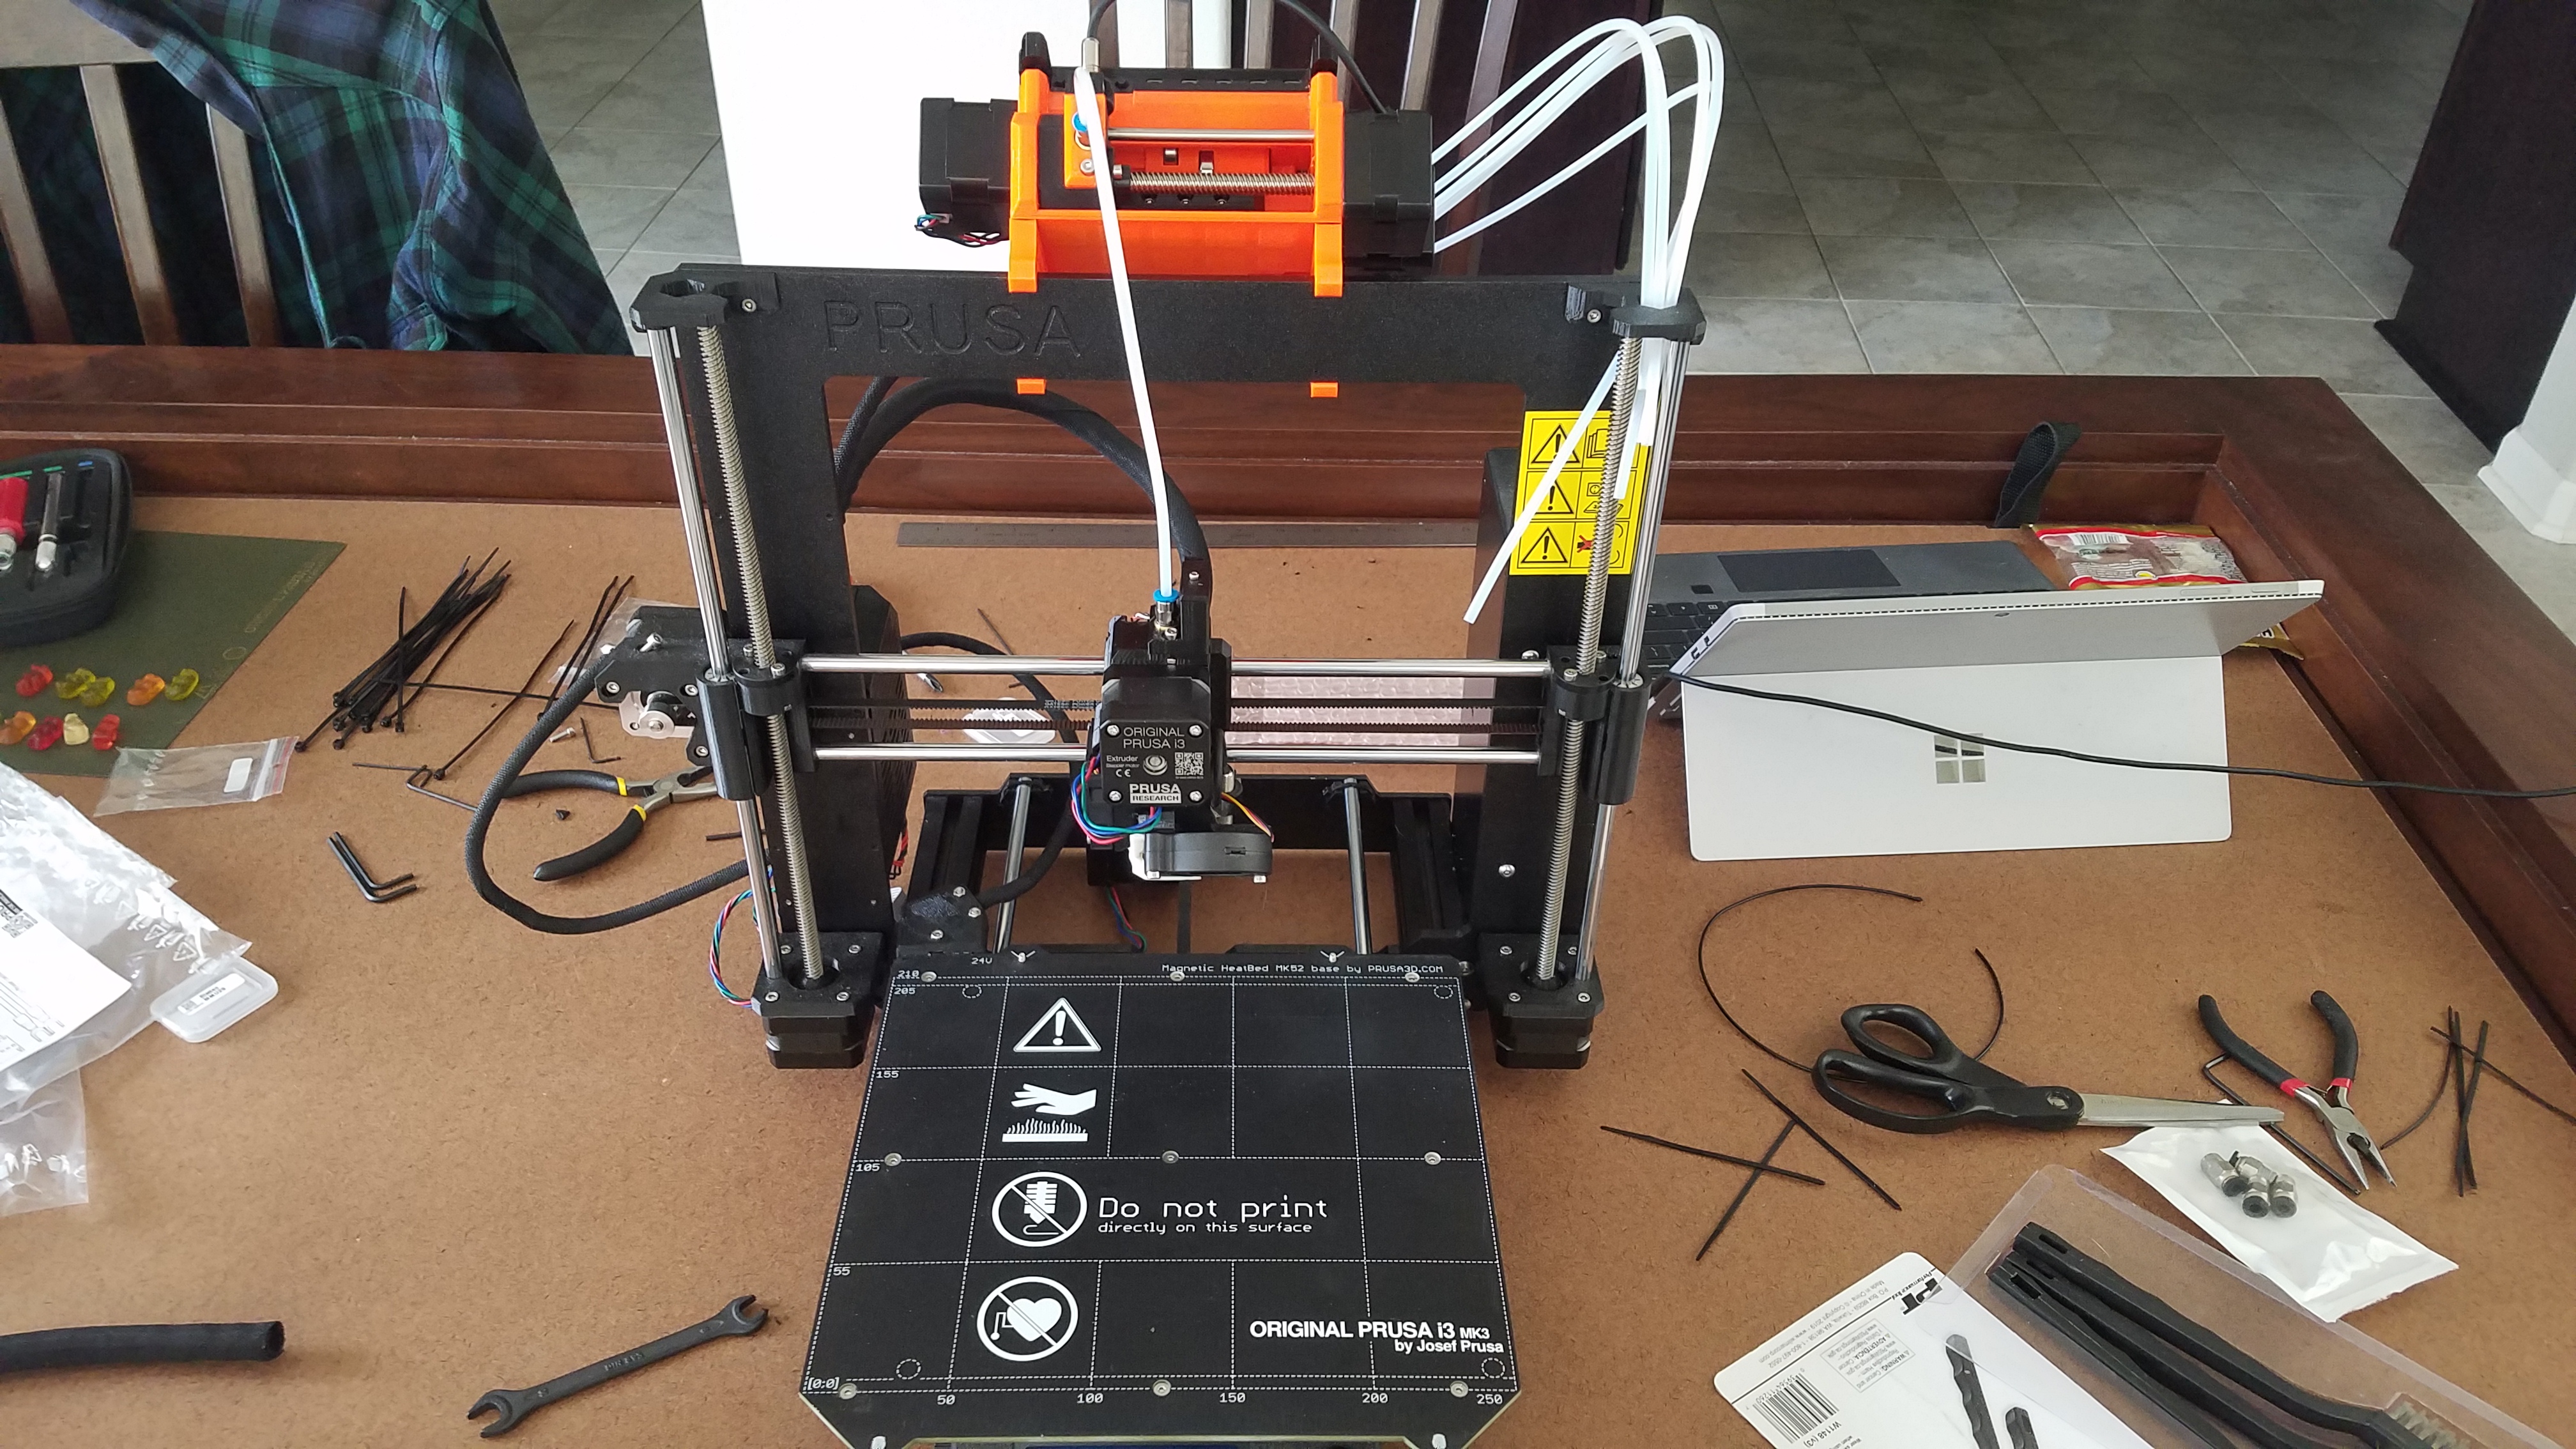
Once I got everything back together, I had one final issue, and that was that my FINDA probe needed to be reseated – this was easy to spot by looking at the sensor info on the printer itself, and, with that, voila!
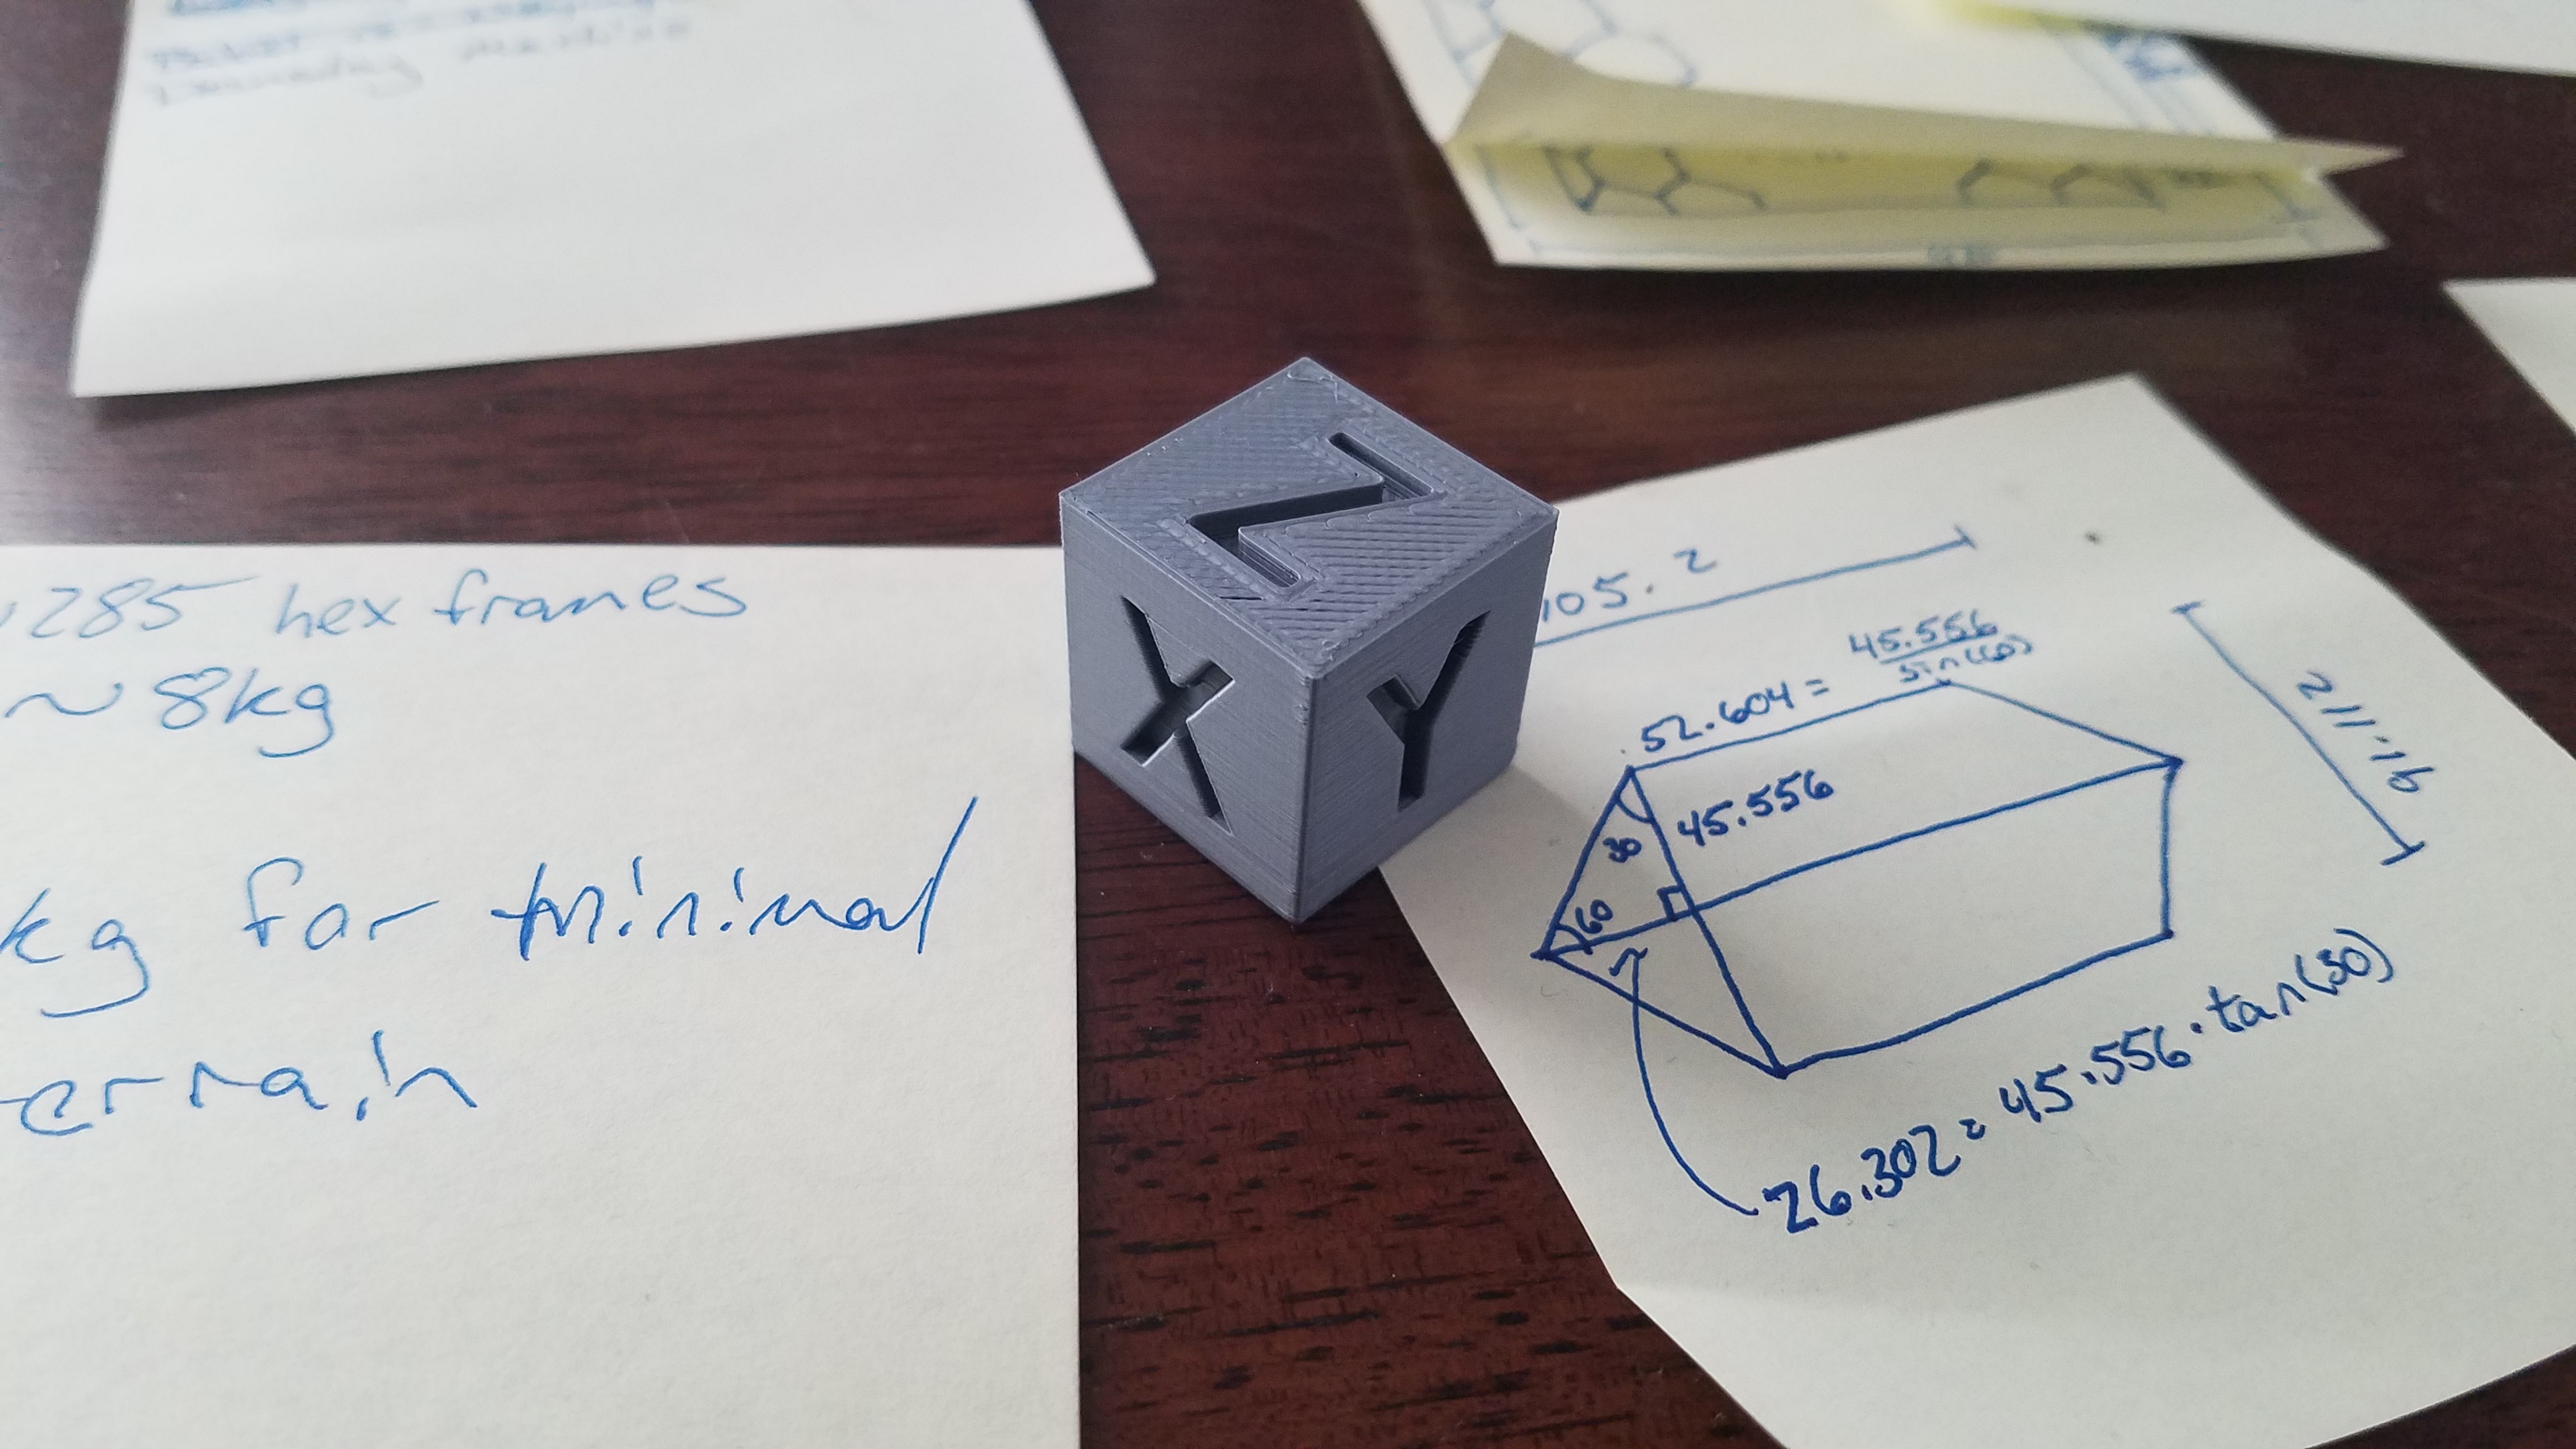
Once I had gotten single filament tested, I wanted to ensure that I was able to get smooth tool changes, so I built a new version of the calibration cube that used two different filaments. This one had 72 tool changes and took about four hours to print, but I think it was worth it to prove it that everything was working – finally, success!
Now, it’s time for bigger and better things – like that Incursus I’ve always wanted, or the terrain table that I’m working on…