
Though I built my Warhound and Reaver titans some time ago, and included magnets in the build, I was never really happy with how the magnetization turned out. The magnets dangled out in the open, and, honestly, the number of times I had to reglue them was a bit of a pain. This weekend, I got out all my measuring tools, fired up FreeCAD and my 3D printer, and decided I was going to do something about it.
My goal was to create a series of plastic parts that I could glue to the resin bits that included slots for my magnets. Getting the size of the magnets was easy (they were written write on the packaging), but I used my calipers to measure all the other connection points so that I could create nice fittings. This was a bit tricky, as some of the places my pieces would fill were only areas of negative space, but I was able to fill in the blanks with a bit of geometry and assuming that everything was a basic geometry primitive. In this first step, everything basically got written down on sticky notes since it was really just a pile of measurements – nothing to draw just yet.
That being said, the only drawing you’ll ever see me do is profiles of parts I’m trying to build – don’t worry they still look as atrocious as you remember anything I draw being. I draw it all before I put it into FreeCAD so that I can more easily identify the geometric primitives and their parameters I want; really, as long as I can tell the difference between a sphere and a cylinder and which one is bigger, I’ve accomplished what I want. This is my favorite part of any project, and the point that I’m most likely to pull out my calculator and crank some trigonometry and algebra.
Once I’ve got my notes and drawings done, putting it all into FreeCAD then printing is pretty easy. I wouldn’t say that I’m proficient in FreeCAD yet, but I’m able to do most pretty basic things building up parameterized shapes. Printing is kind of the same – it’s a big field, and I feel like I know enough settings to twiddle it to make it do what I want, which is really my goal.
This post wasn’t really supposed to be about my process, but I guess it turned out to be a bit. Instead, I was going to post some pictures, so here’s how my pieces look:
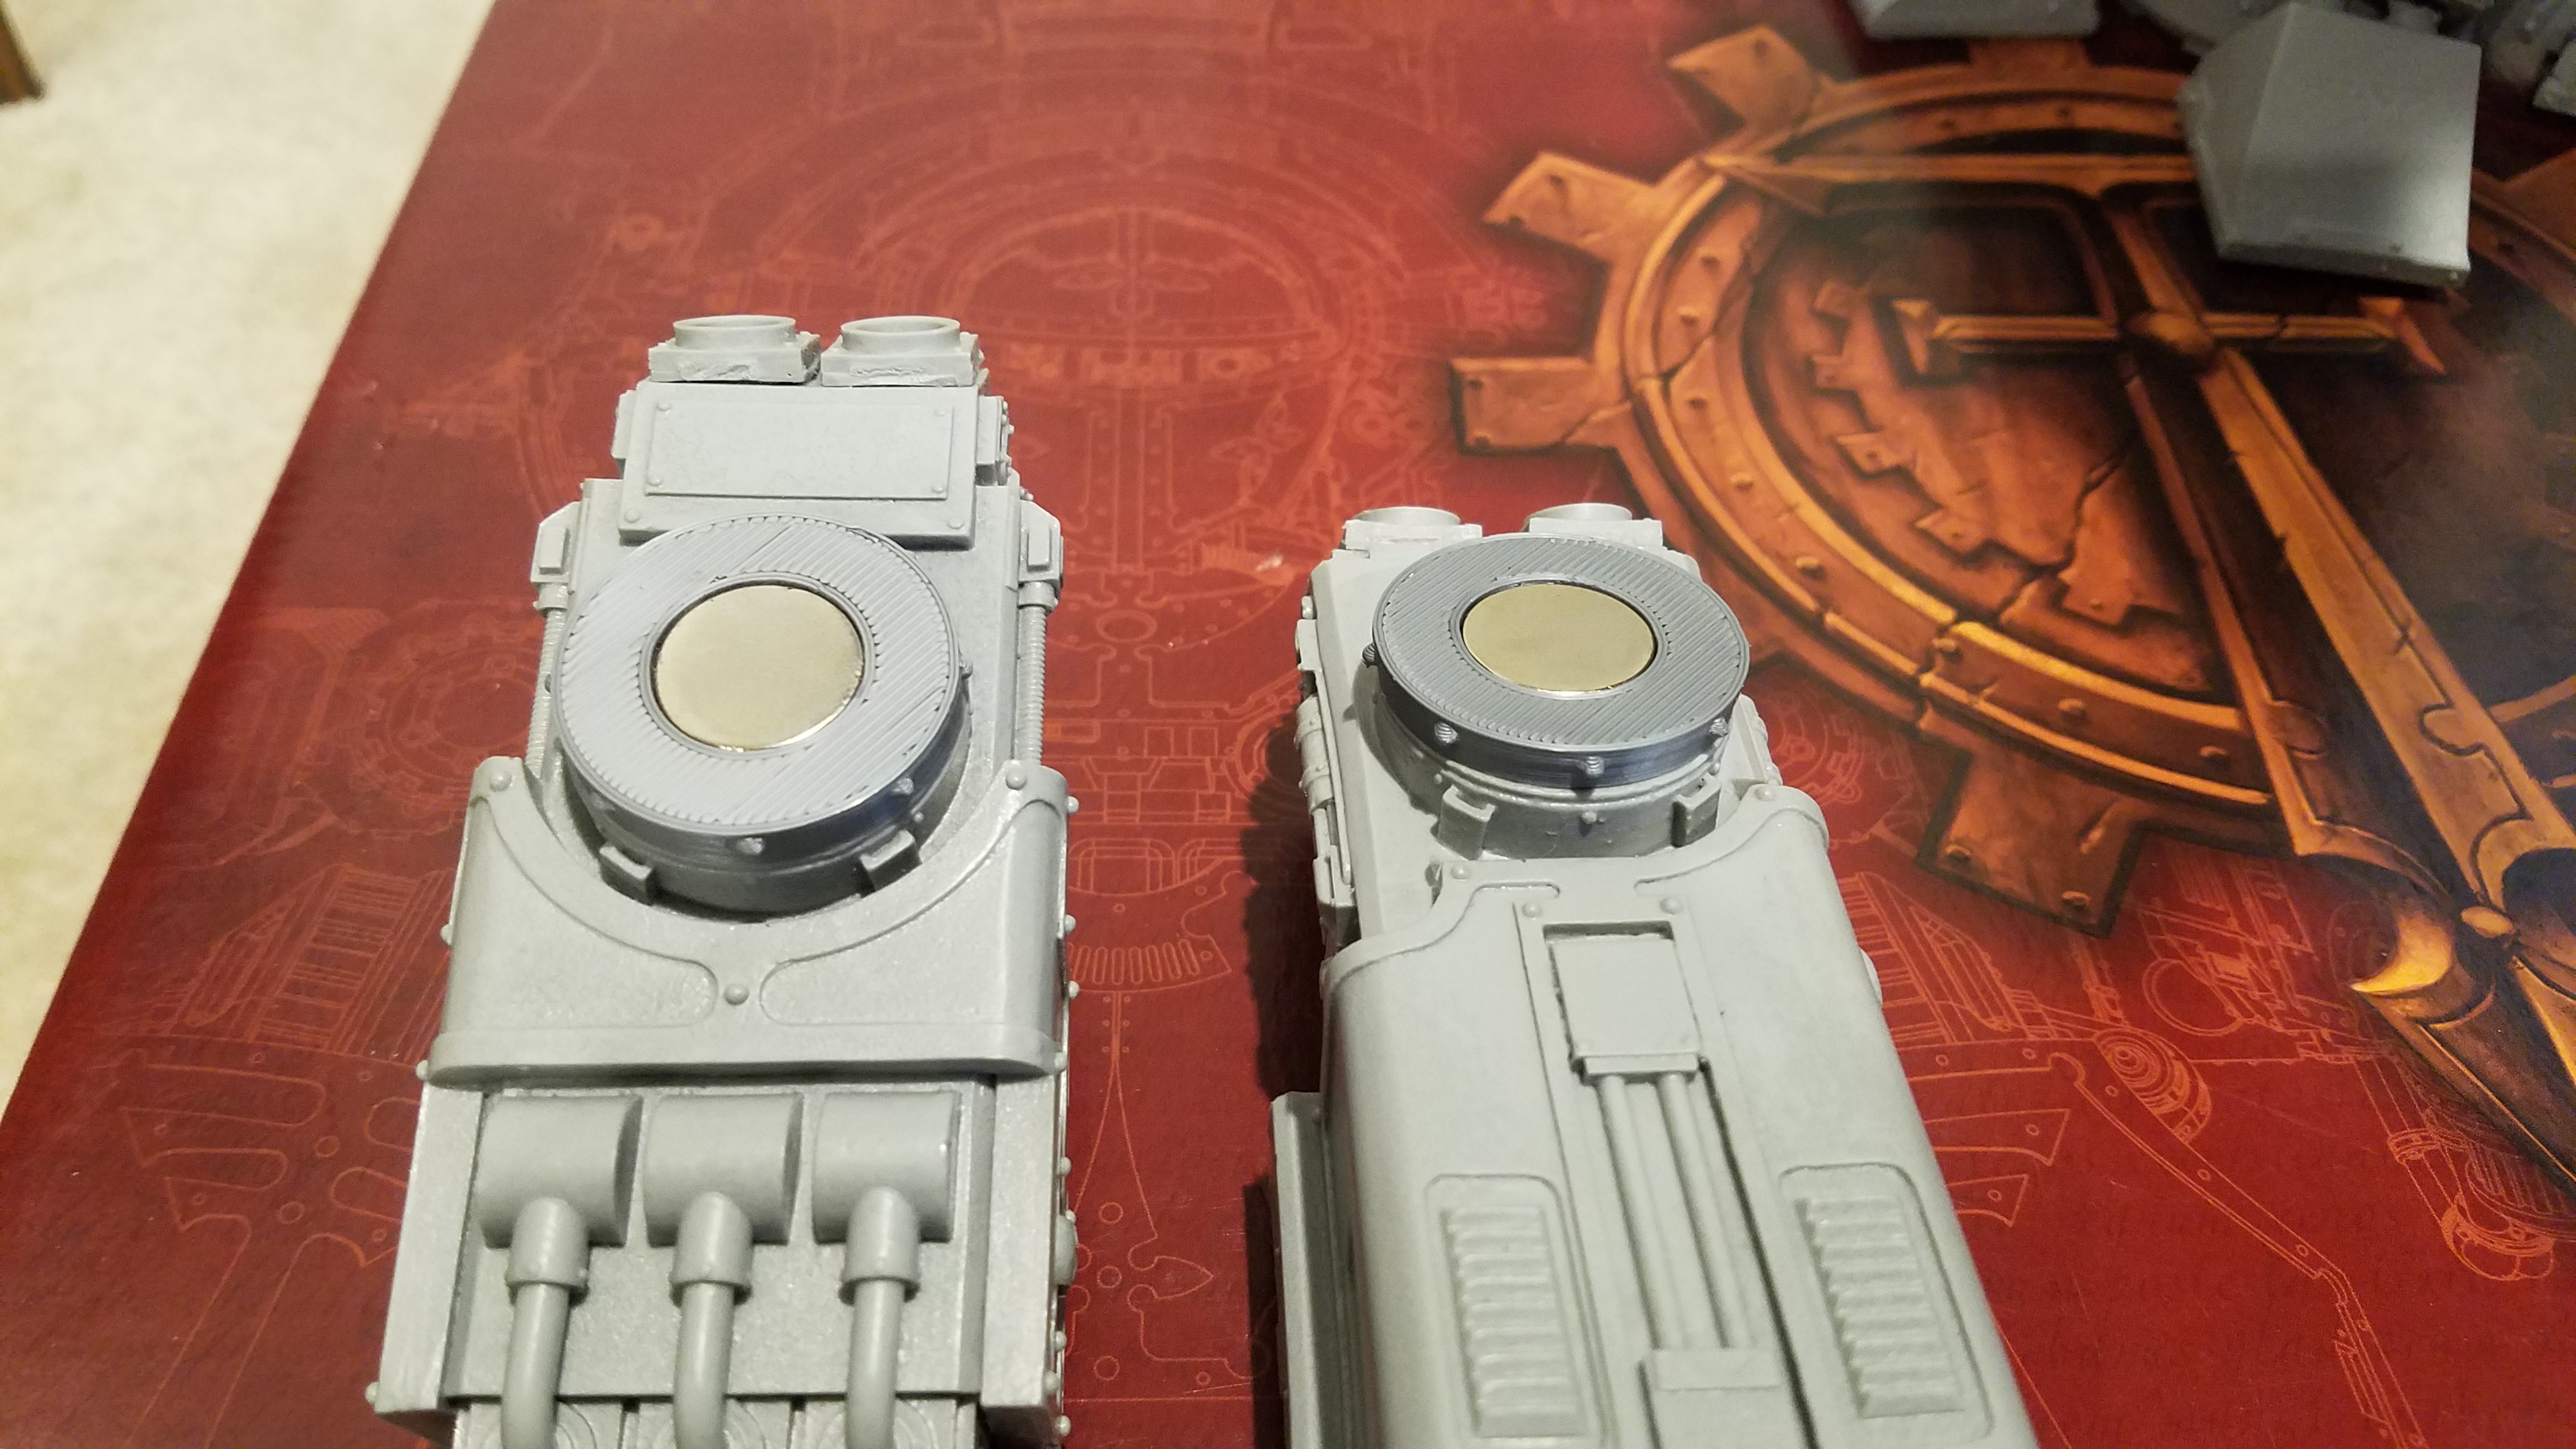
Reaver parts from left to right:
- Angled fist joint
- Inner torso joint (no magnet)
- Outer torso joint (no magnet)
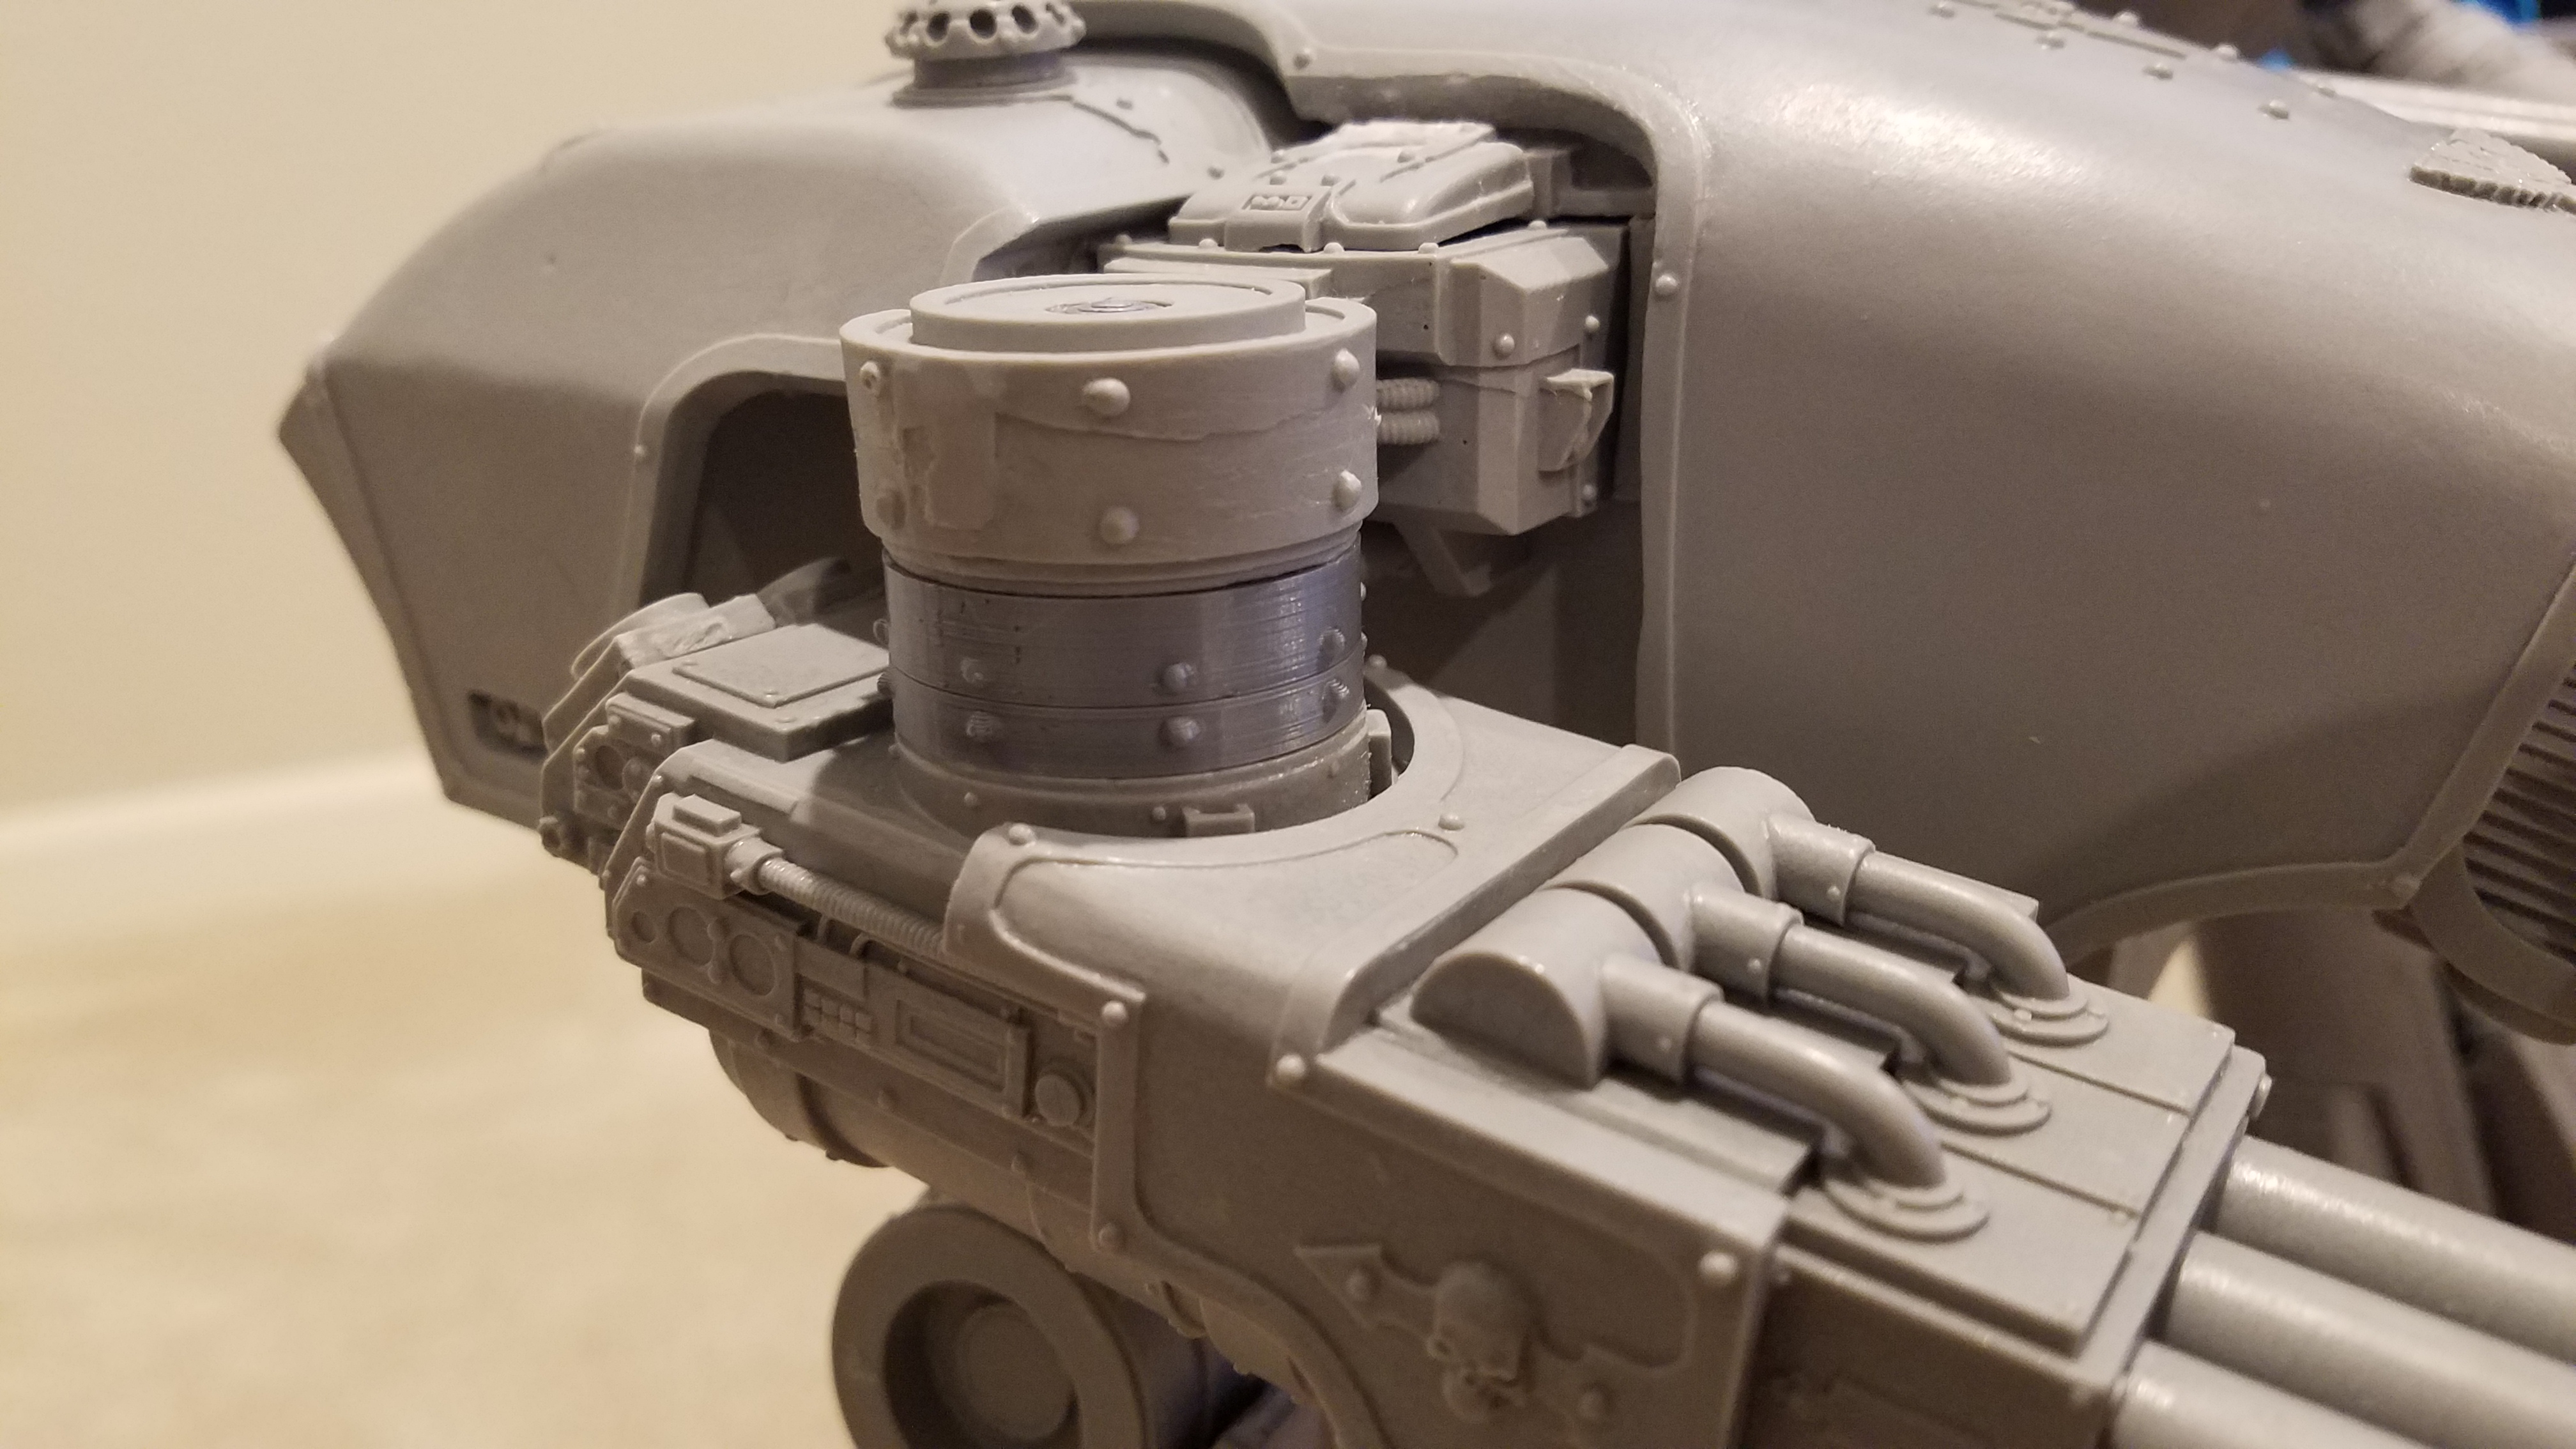
- Gattling blaster joint
- Shoulder joint (x2)
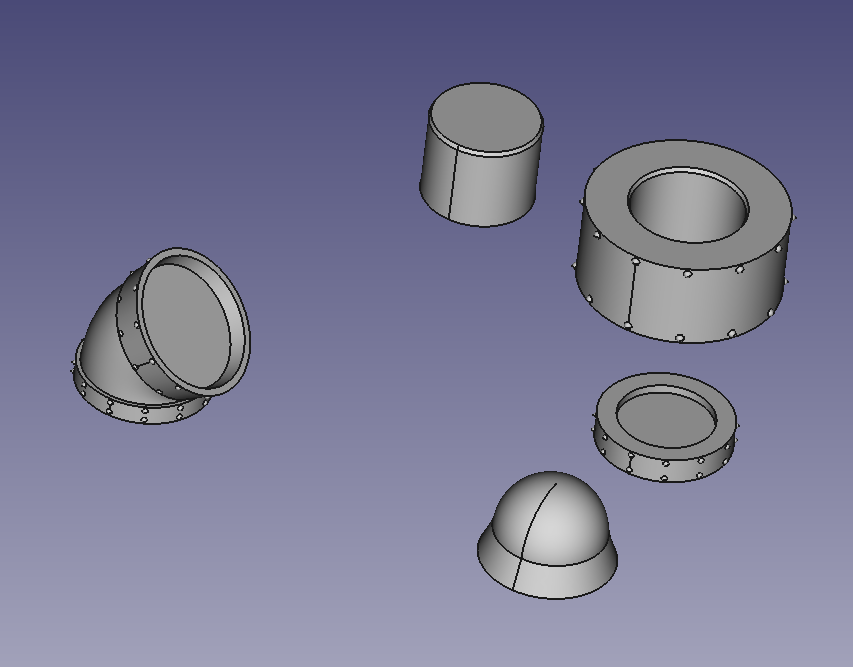
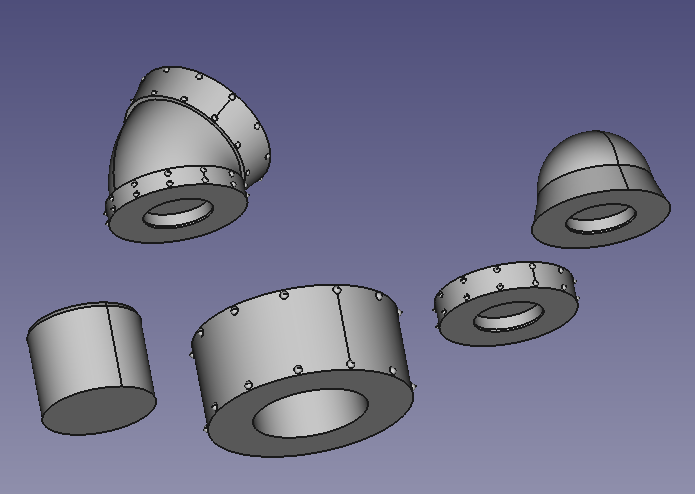
Warhound parts:
- Flamethrower joint
- Shoulder joint (x2)
- Mega bolter joint (this one is slightly smaller)
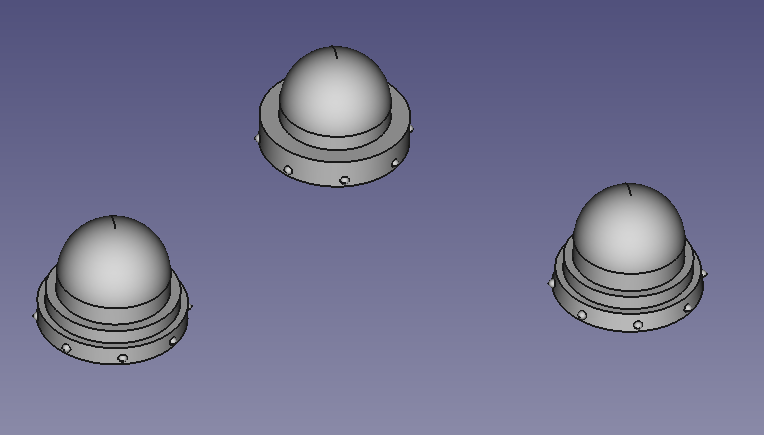
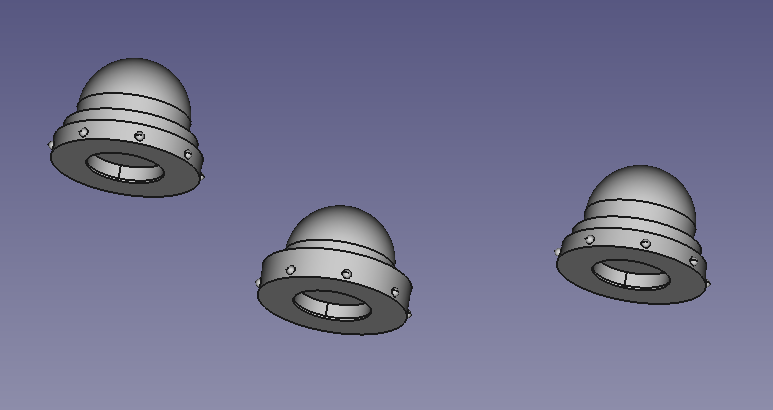
On the models themselves (you can tell the printed parts since they’re a darker grey):
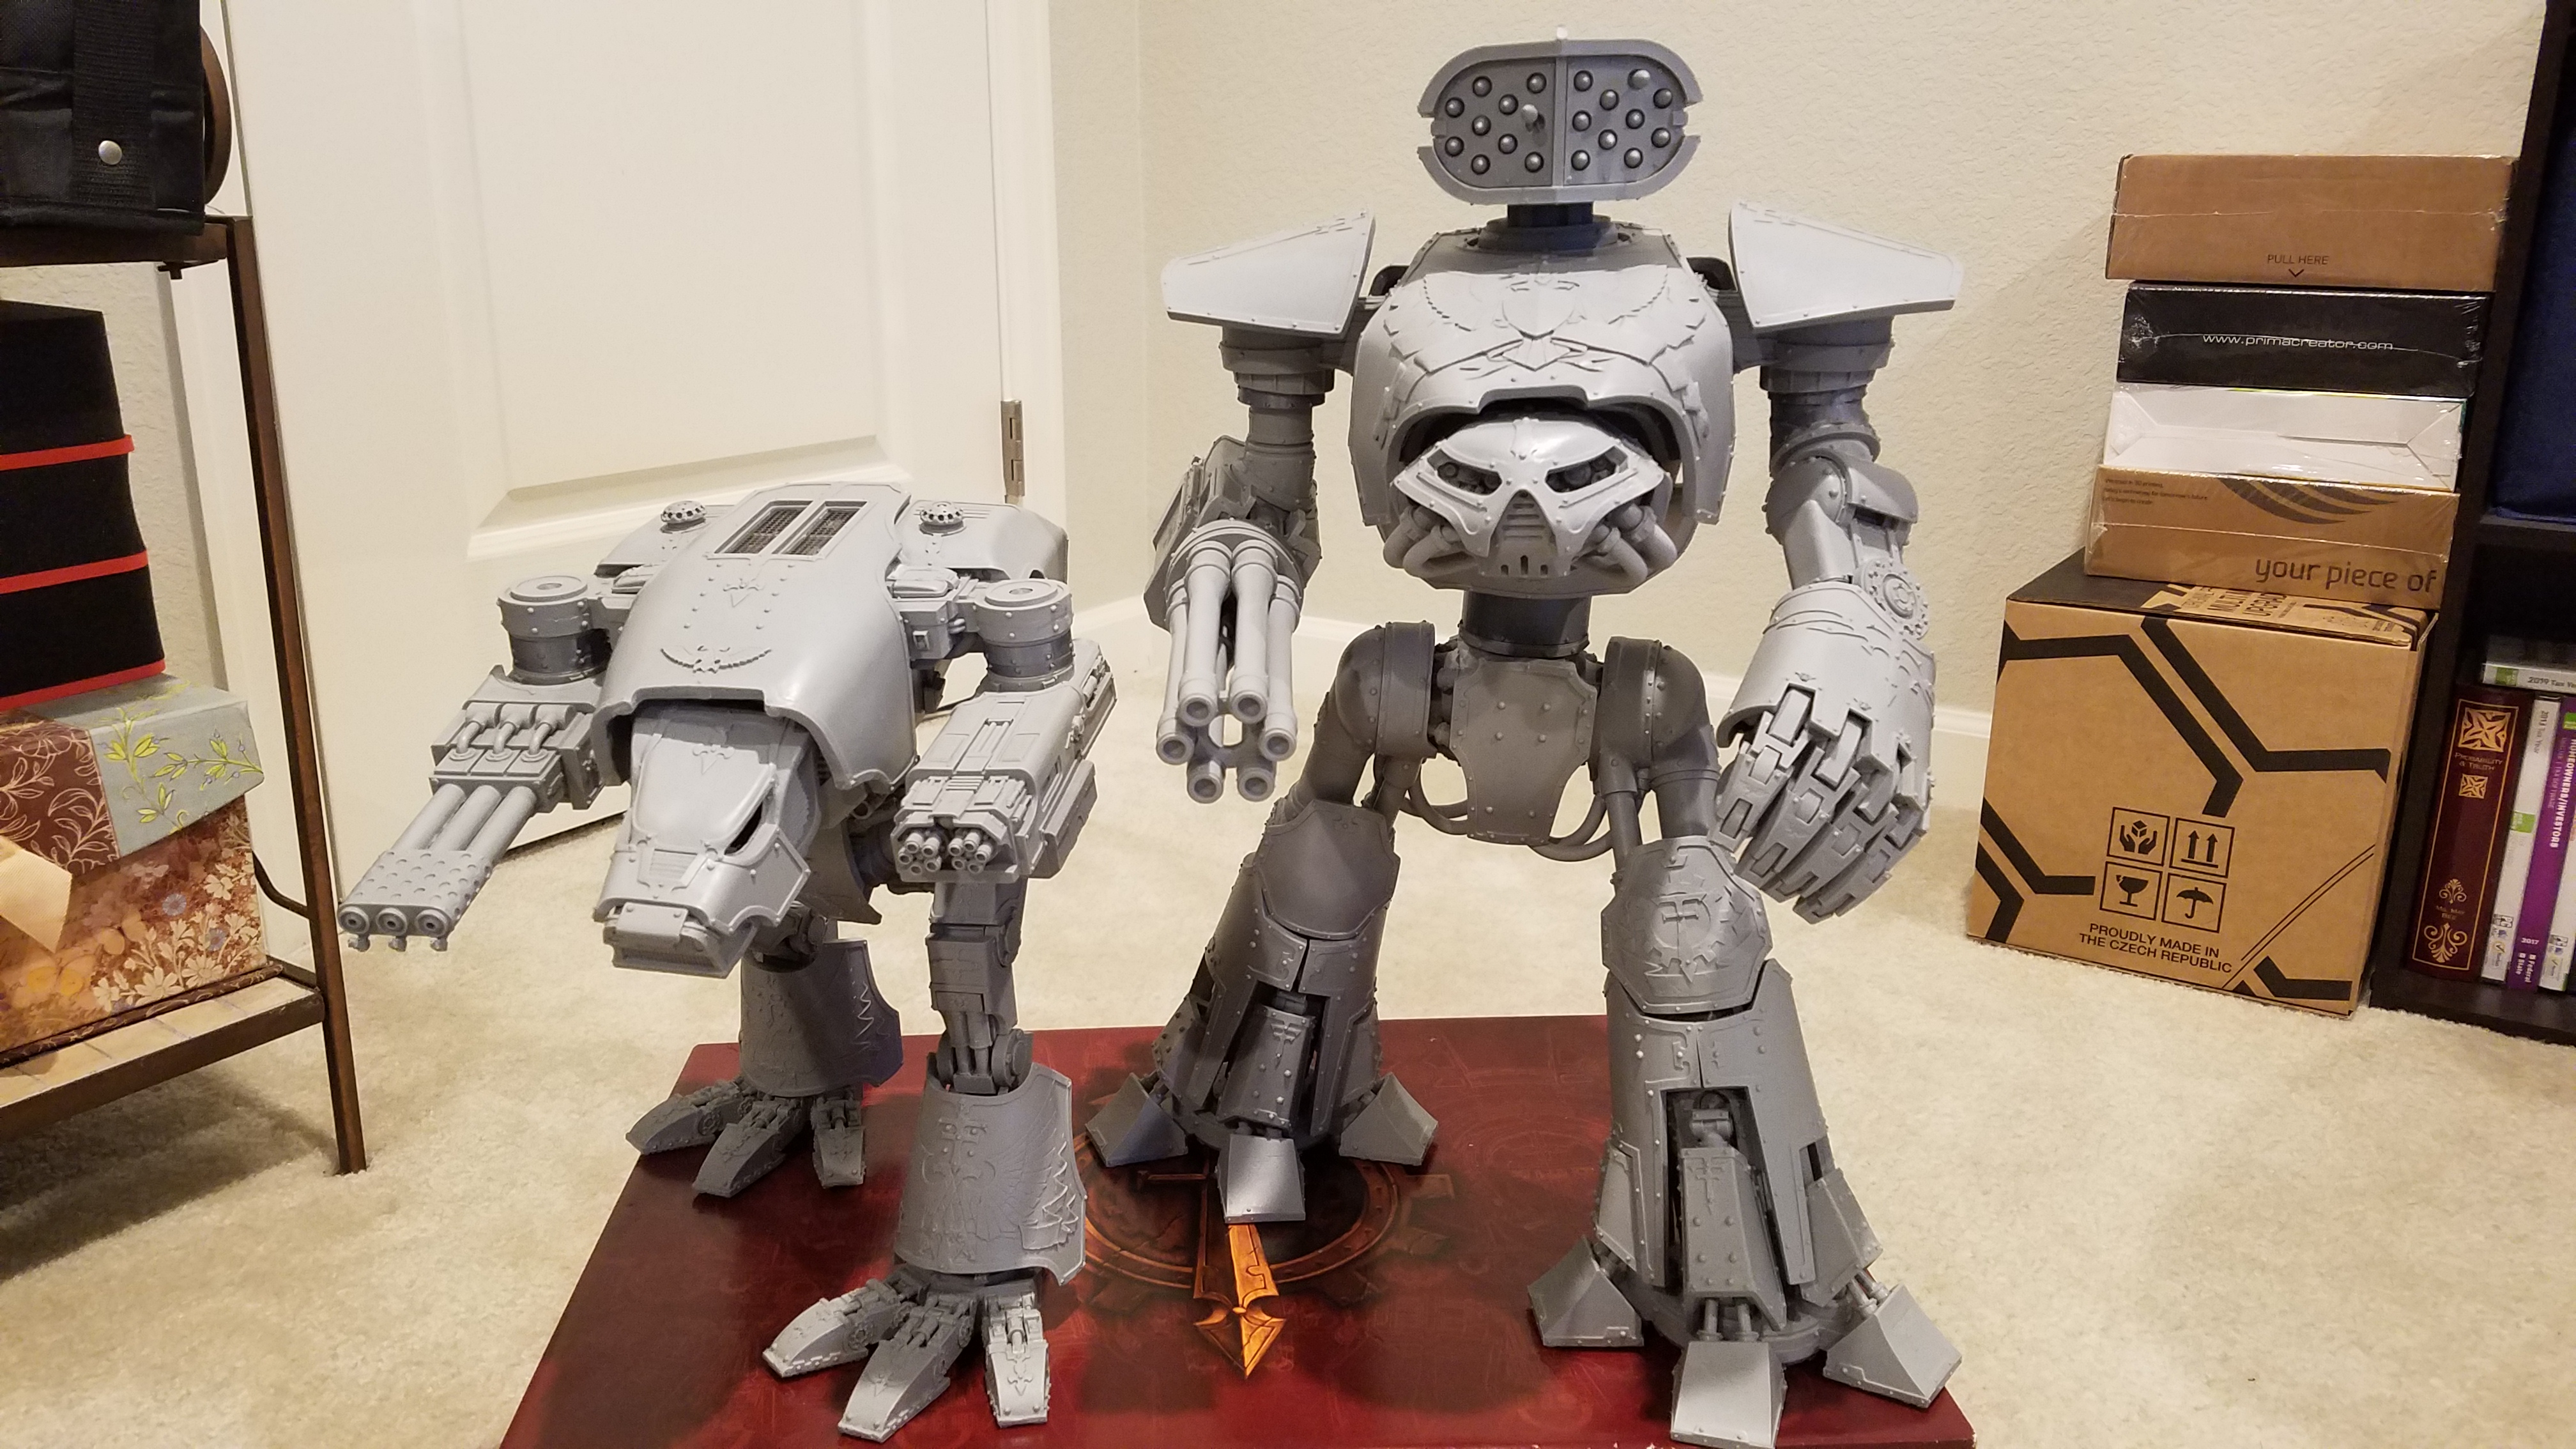

I made the torso joint on the Reaver so that it would stabilize it a bit on the table (the top half is the heavy part, and the center of gravity isn’t quite straight down). As a result, my Reaver is going to be about an inch taller than the standard Reaver, which is something I’ll know every time I think about it. Still, it’s working so well, I think I’m going to build another one for my Warhound titan because it suffers the same problem.
Overall, I’m really happy with how all the parts turned out; they look nice and fit exceptionally well. Fit is one of those things that I didn’t expect to get right, but really came together well in the end.