
A while back, I decided I was going to get a new 3D printer. My old printer was becoming a bit long of the tooth, and there have been a lot of advancements in 3D printing technology in the last few (seven) years. A good friend of mine was working at Aleph Objects / Lulzbot, and that gave me a lot of visibility into what was going on in the industry, and that convinced me it was again time to take the dive. While I was initially investigating and looking into a Lulzbot Workhorse, I eventually decided on getting a Prusa i3 MK3S, the wrinkle was, I decided to get a Prusa kit, which meant I’d be building this one myself.
When I was initially looking at 3D printers (almost 7 years ago now!), kit builds were really limited to the hobbyist – as in, building 3D printers was your hobby. I’ve always been more on the side of doing stuff with my 3D printer, so this wasn’t for me at that point. This time though, I got some great advice from my student at work, who mentioned that the Prusa instructions were really good. Looking into it, and finding that there was no soldering and all the electronics just needed plugged in, encouraged me to go this route. My first step here really was reading the instructions thoroughly, and a bit more than a week ago, I decided to jump in and order it.
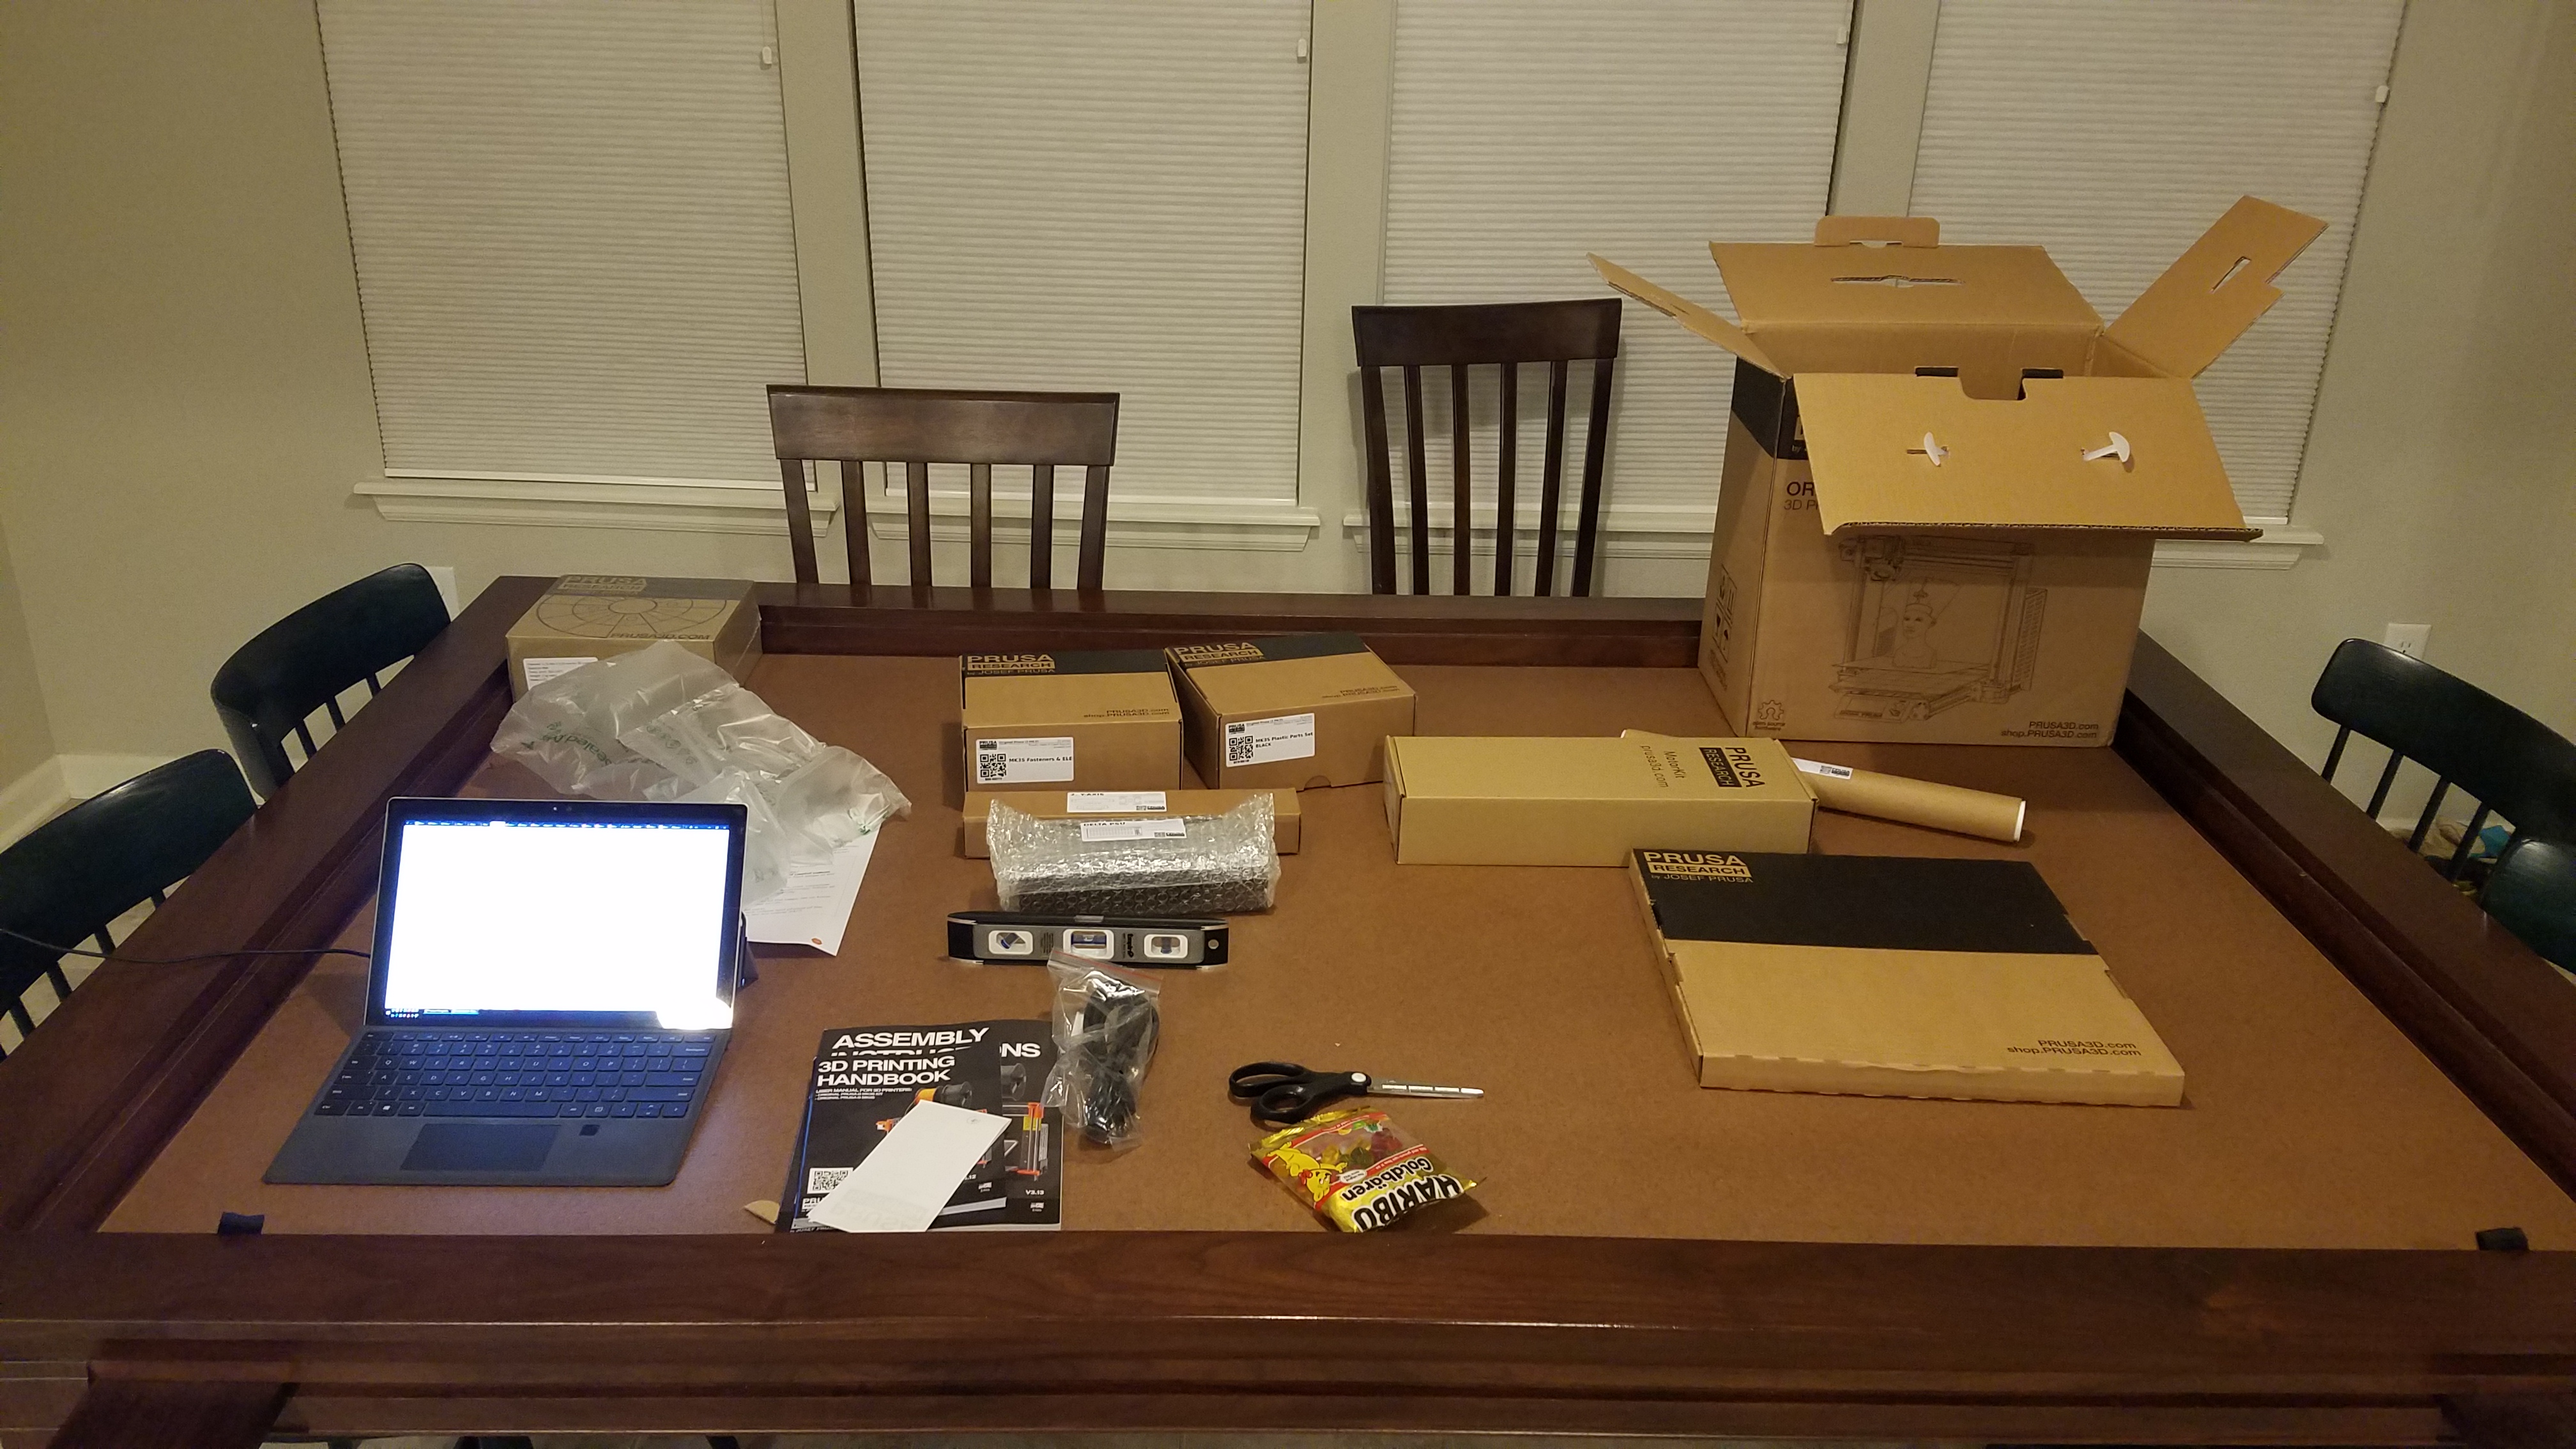
I ordered it on a Friday night, and I didn’t really expect to see it until the following weekend, but it arrived in a nice box on Wednesday day while I was at work:

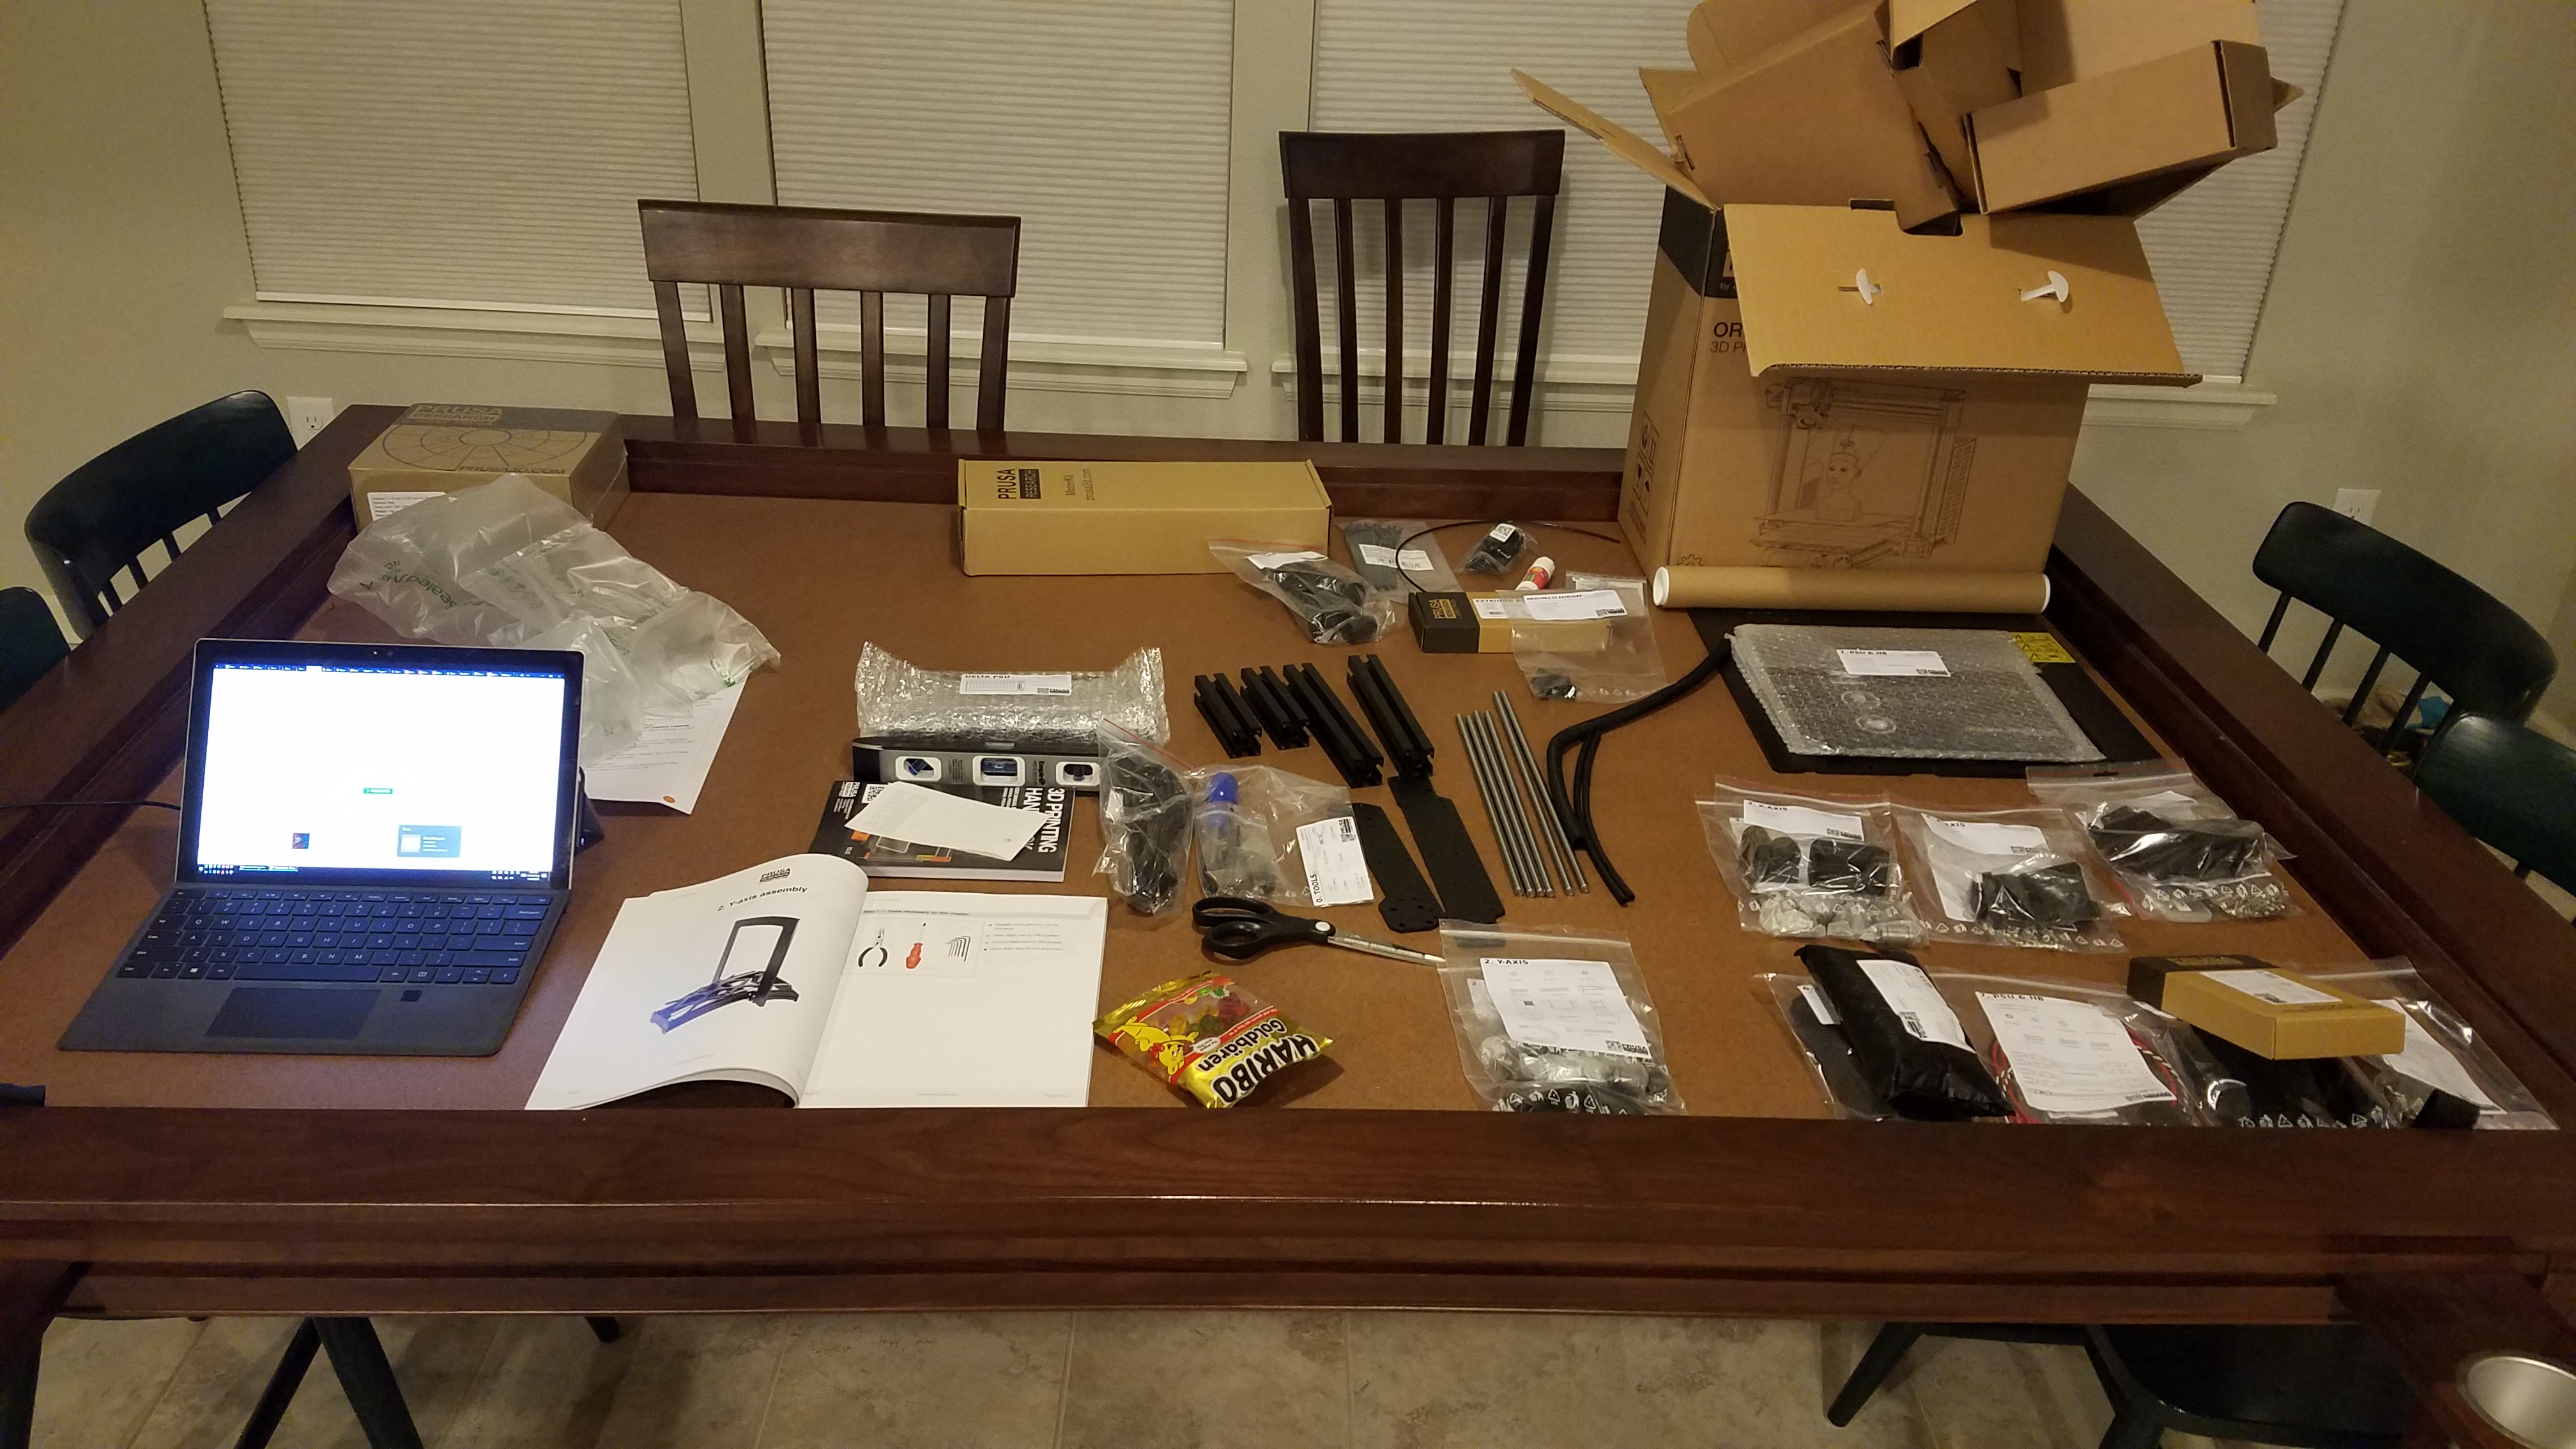
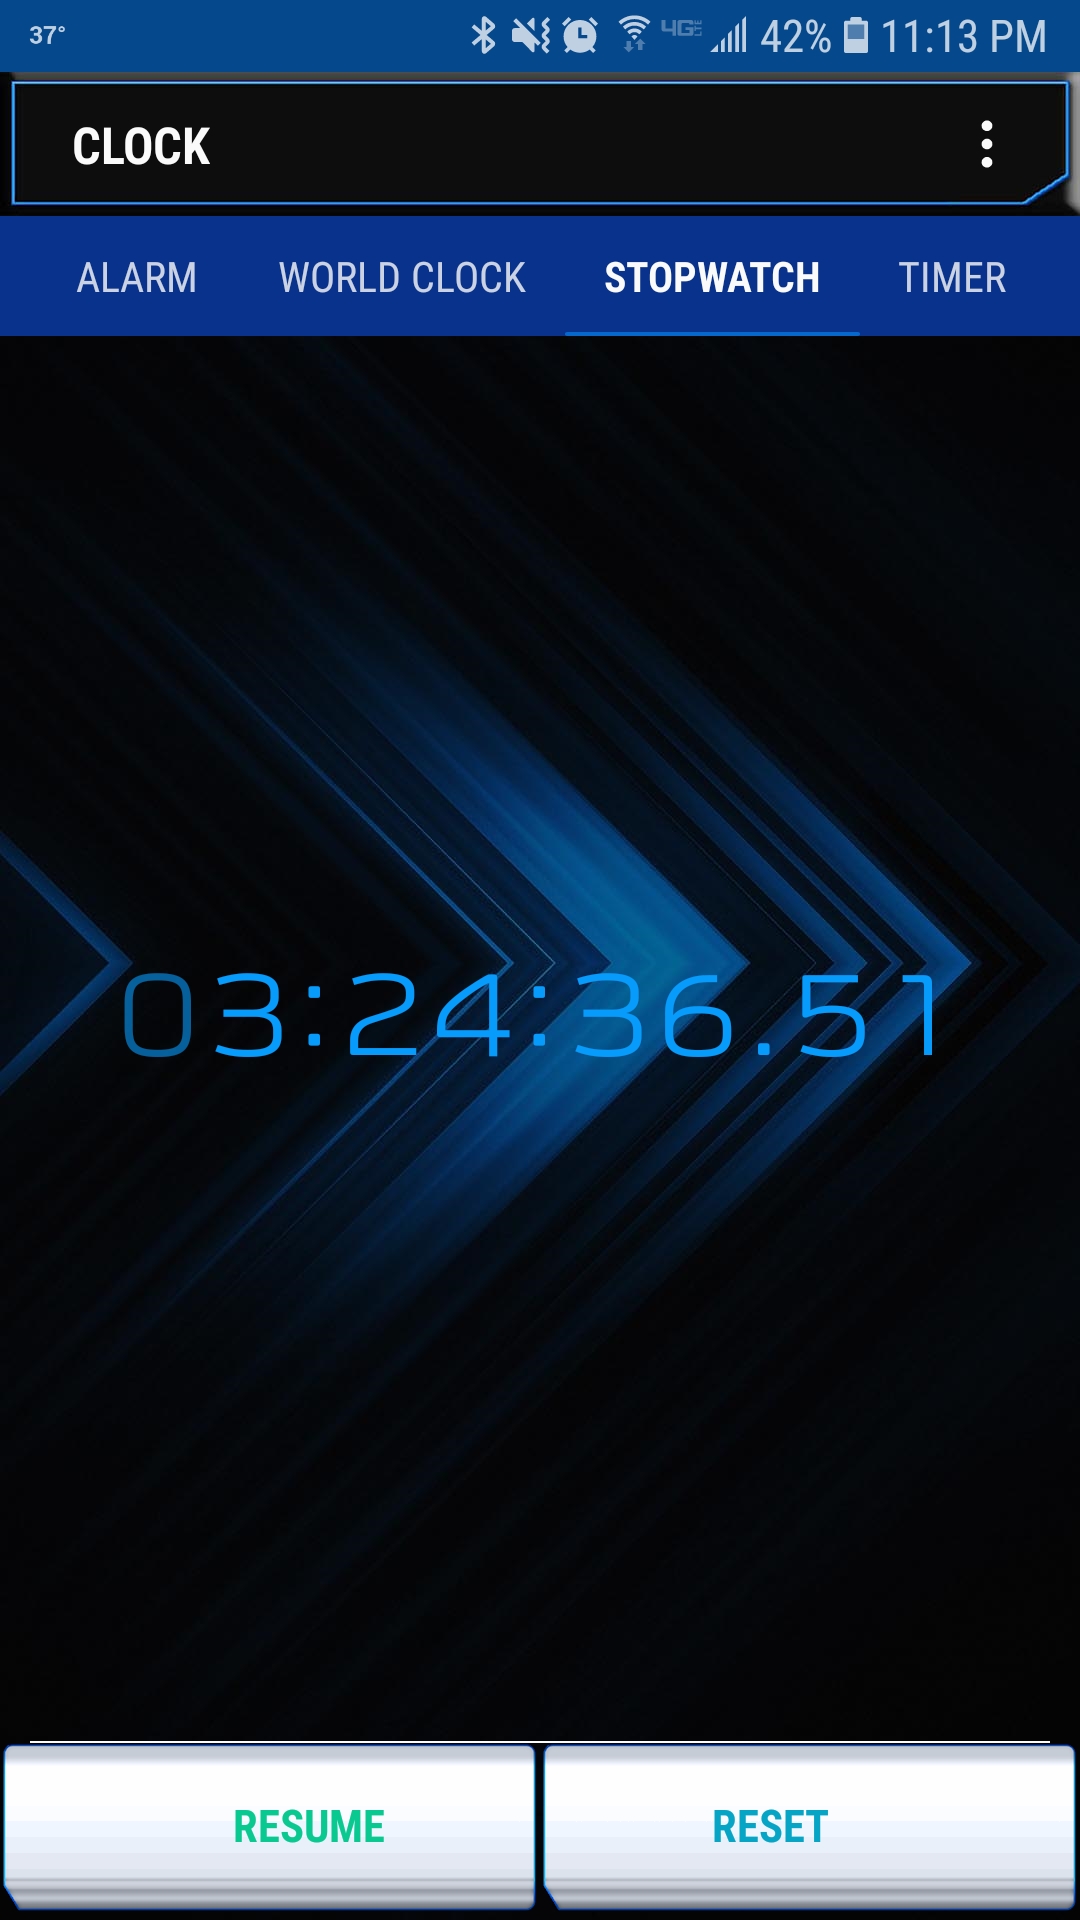
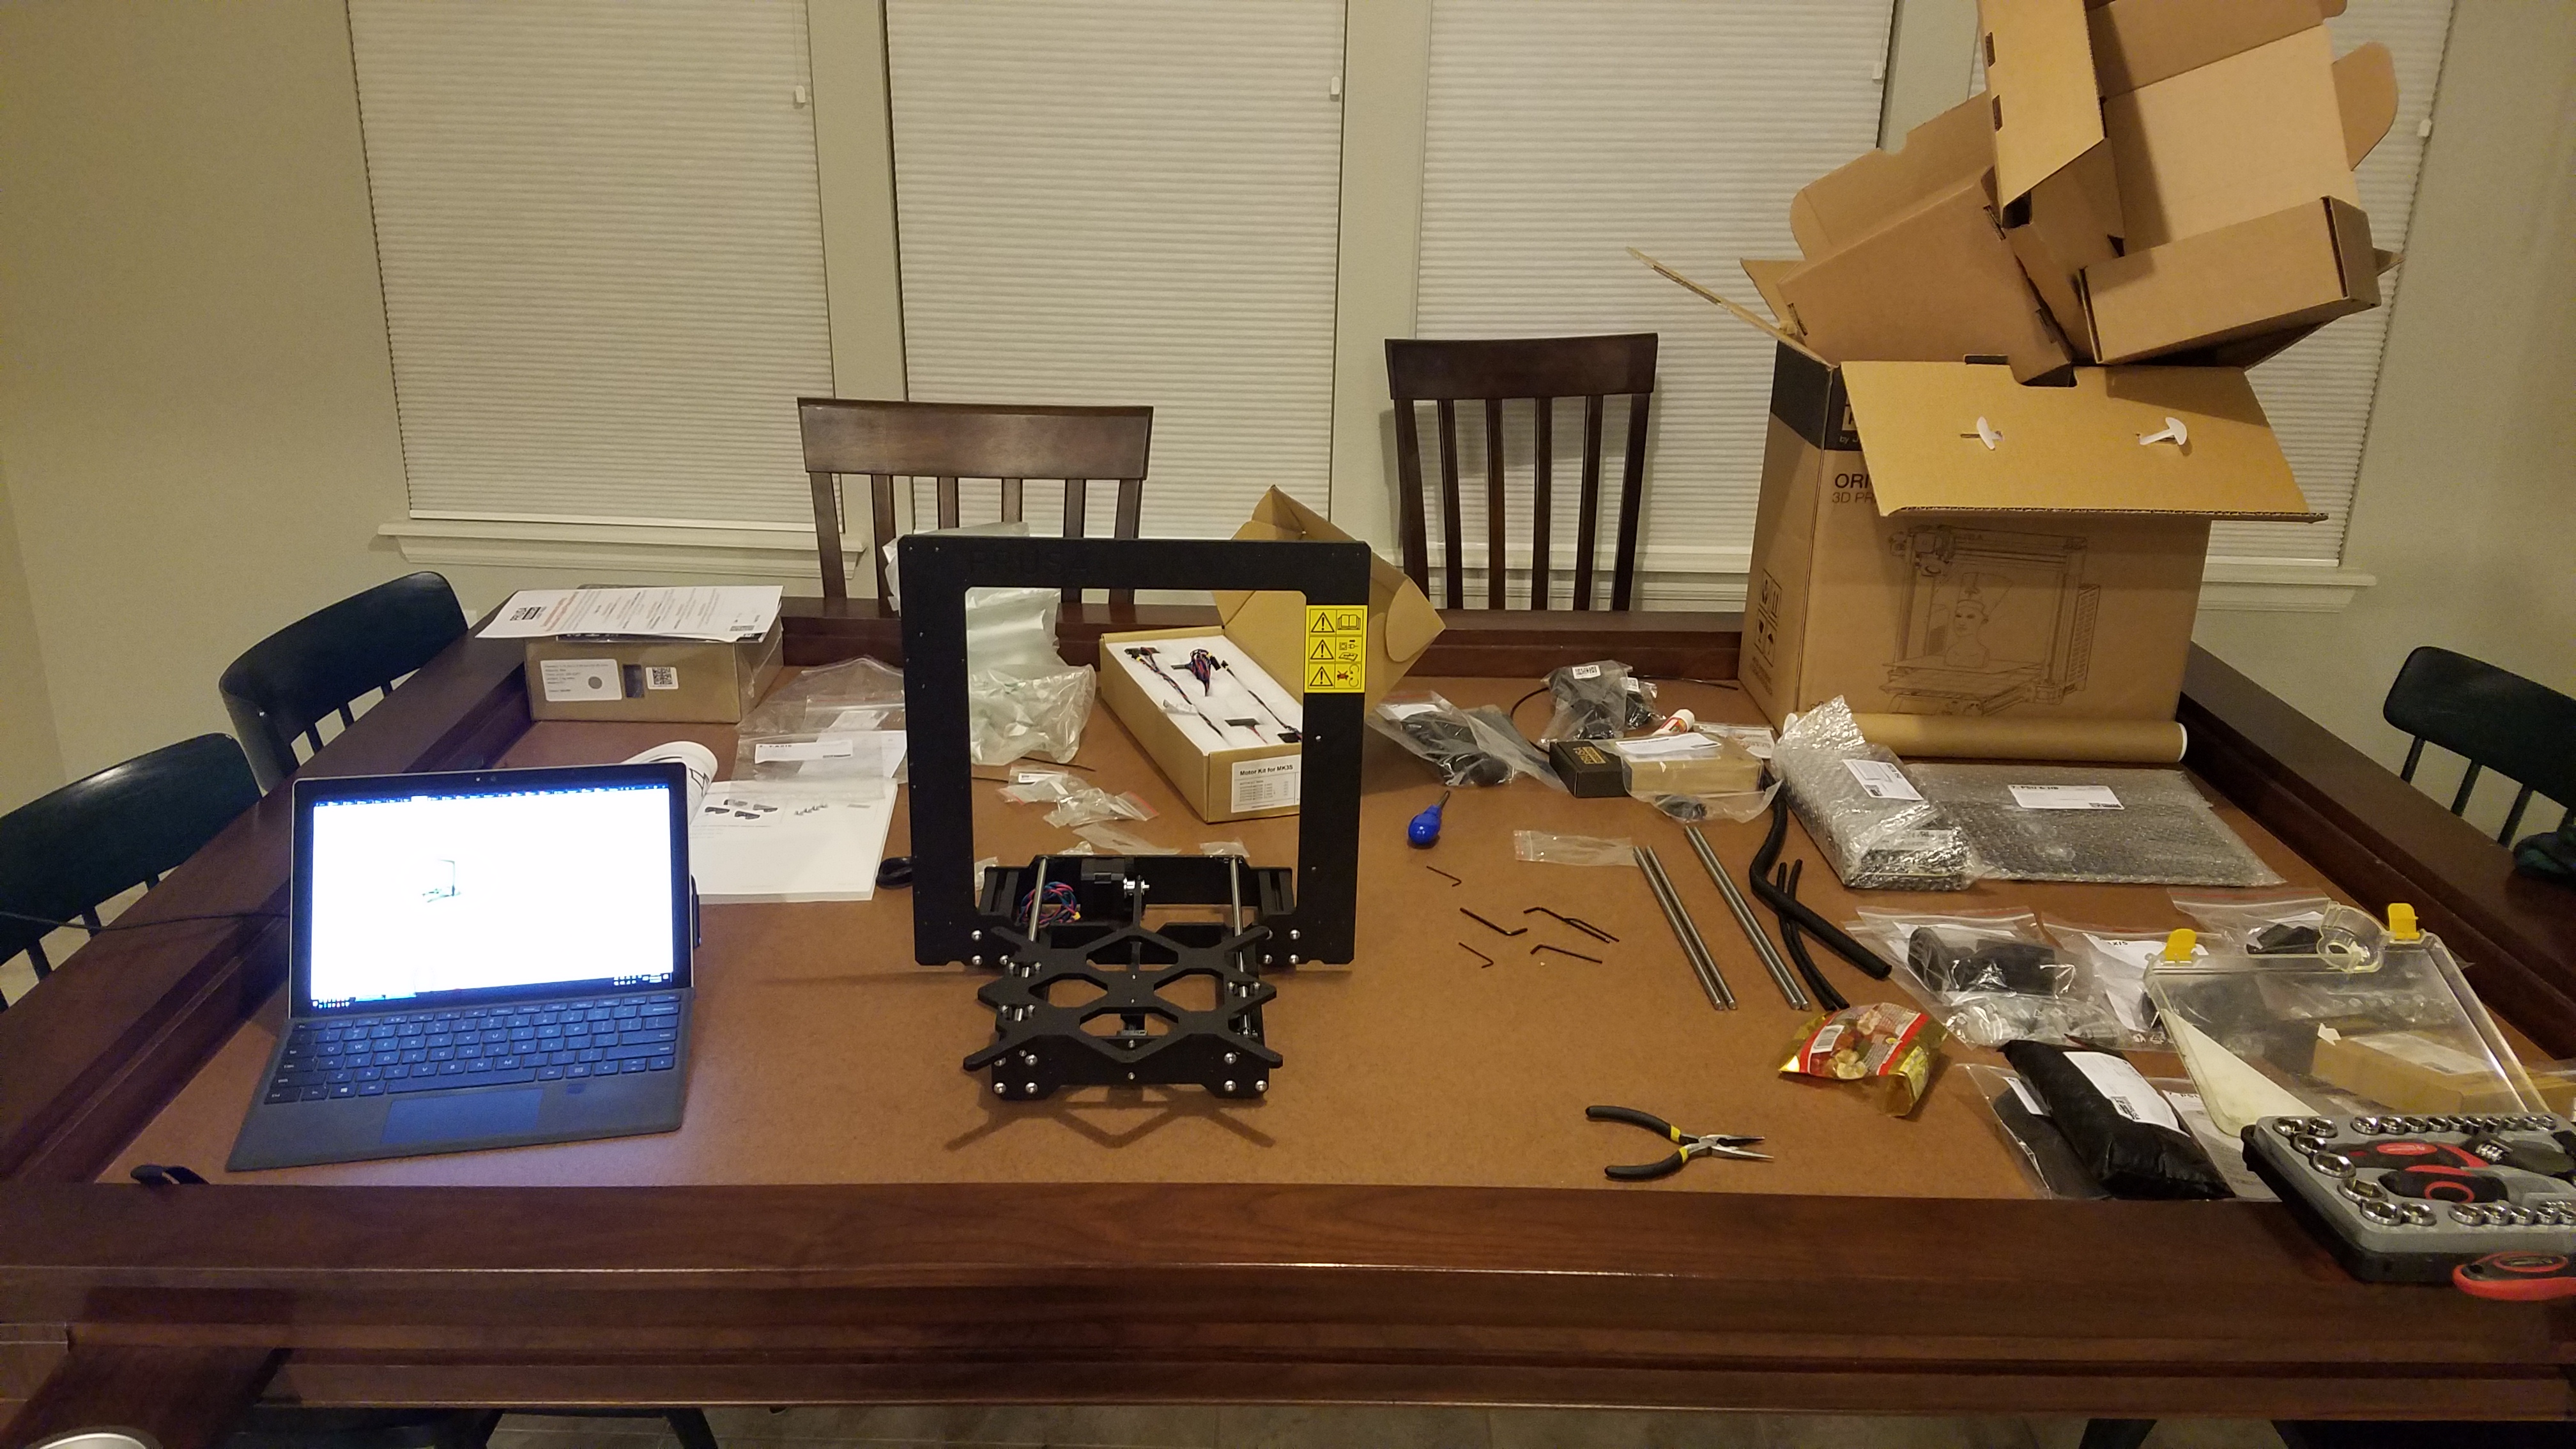
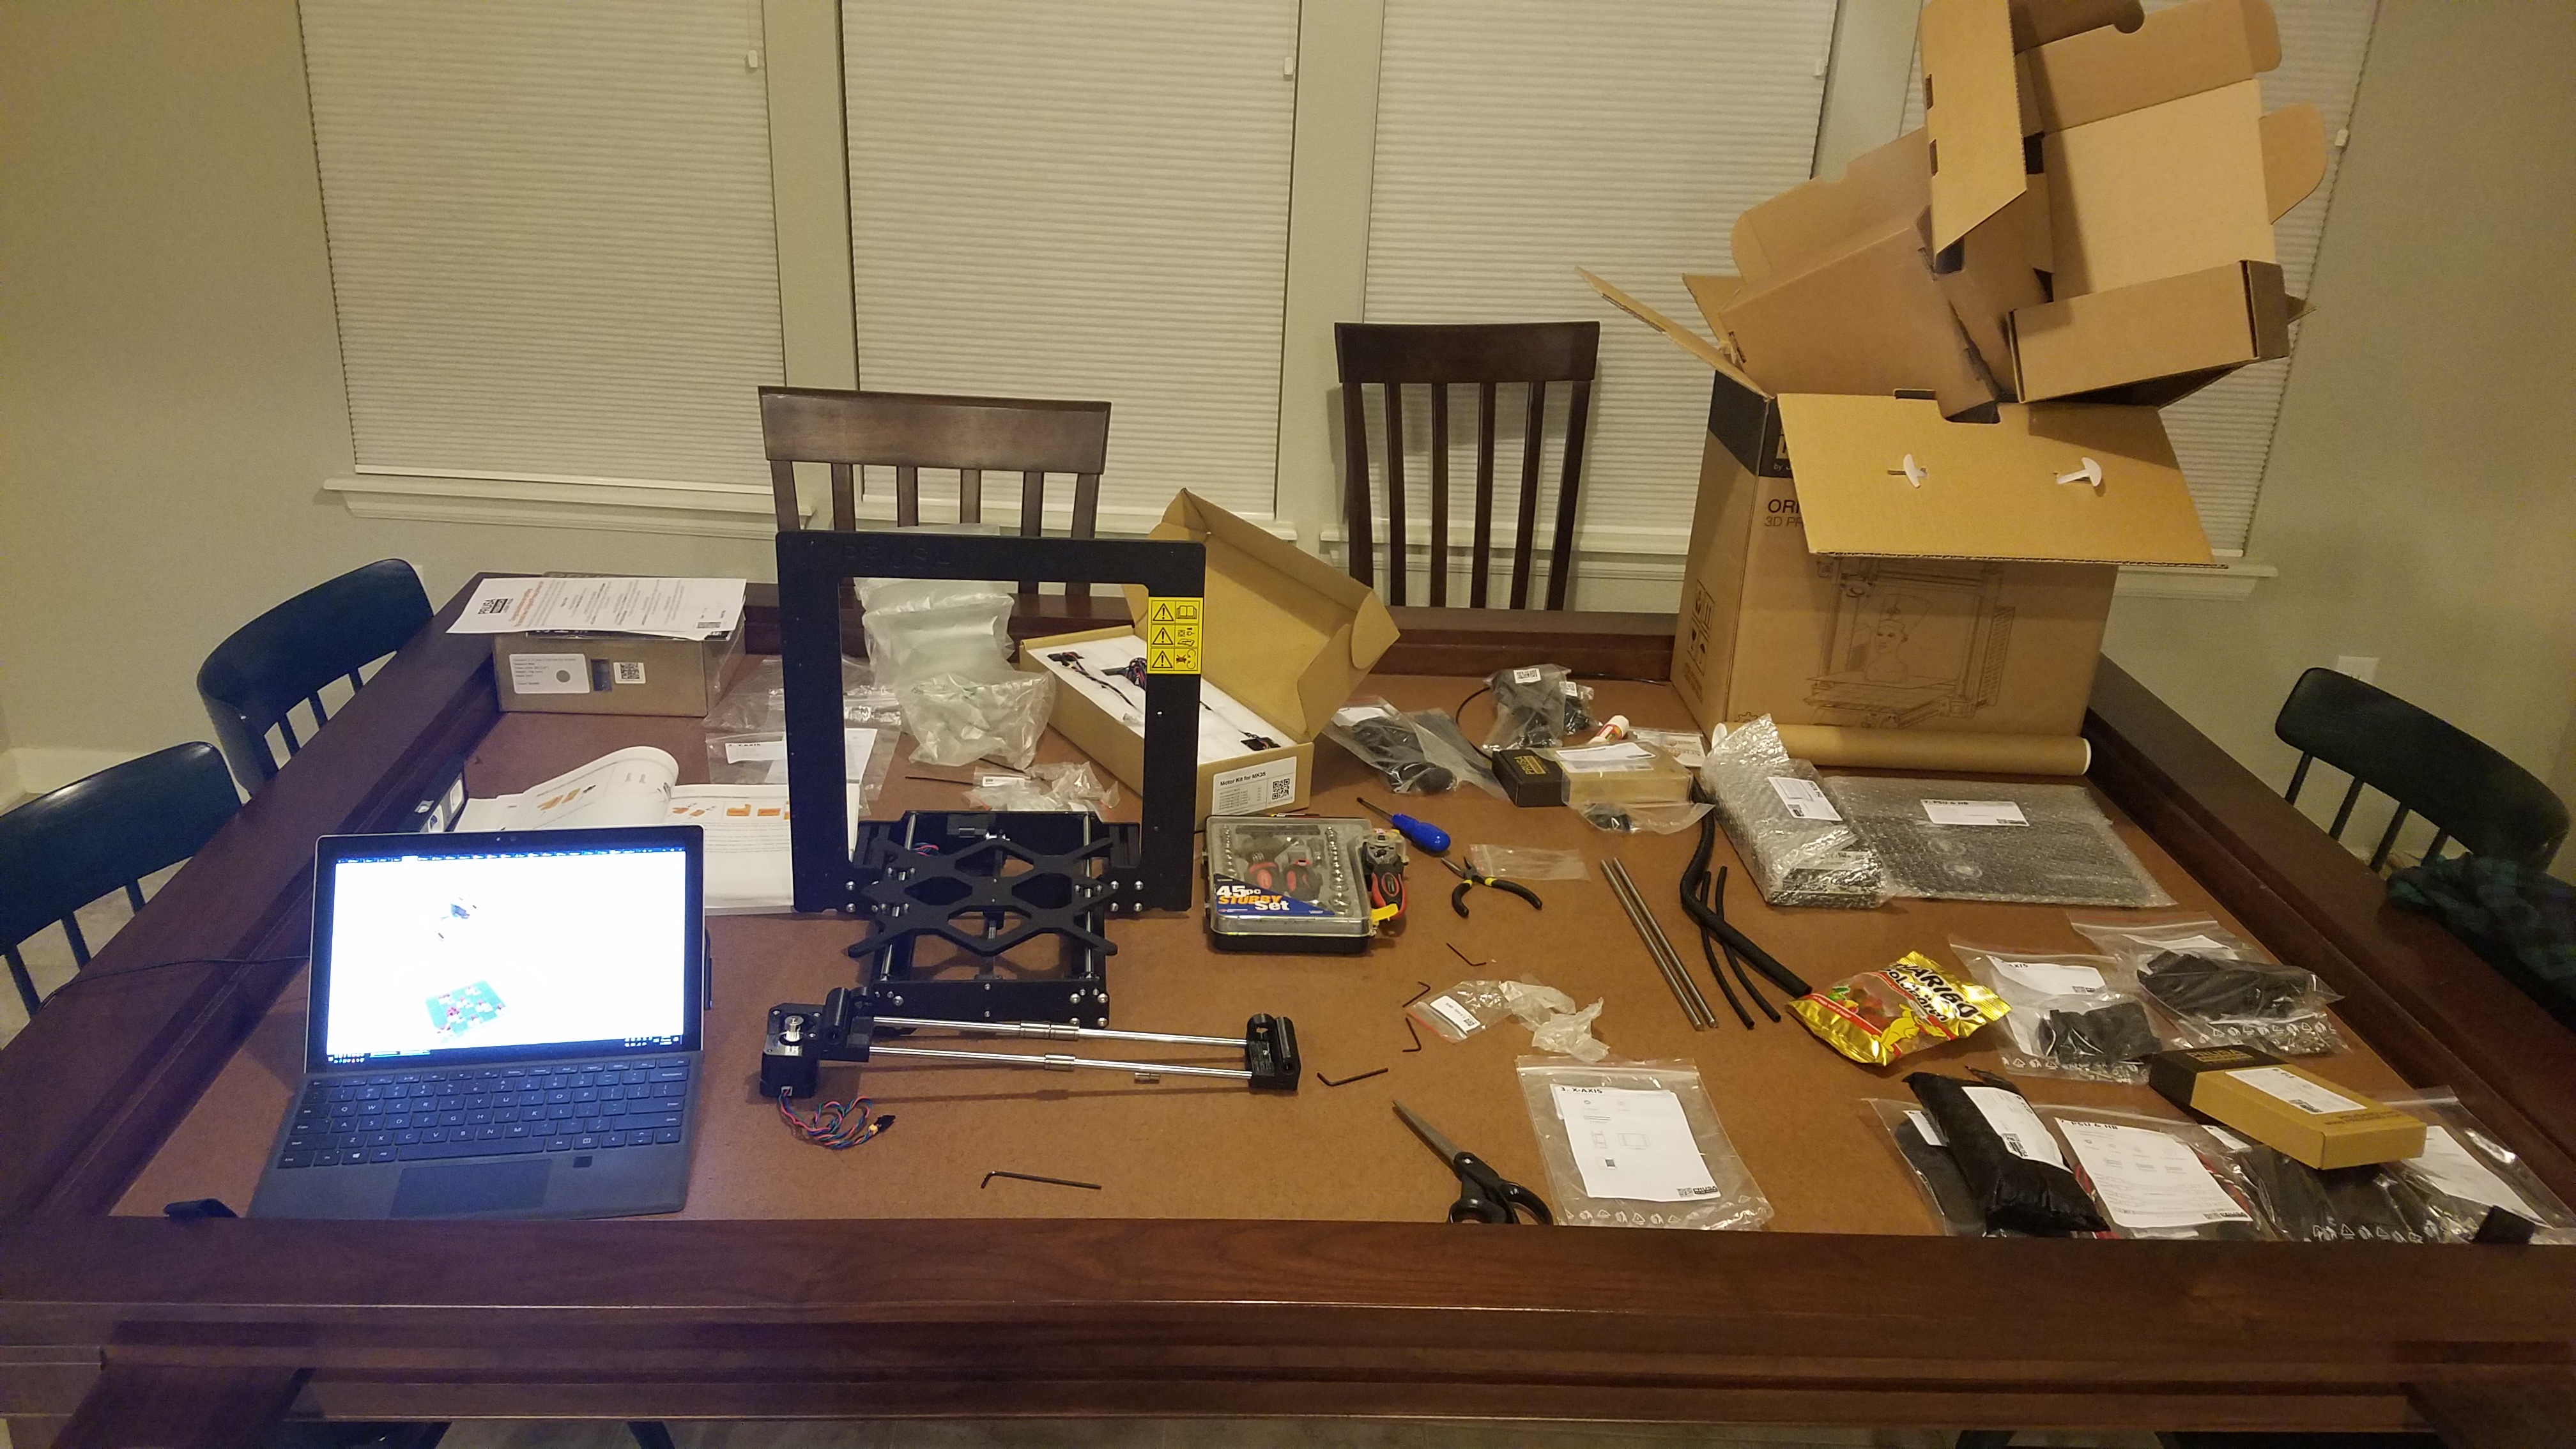
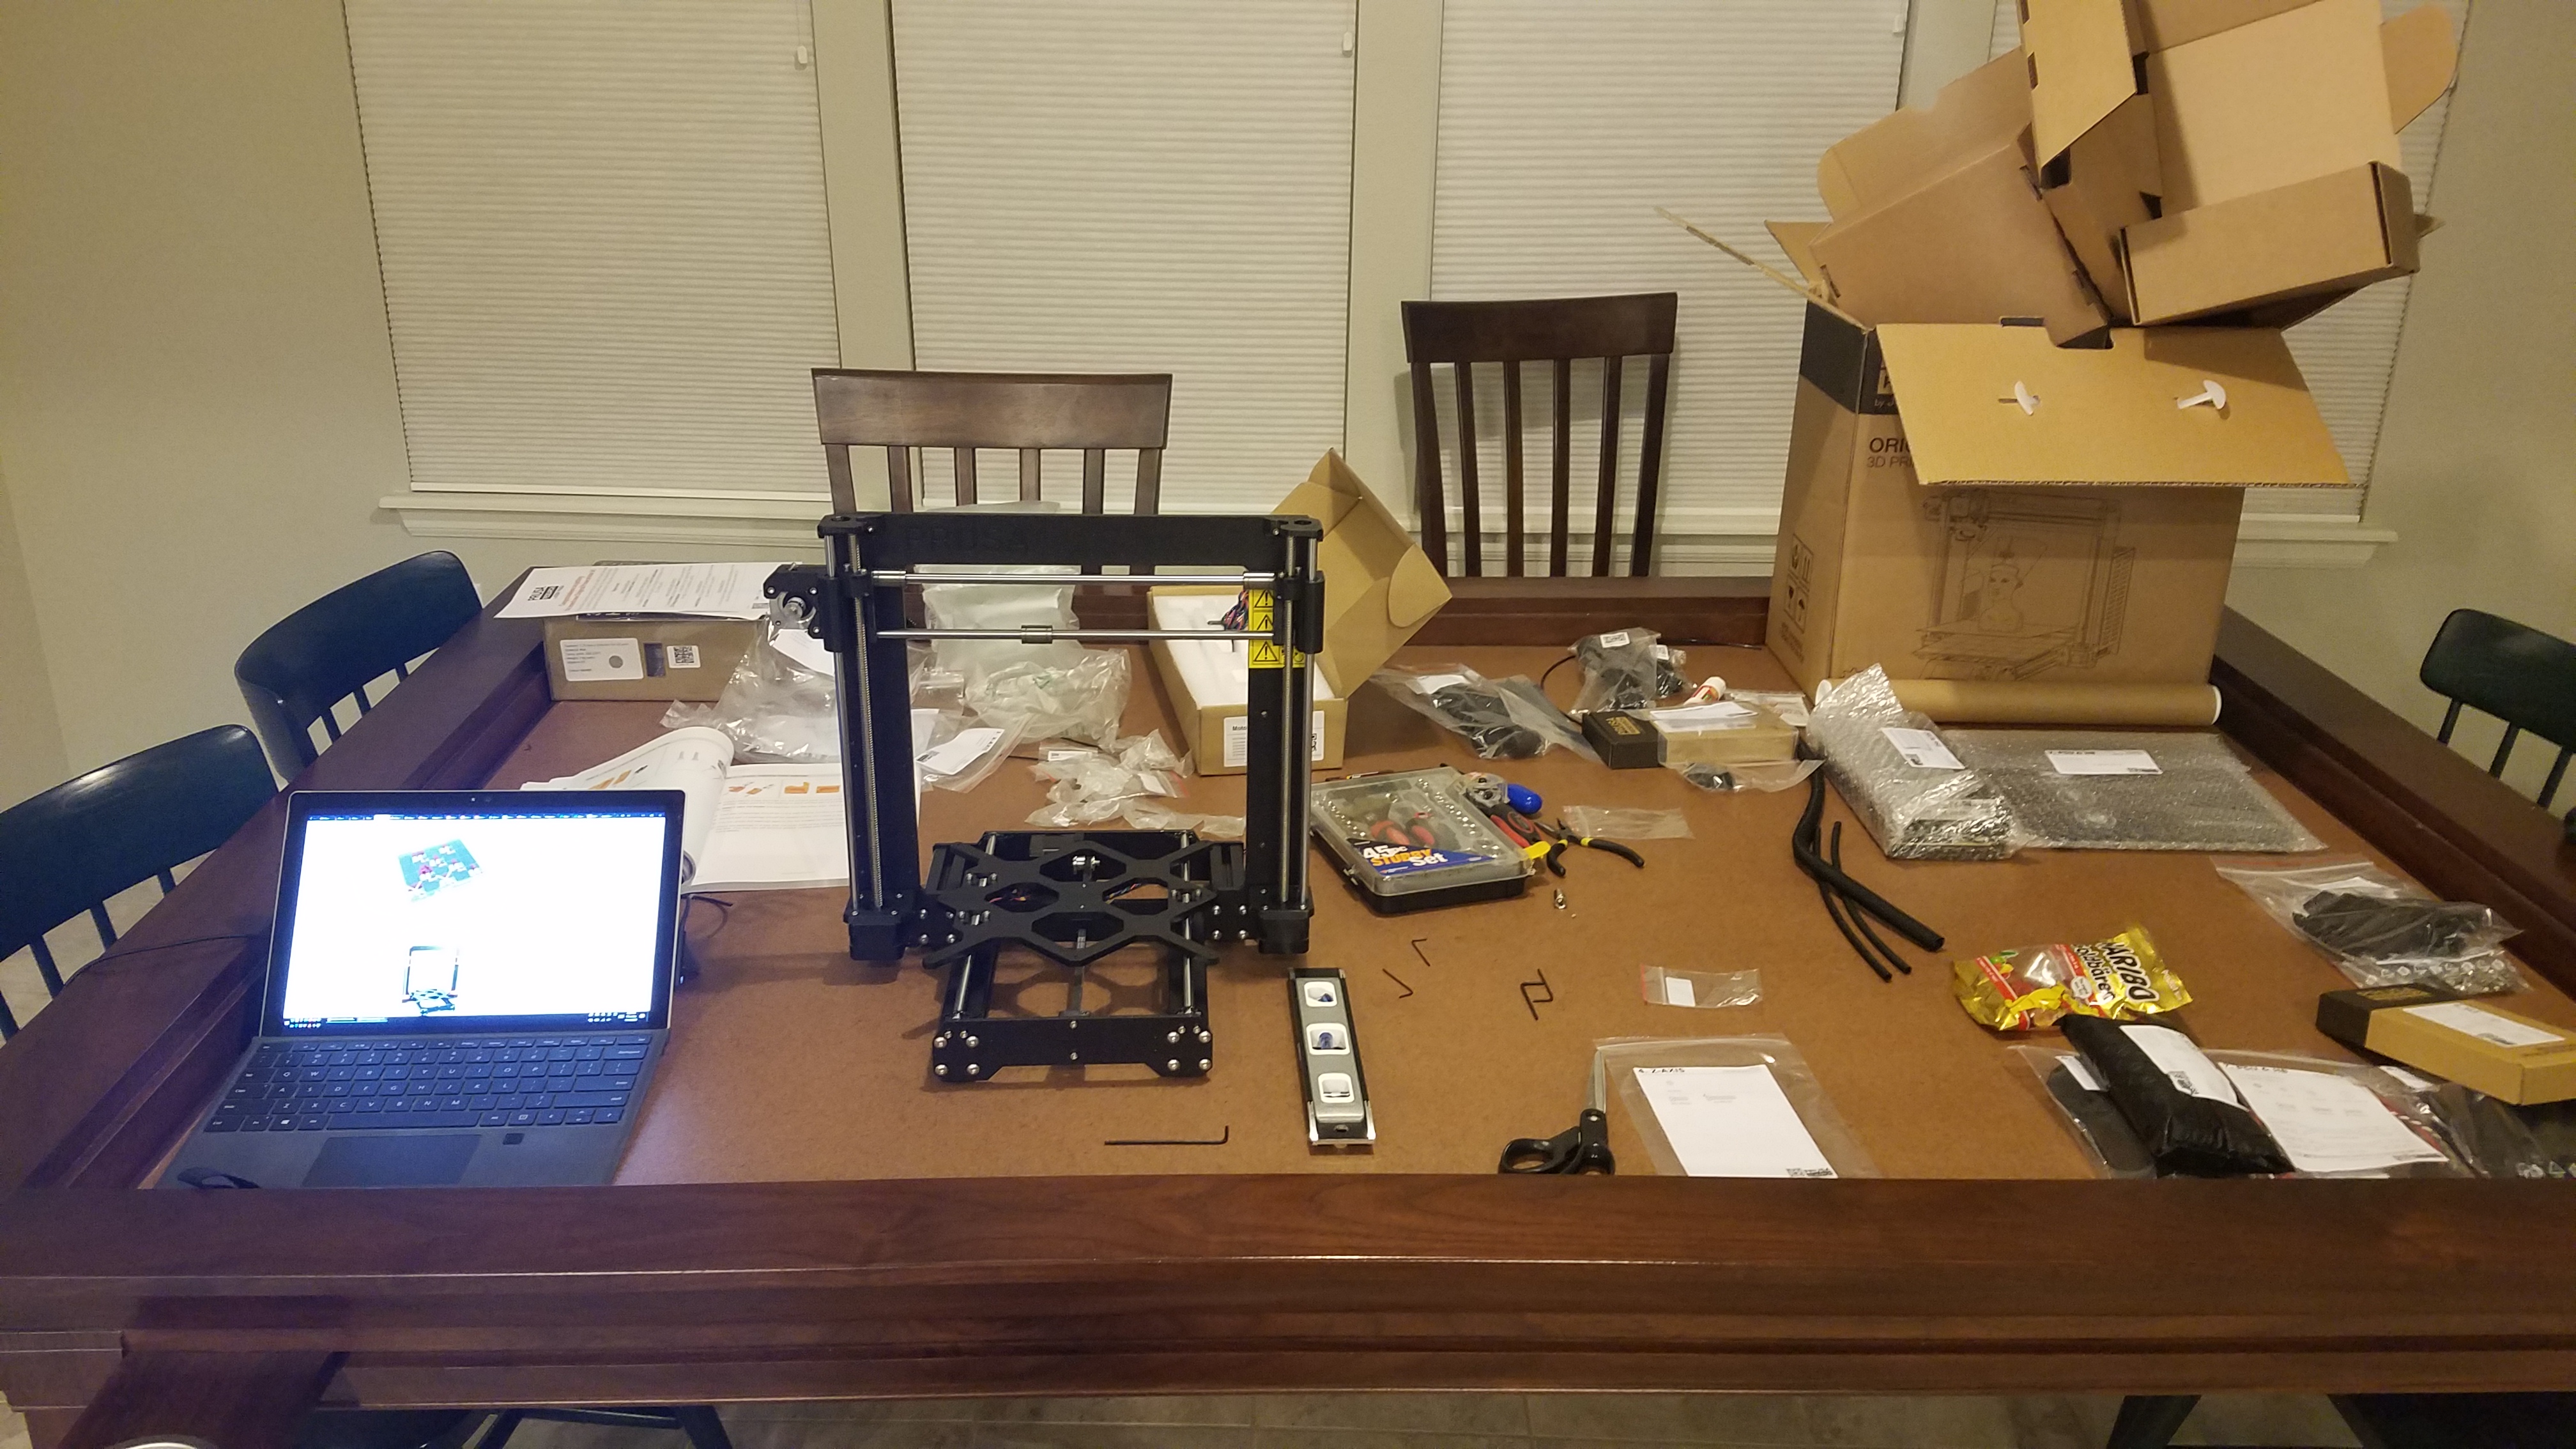
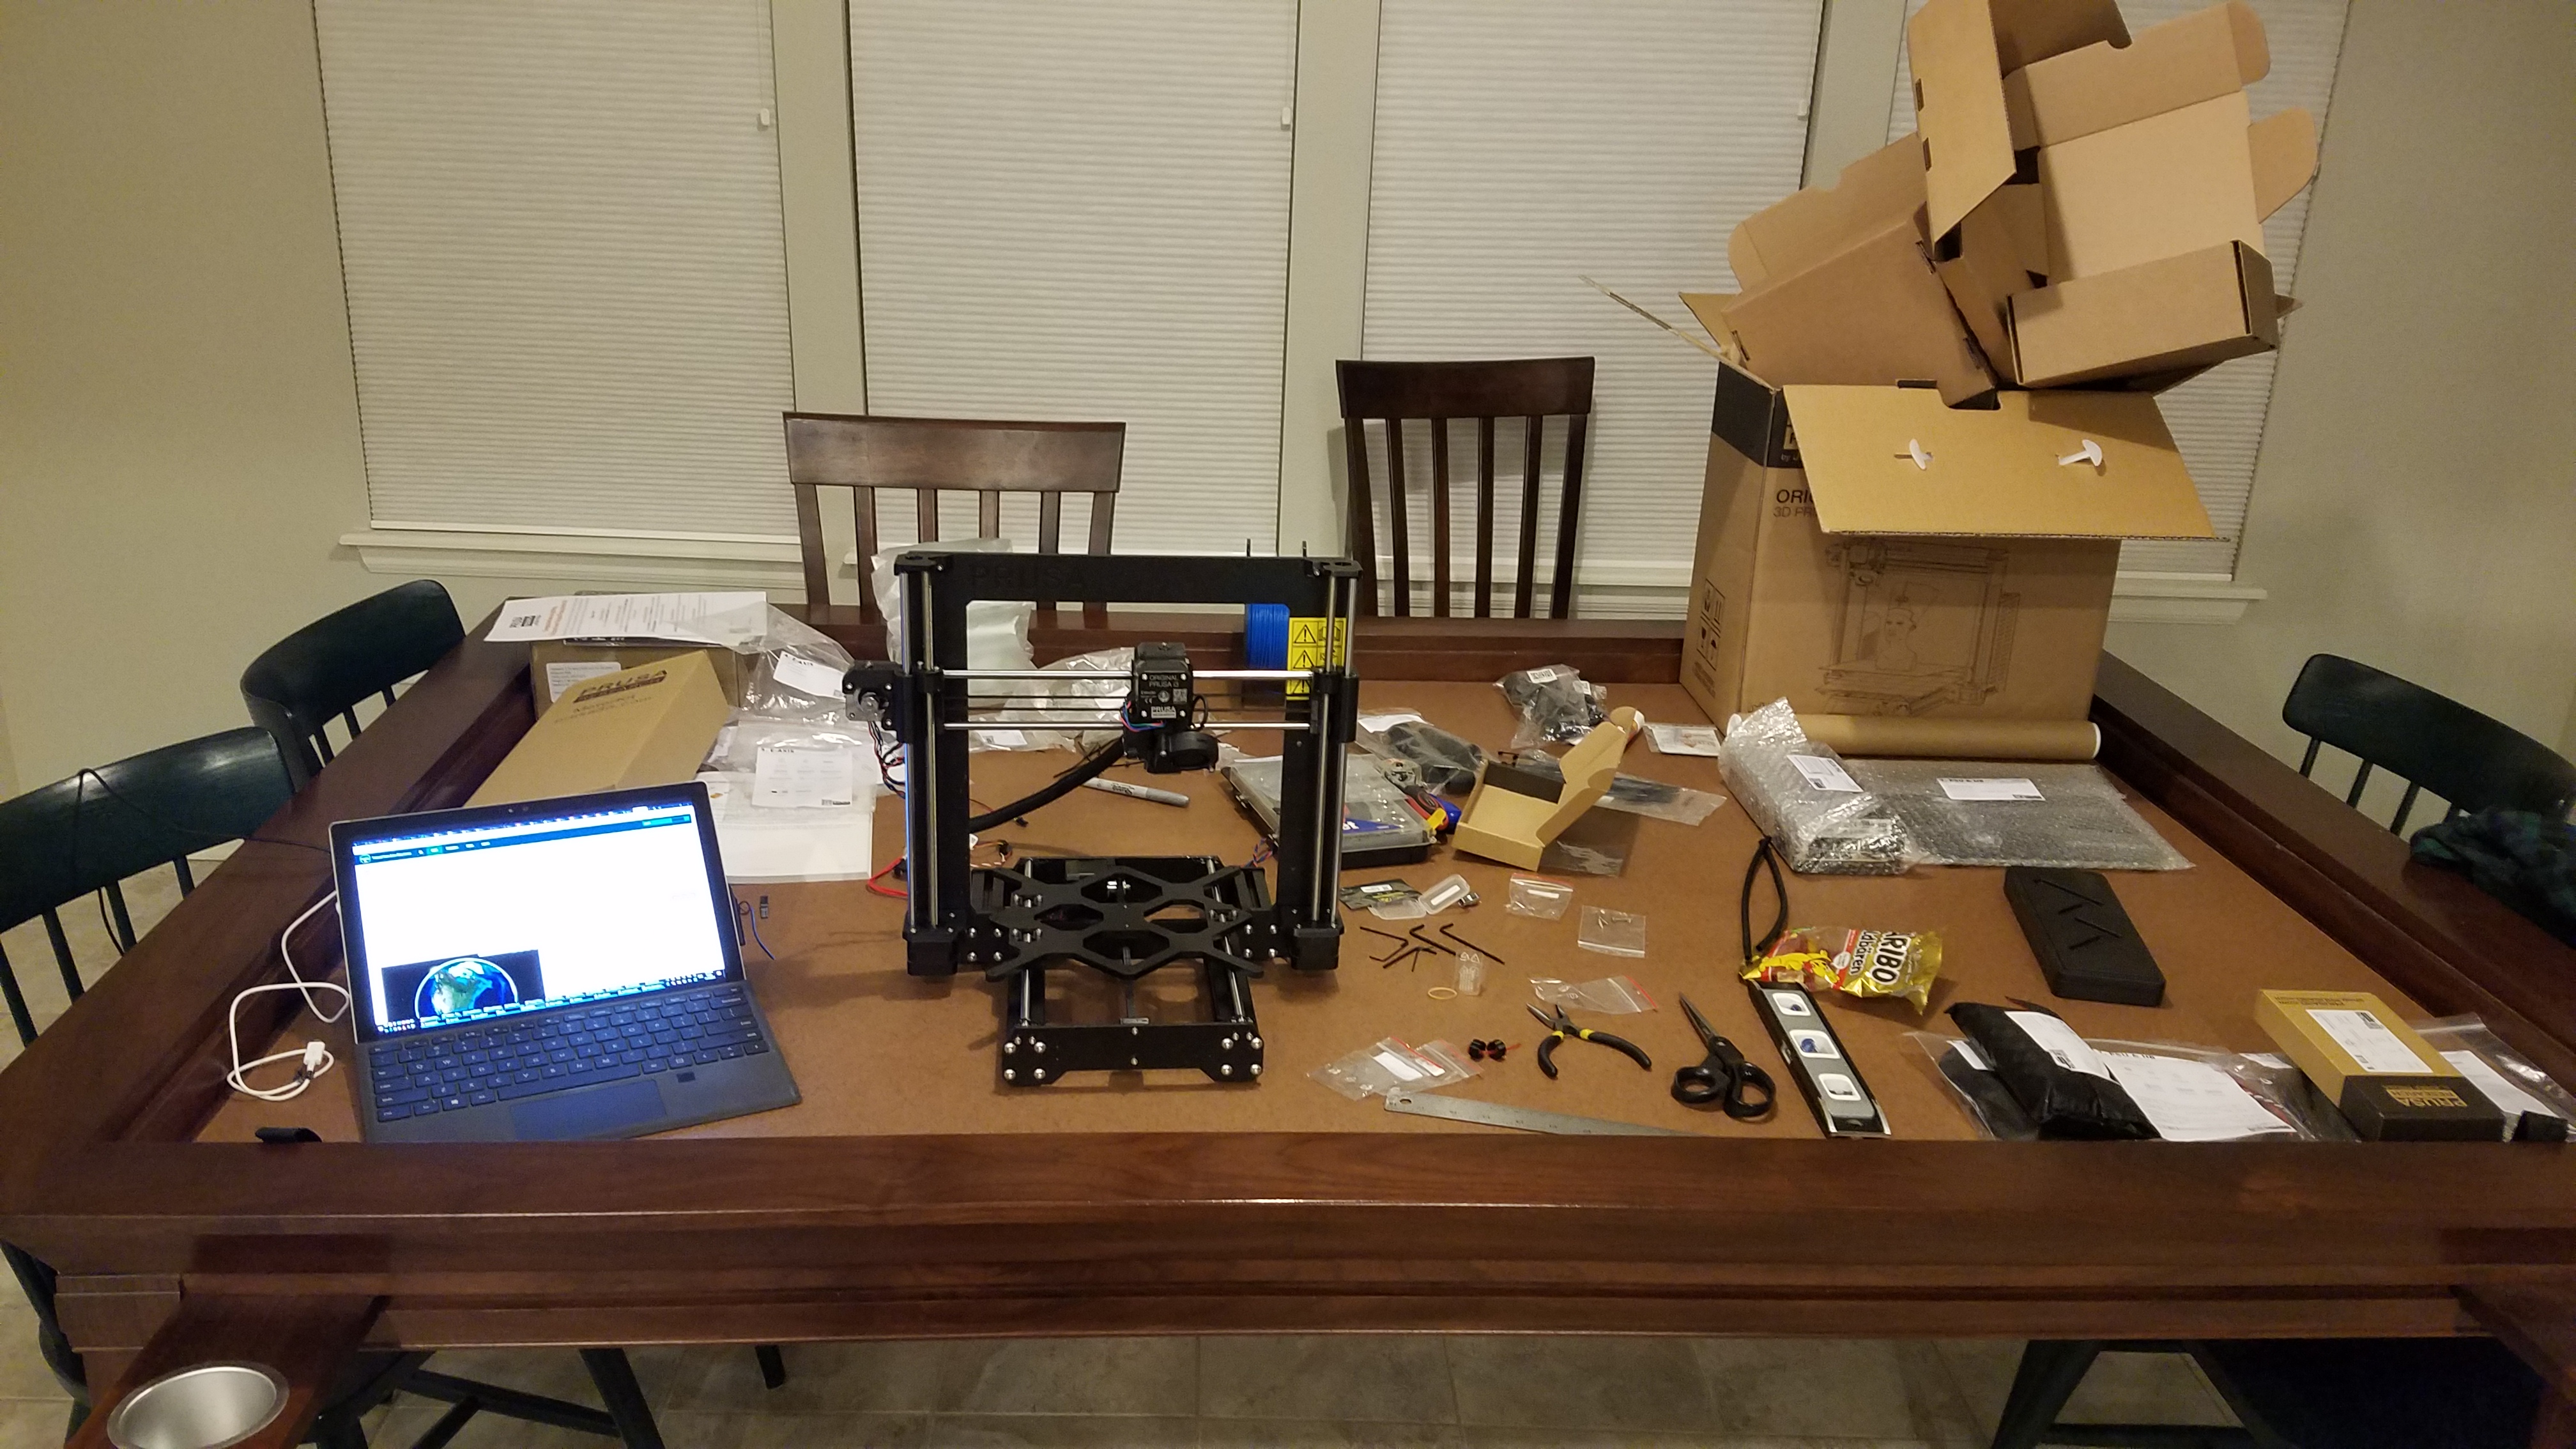
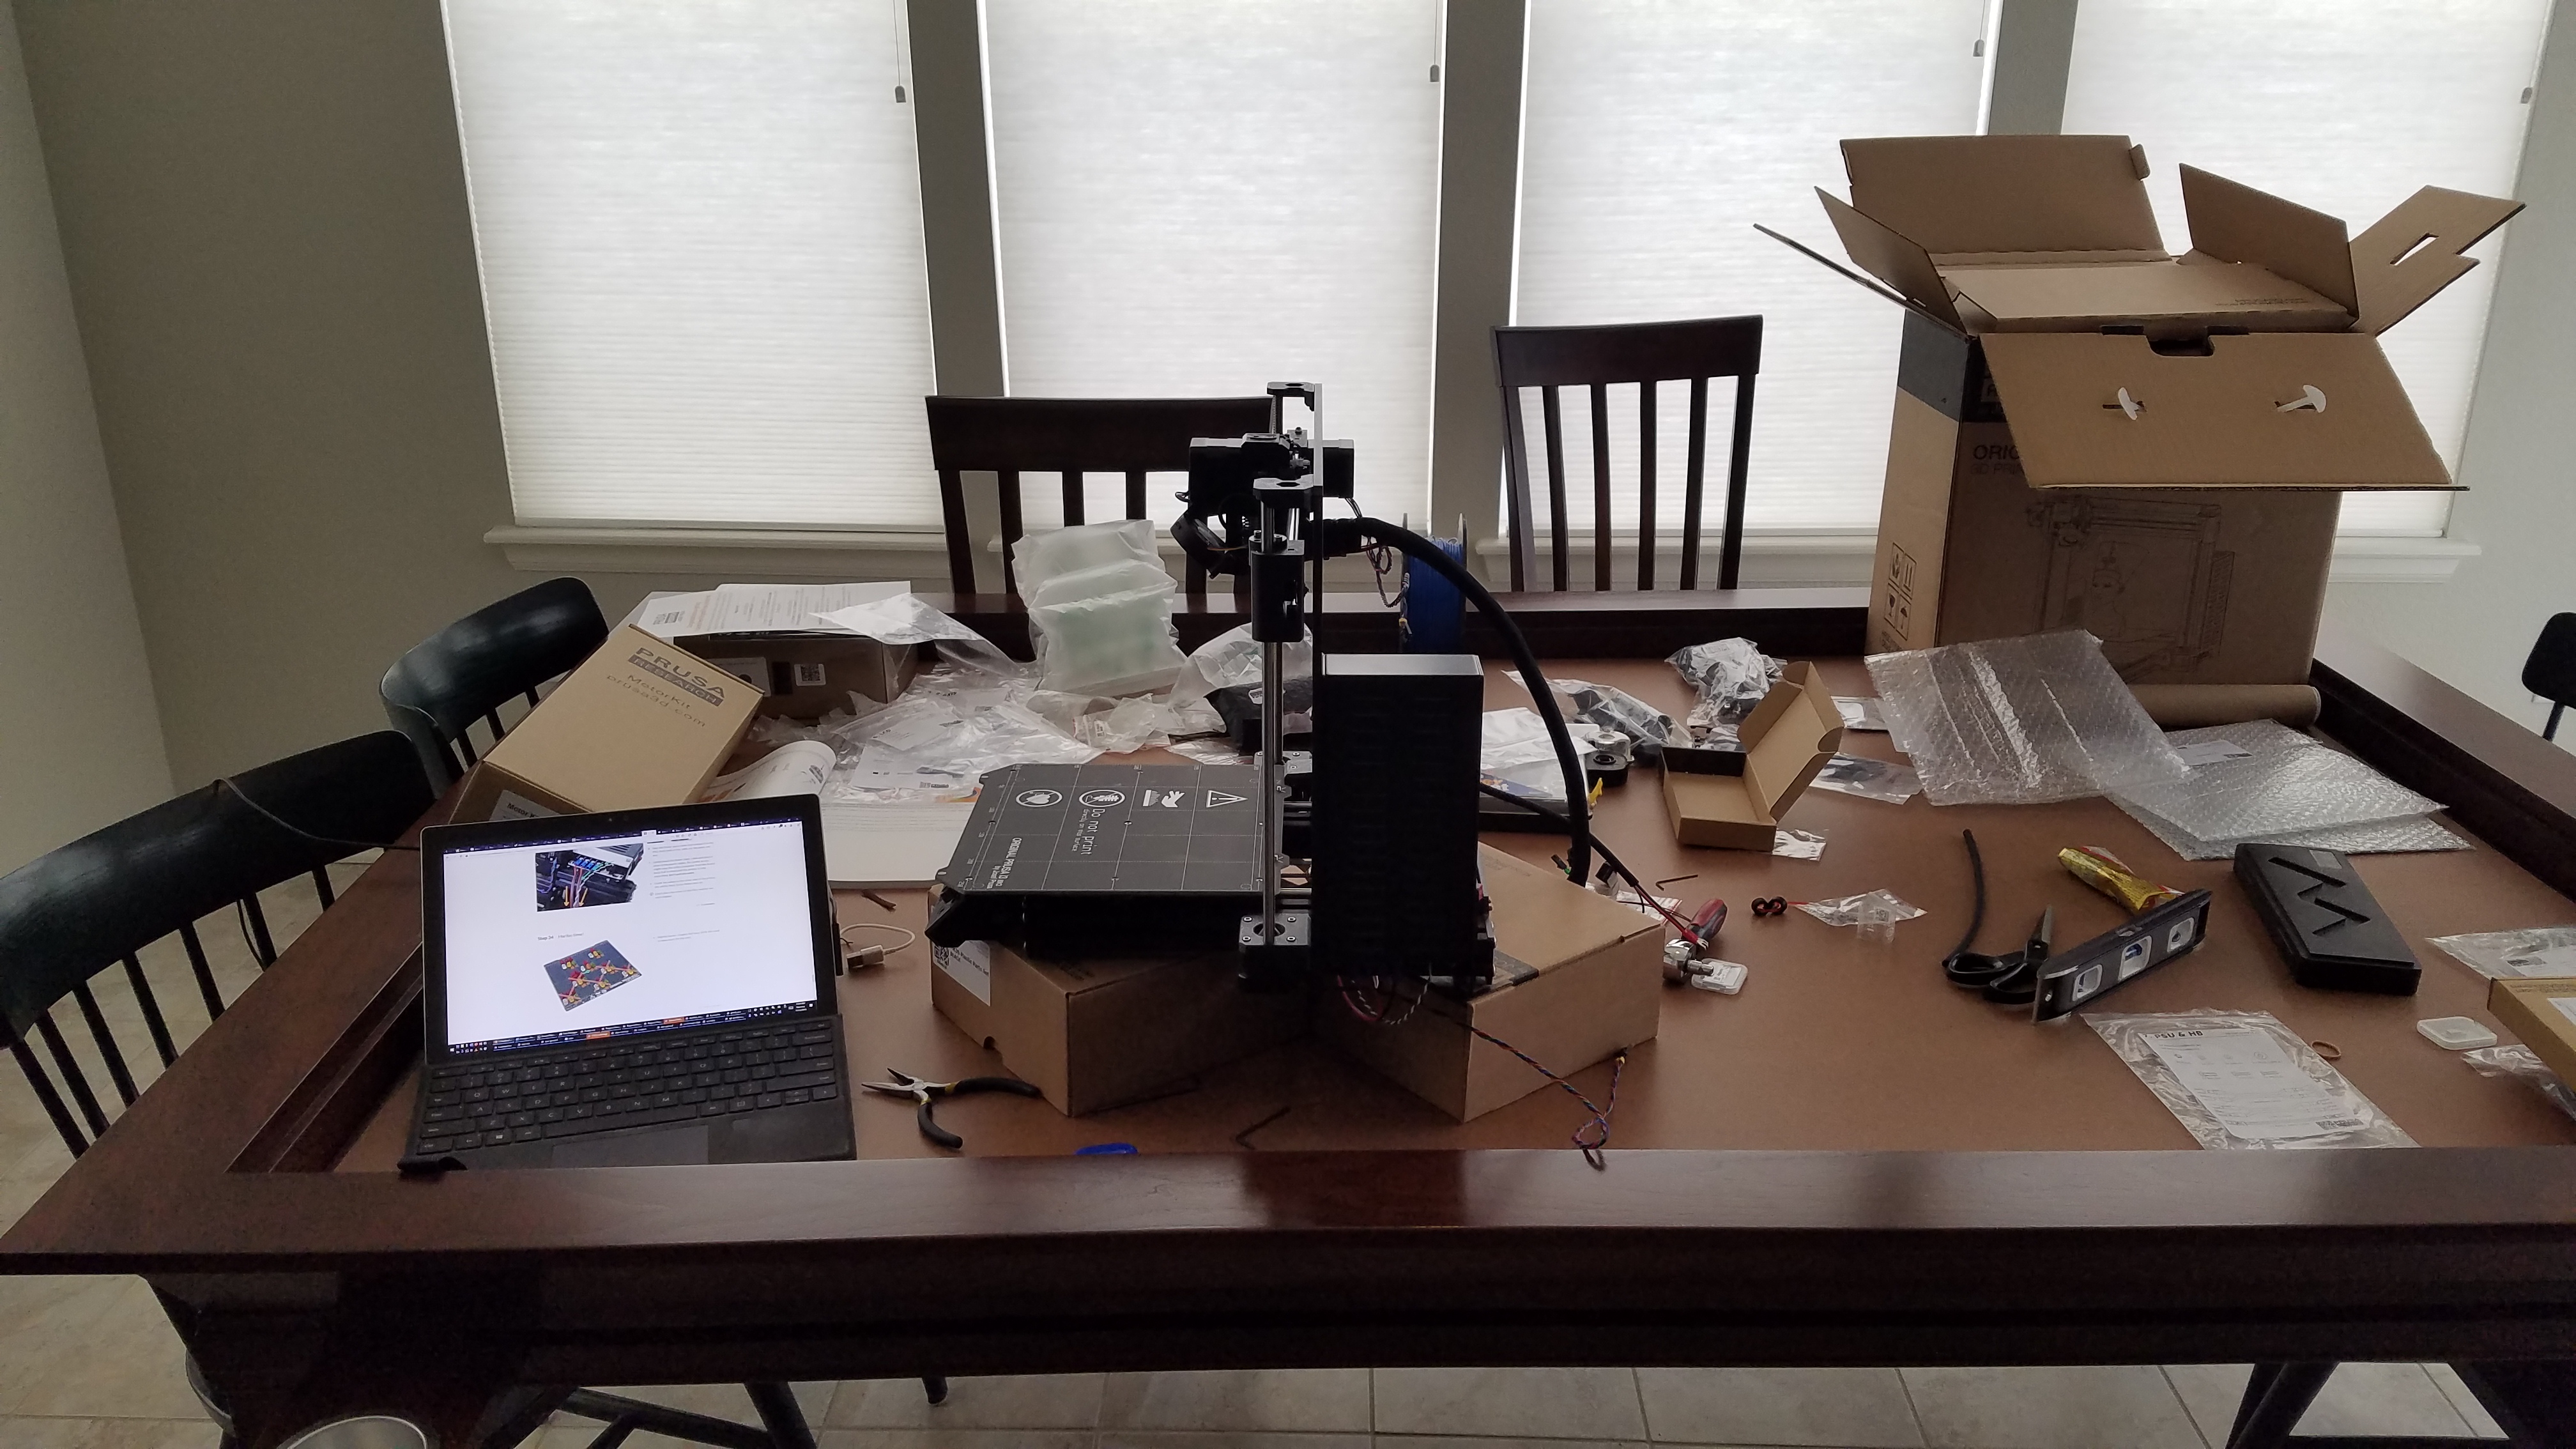
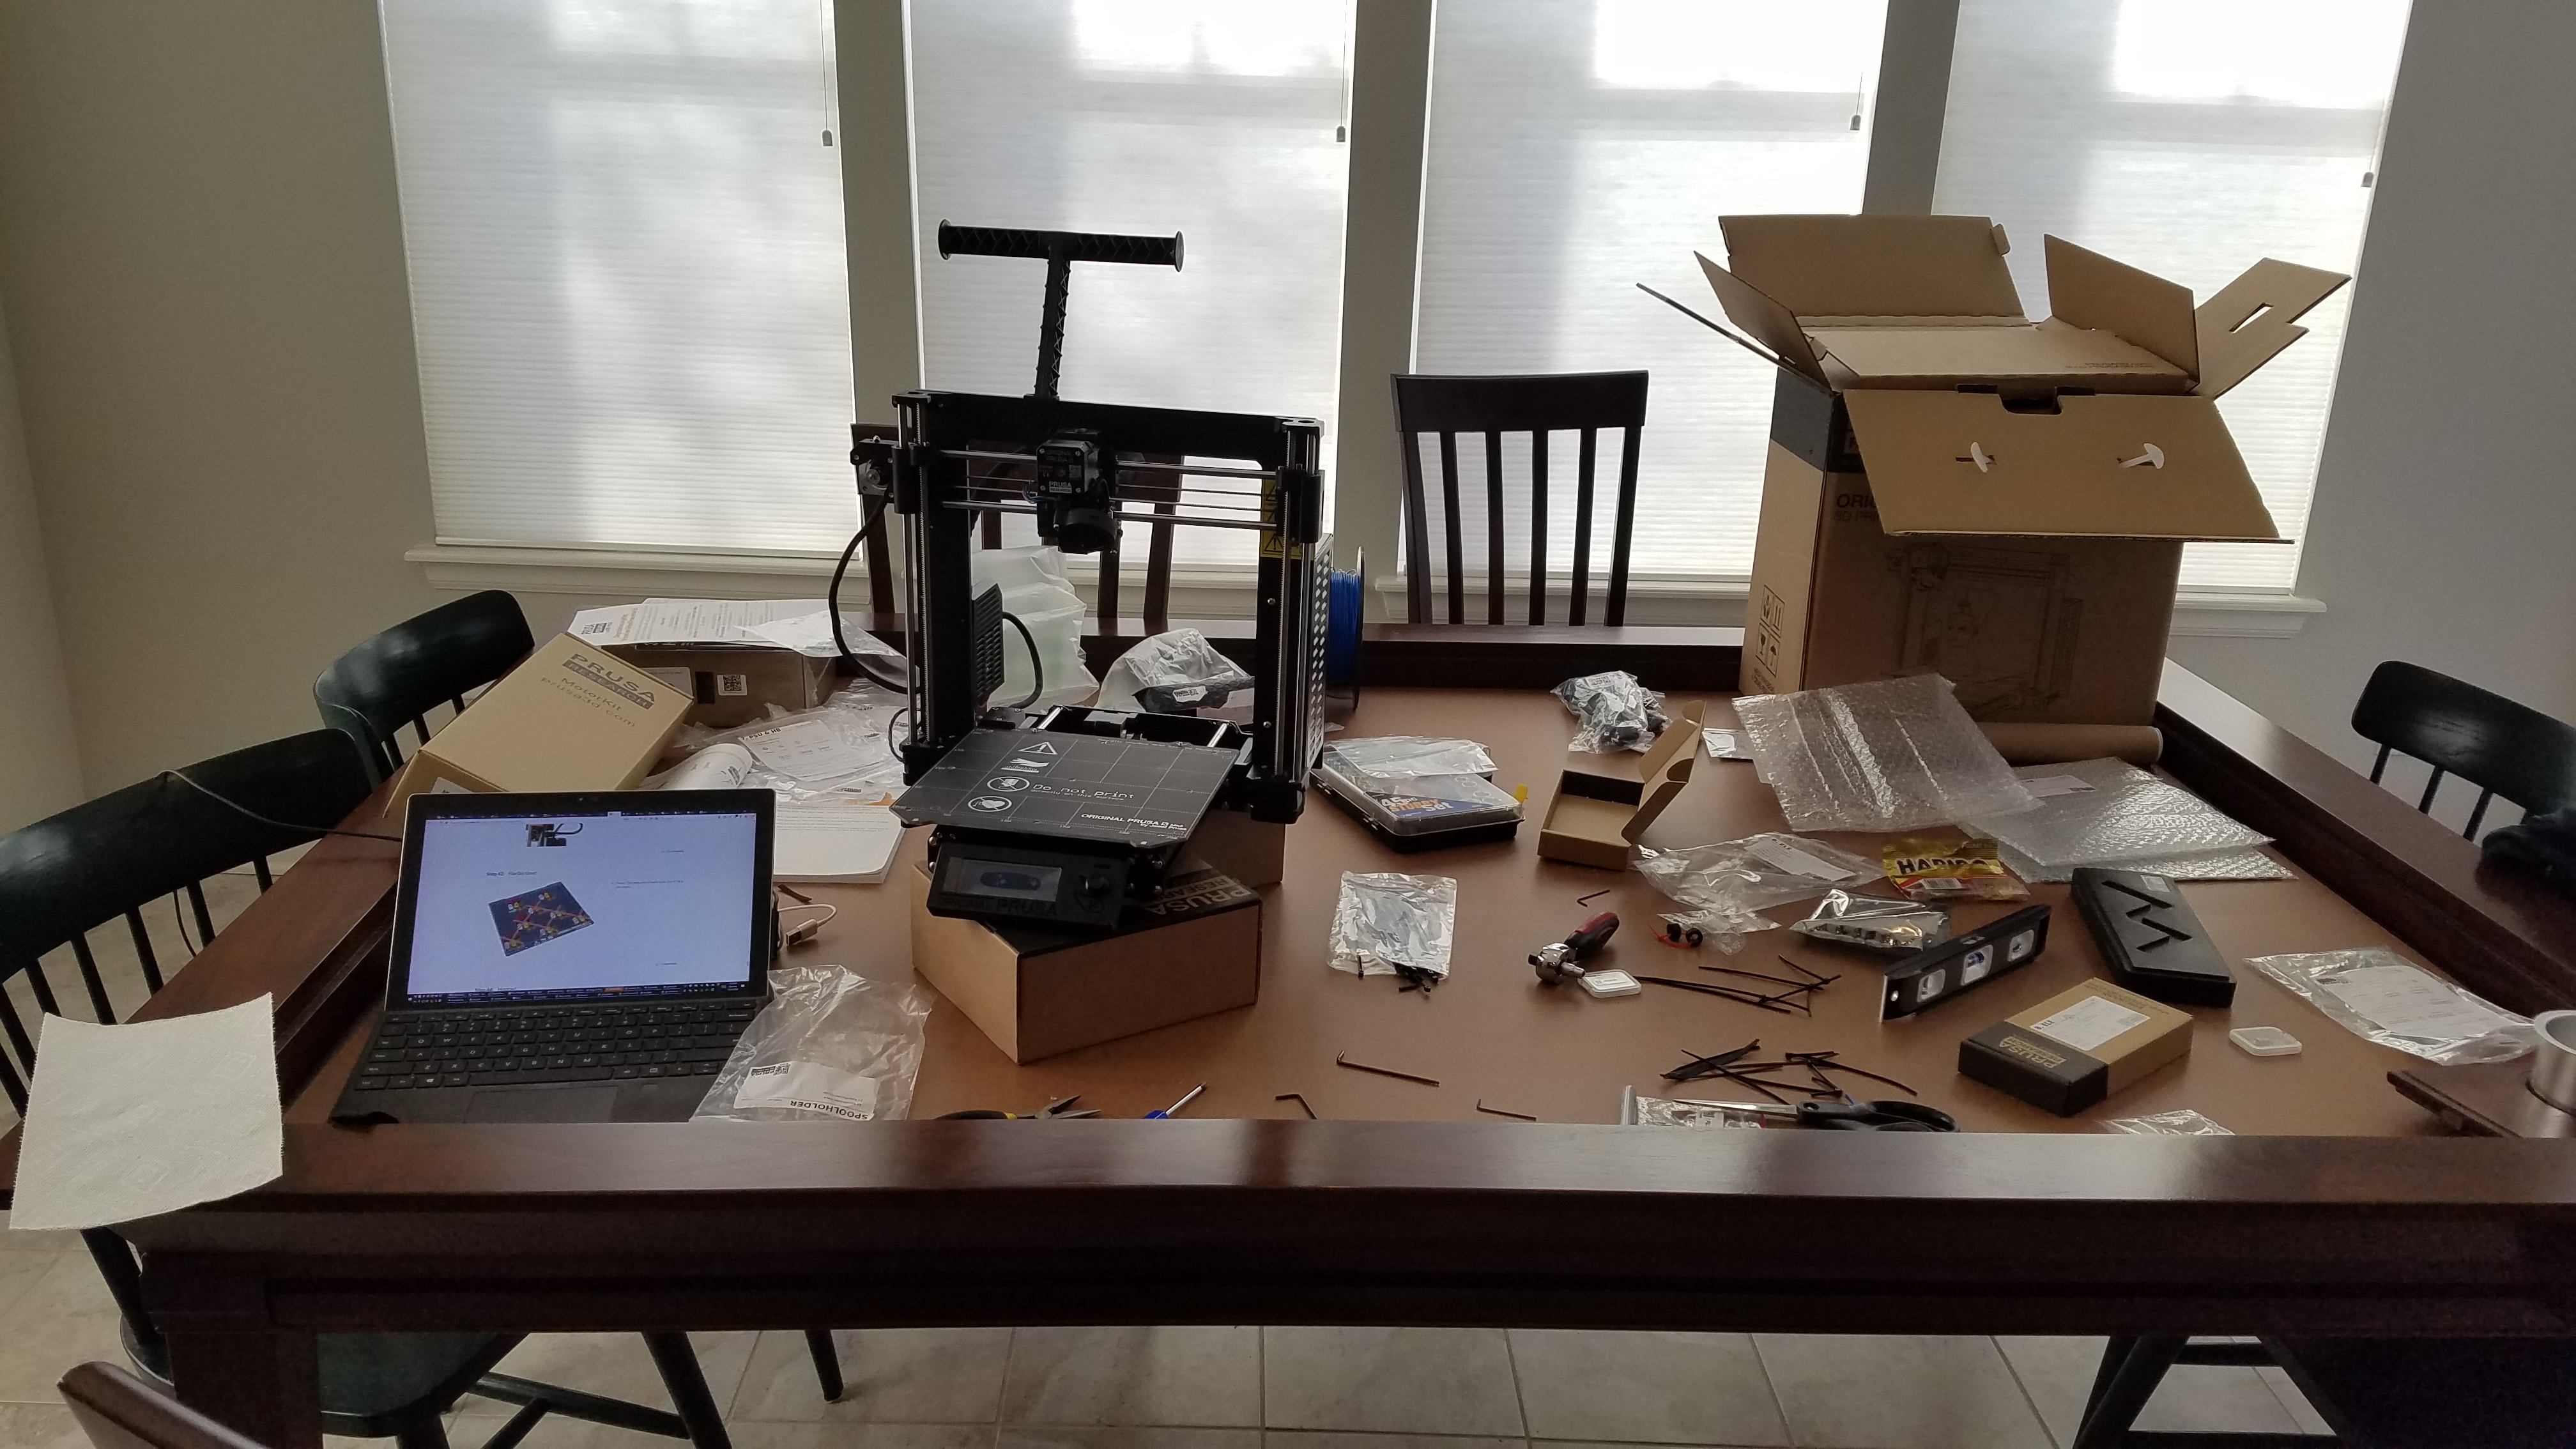
I, of course, planned ahead and converted my gaming table into an optimized workbench (on account of the craft-board side of the felt insert), and jumped right in. The build took me four days of calendar time (Wednesday, Thursday, Friday, Saturday) and just under 12 hours of time dedicated to working on it. Here’s the picture montage:


After I was completely done, I decided to do a few test prints… …And the first thing I got was a spaghetti monster:
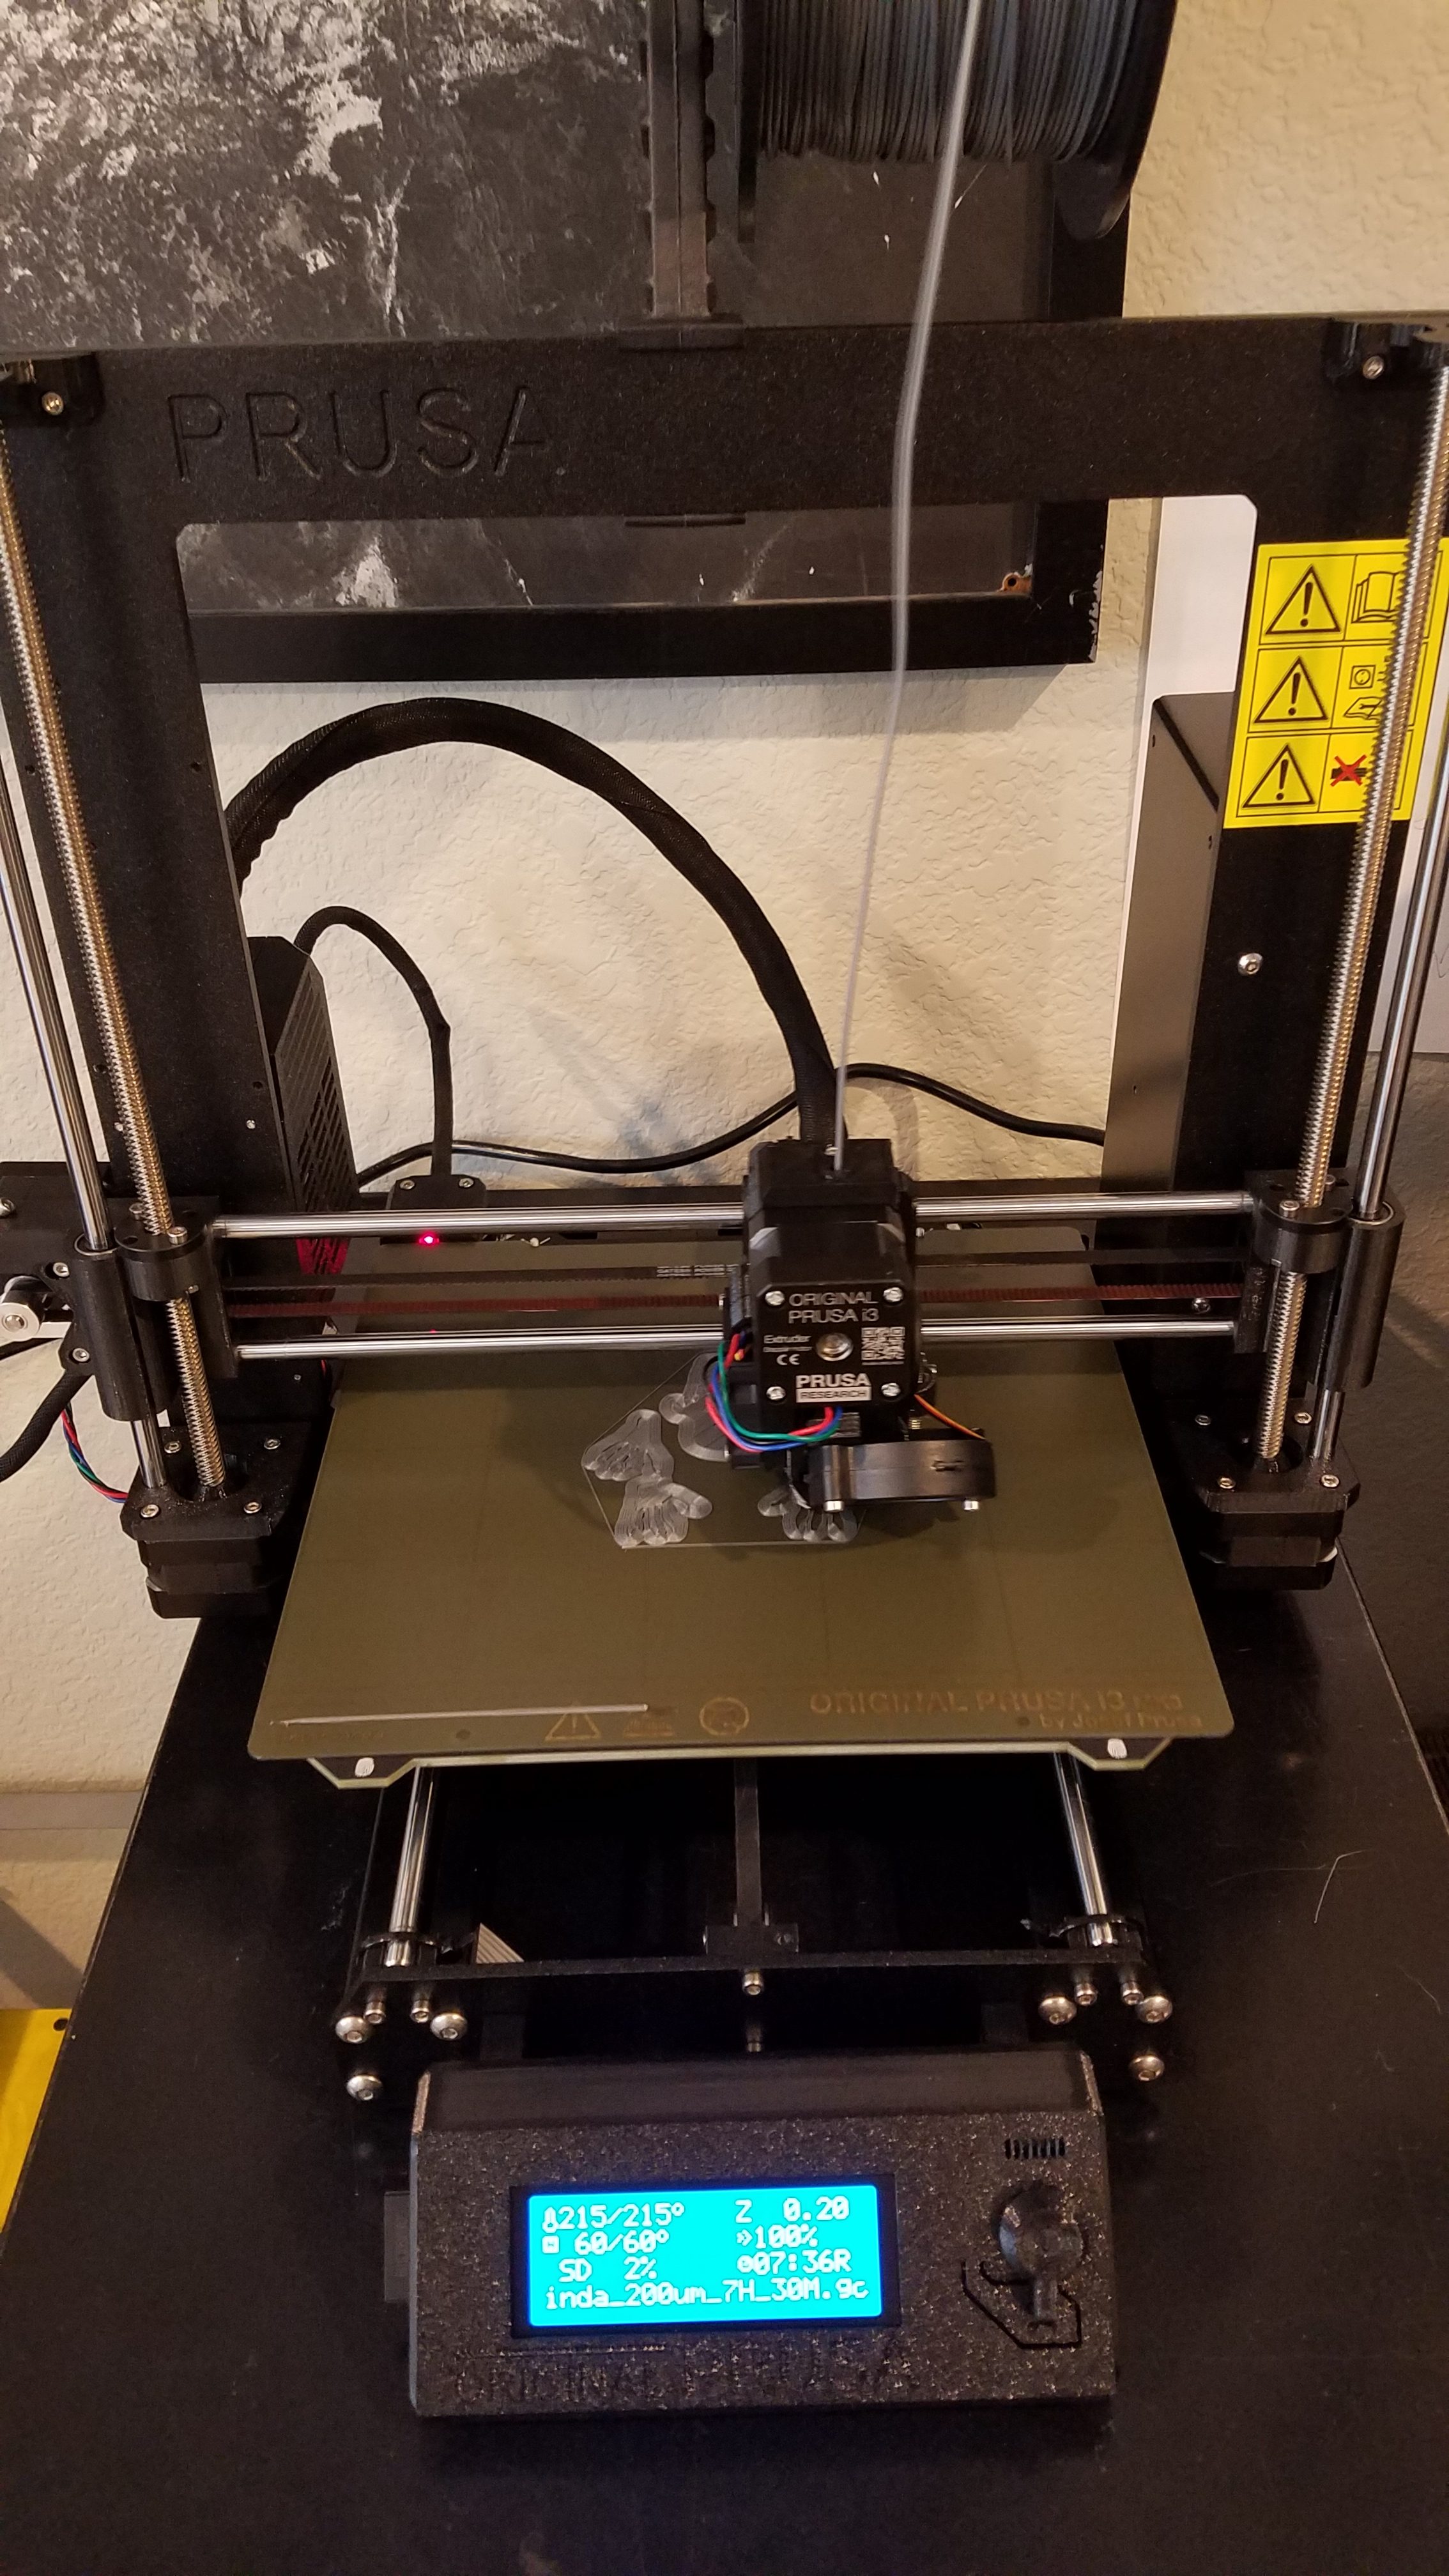

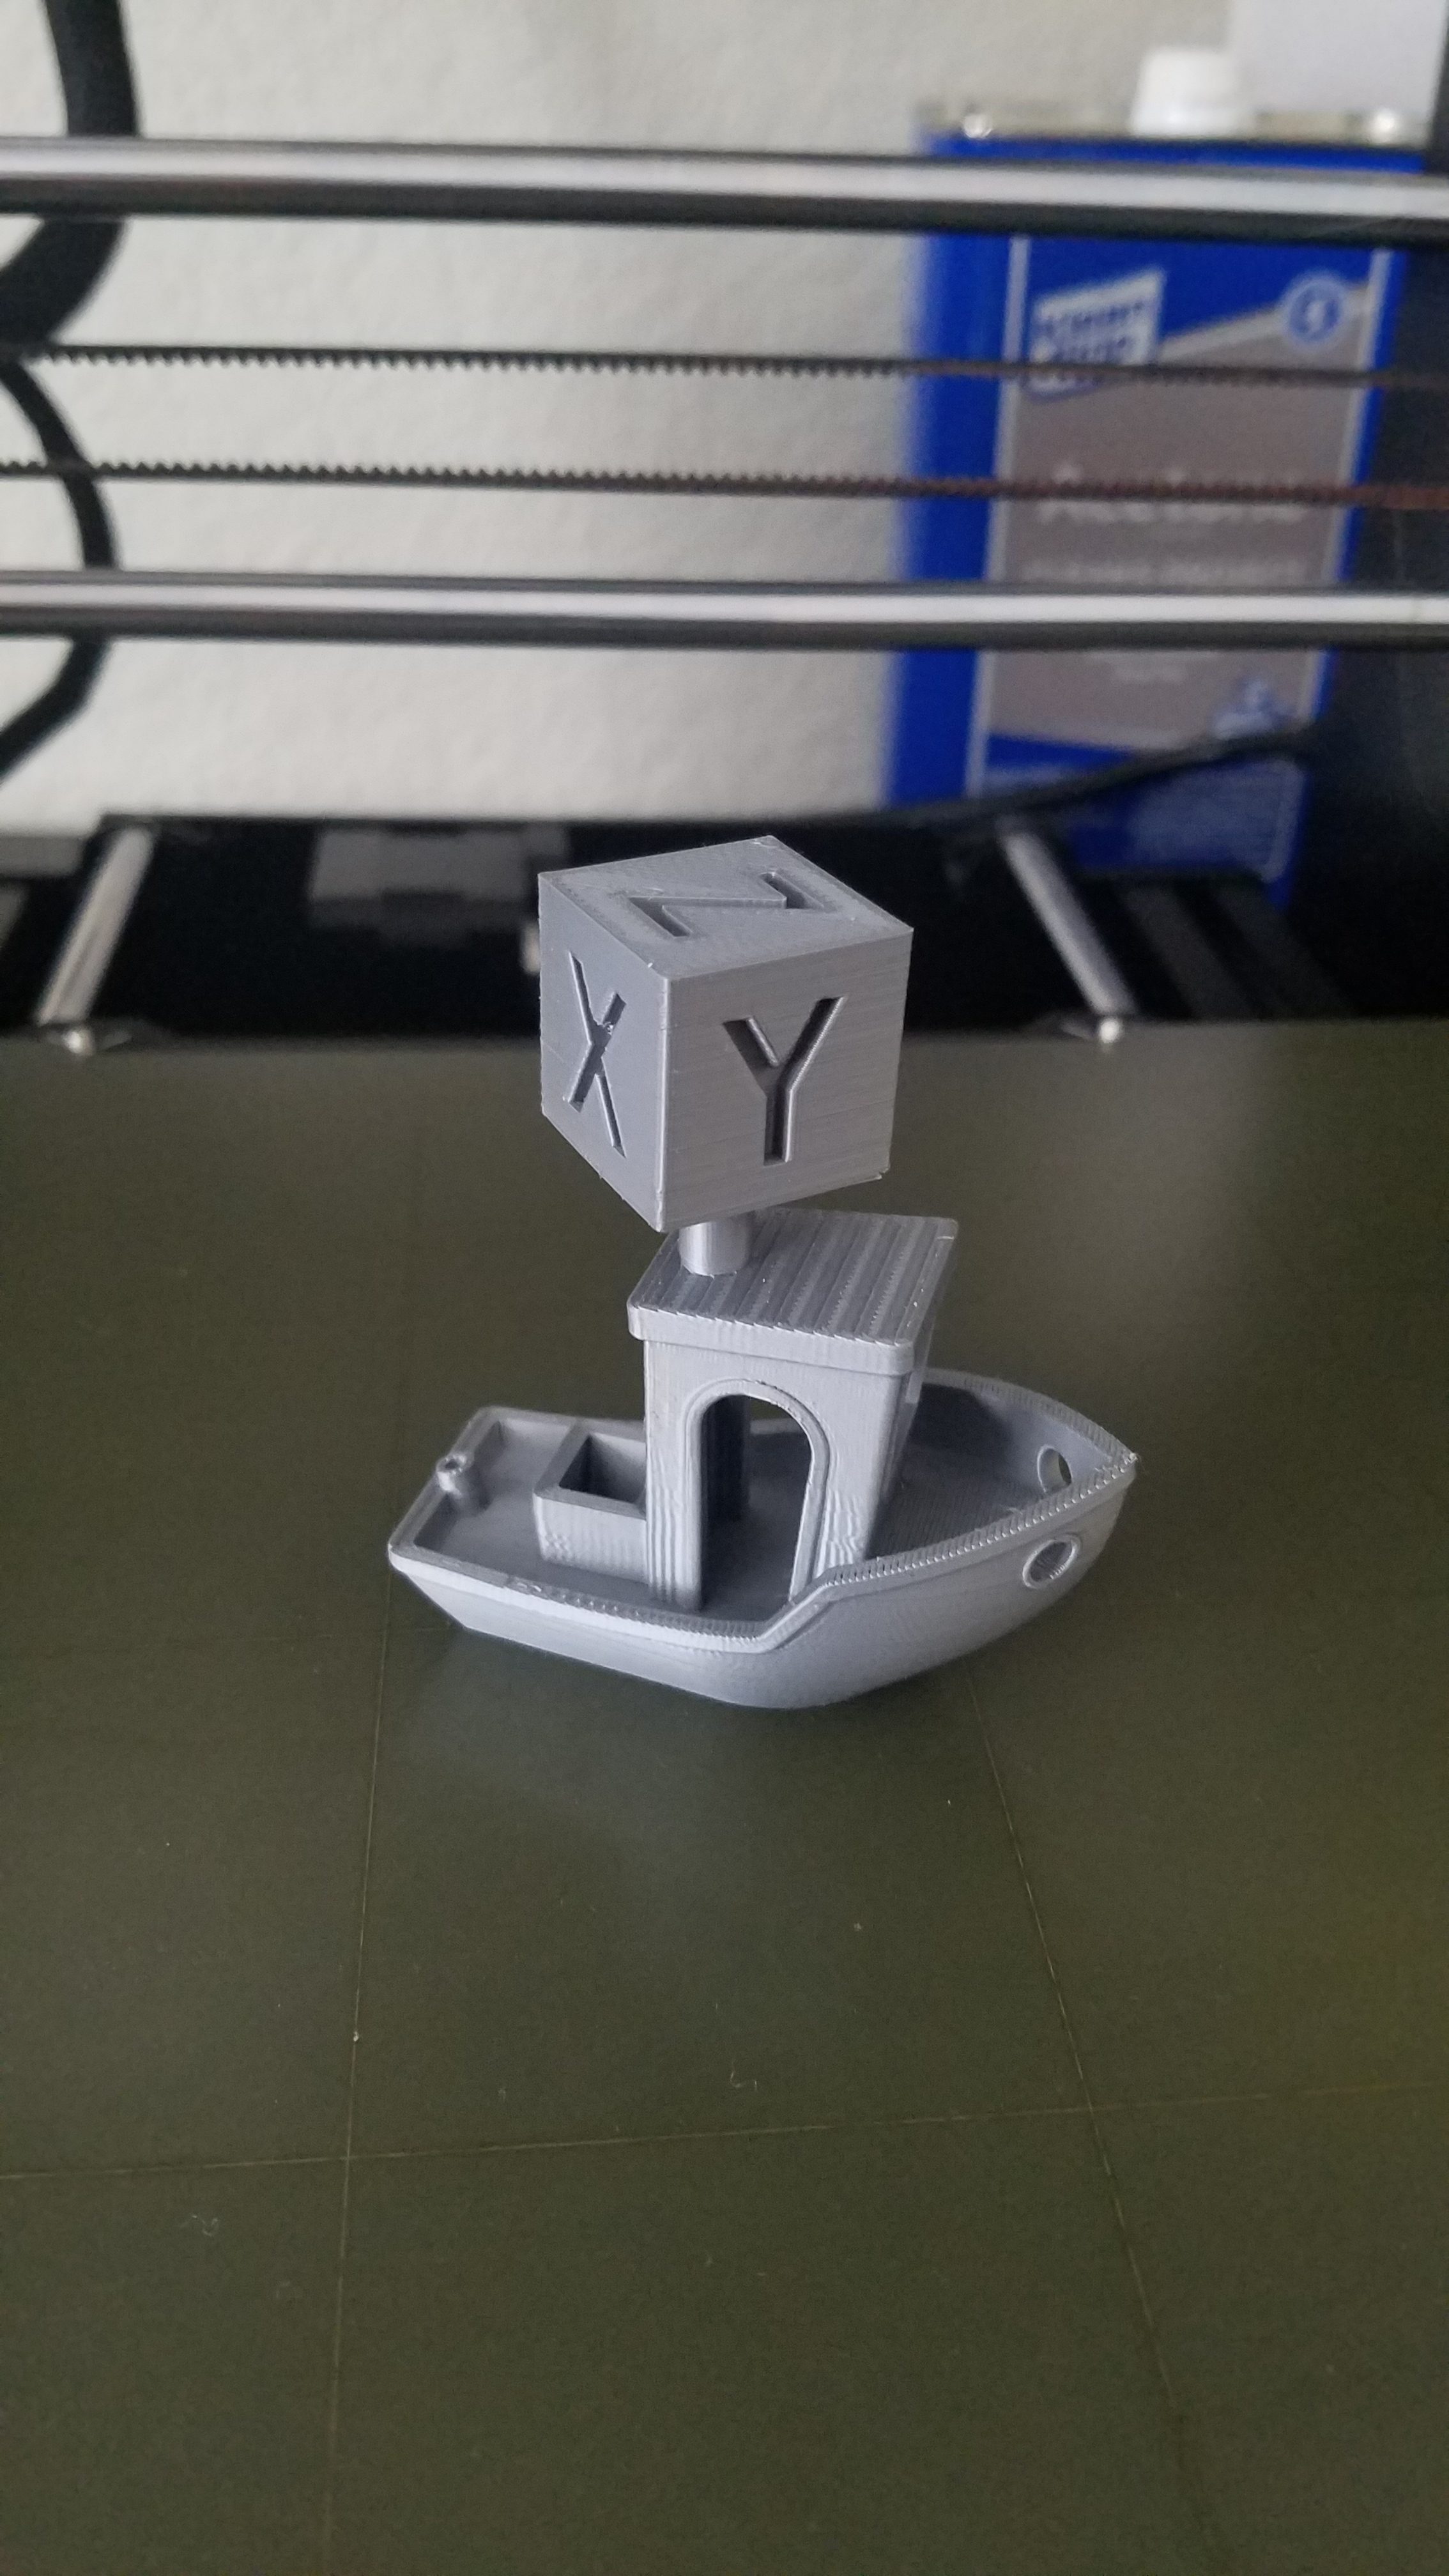
I turned out that the coupling between the Y-motor and the Y-axis belt wasn’t tight enough, and this caused layers to shift whenever the Y-axis changed direction. Luckily, I screwed that in, so I knew exactly how to tighten it – I gave it a nudge and my next prints turned out quite good:
Overall, I’m quite impressed with my new printer. In general, it’s faster, quieter, and easier to use than my Solidoodle, primarily due to various advancements in the last seven years (auto-leveling and calibration, removable print bed, SD card printing, better heaters, etc.). It also prints ABS much better (though some spools still warp a bit), and the ability to print PLA is a nice upgrade. I also plan on doing more maintenance on this printer, primarily due the the accessibility of doing so – the nozzle is easier to get at and change, I know precisely how to get to the belts and bearings (since I put them on), and I can clean anything that gets debris in it. Finally, I’m really looking forward to the multi-material upgrade and the ability to print both water soluble supports and multi-color parts.