If you haven’t read Step 1 of this series, you might want to do that now, however, it’s not necessary. In this post, I want to go over the goals and method I used to create the template which I would eventually use to cut out the cards. This is the part where I felt that a bit of design would go a long way, and is typically the part that I work on the most between projects.
My Tool
To start, it’s worth mentioning the primary tool that I use – Adobe Fireworks. I’ve been using Fireworks for a while, so it is a very familiar tool for me, and I like it for two main aspects. First, it is a vector graphics tool, so it’s easy to make straight lines that I can go back and modify without “erasing” them. Second, it gives me pixel-accuracy for where to put things and how big they are. This is a big thing for me, because the cards will be automatically placed, so I need the lines to be exactly where I want them.
My Goals
In creating a template, I’m really shooting for three main goals:
- I should be able to automatically place cards.
- I shouldn’t have to use a light table to line everything up.
- I should be able to cut out the cards with a paper cutter.
There are other things that I think about when creating a card deck, but these were the main drivers for me at this point. It’s worth pointing out that points 2 and 3 where the main drivers that caused me to start doing some design in this space in the first place. Most other decks that I’ve found online make the assumption that you will have a light table and a roller cutter at your disposal, and it’s something that I wanted to get away from because I found those two aspects to be the most tedious part of the construction (even though I now have both).
Automatic placement of cards
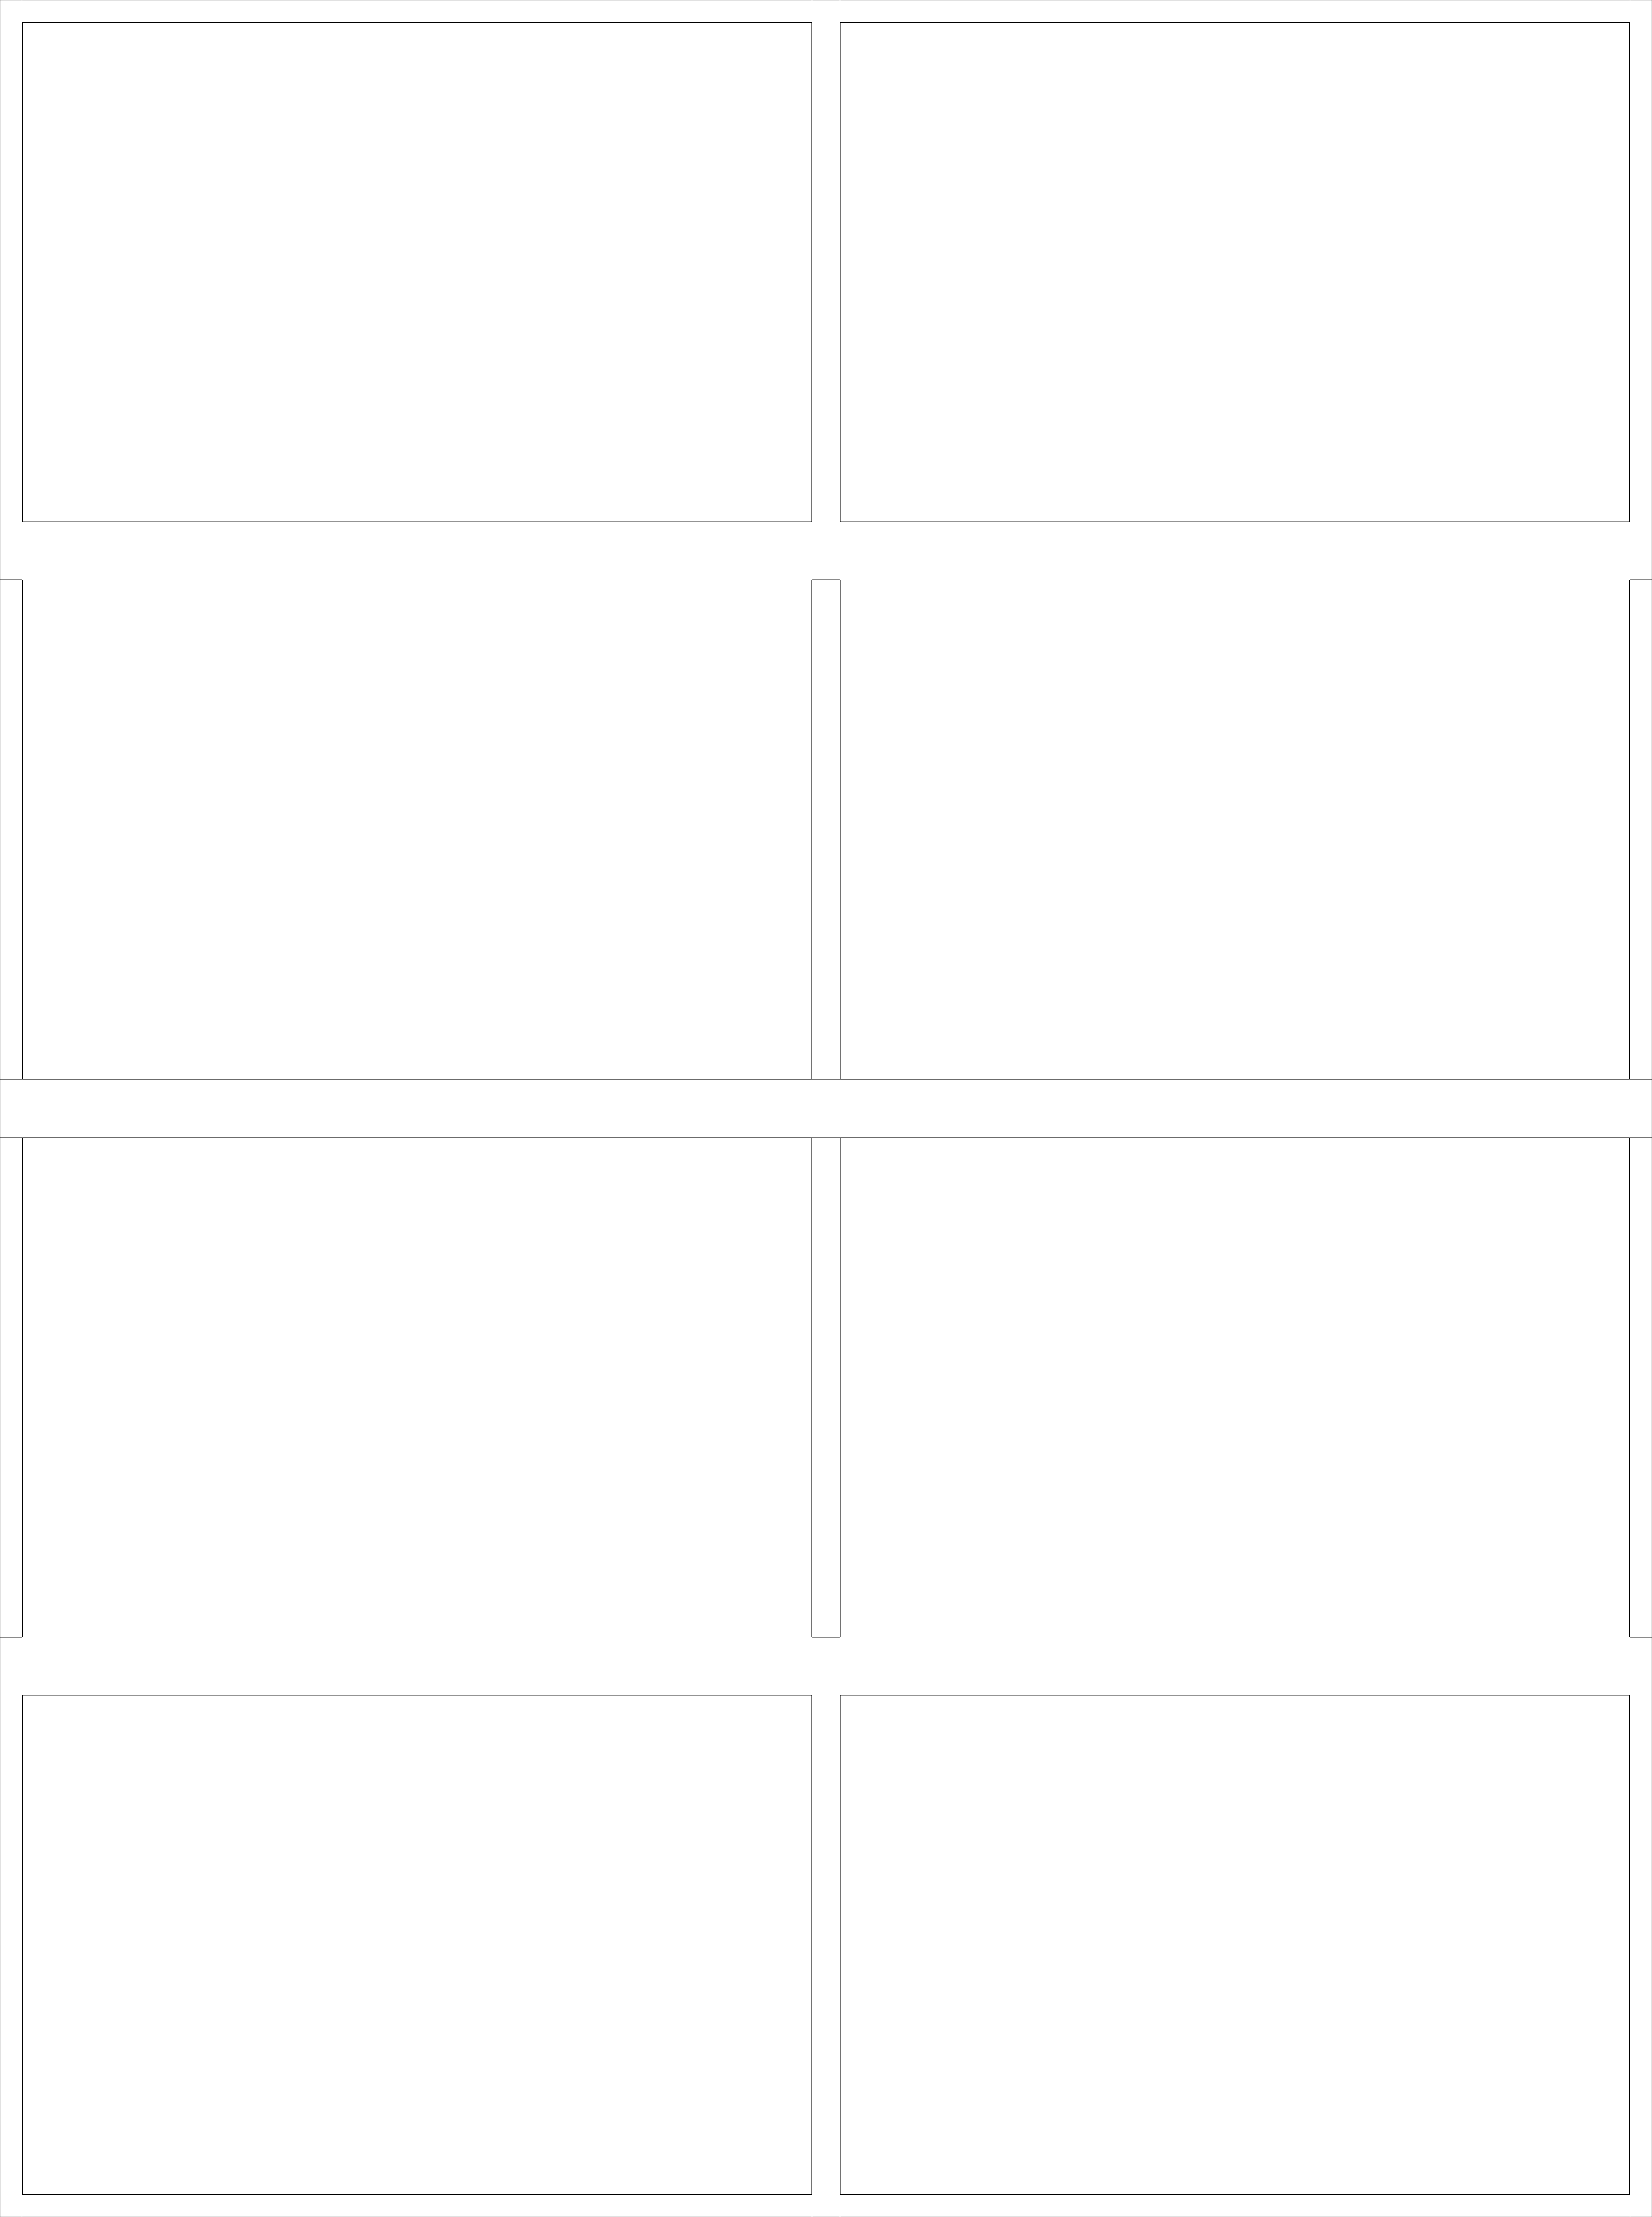
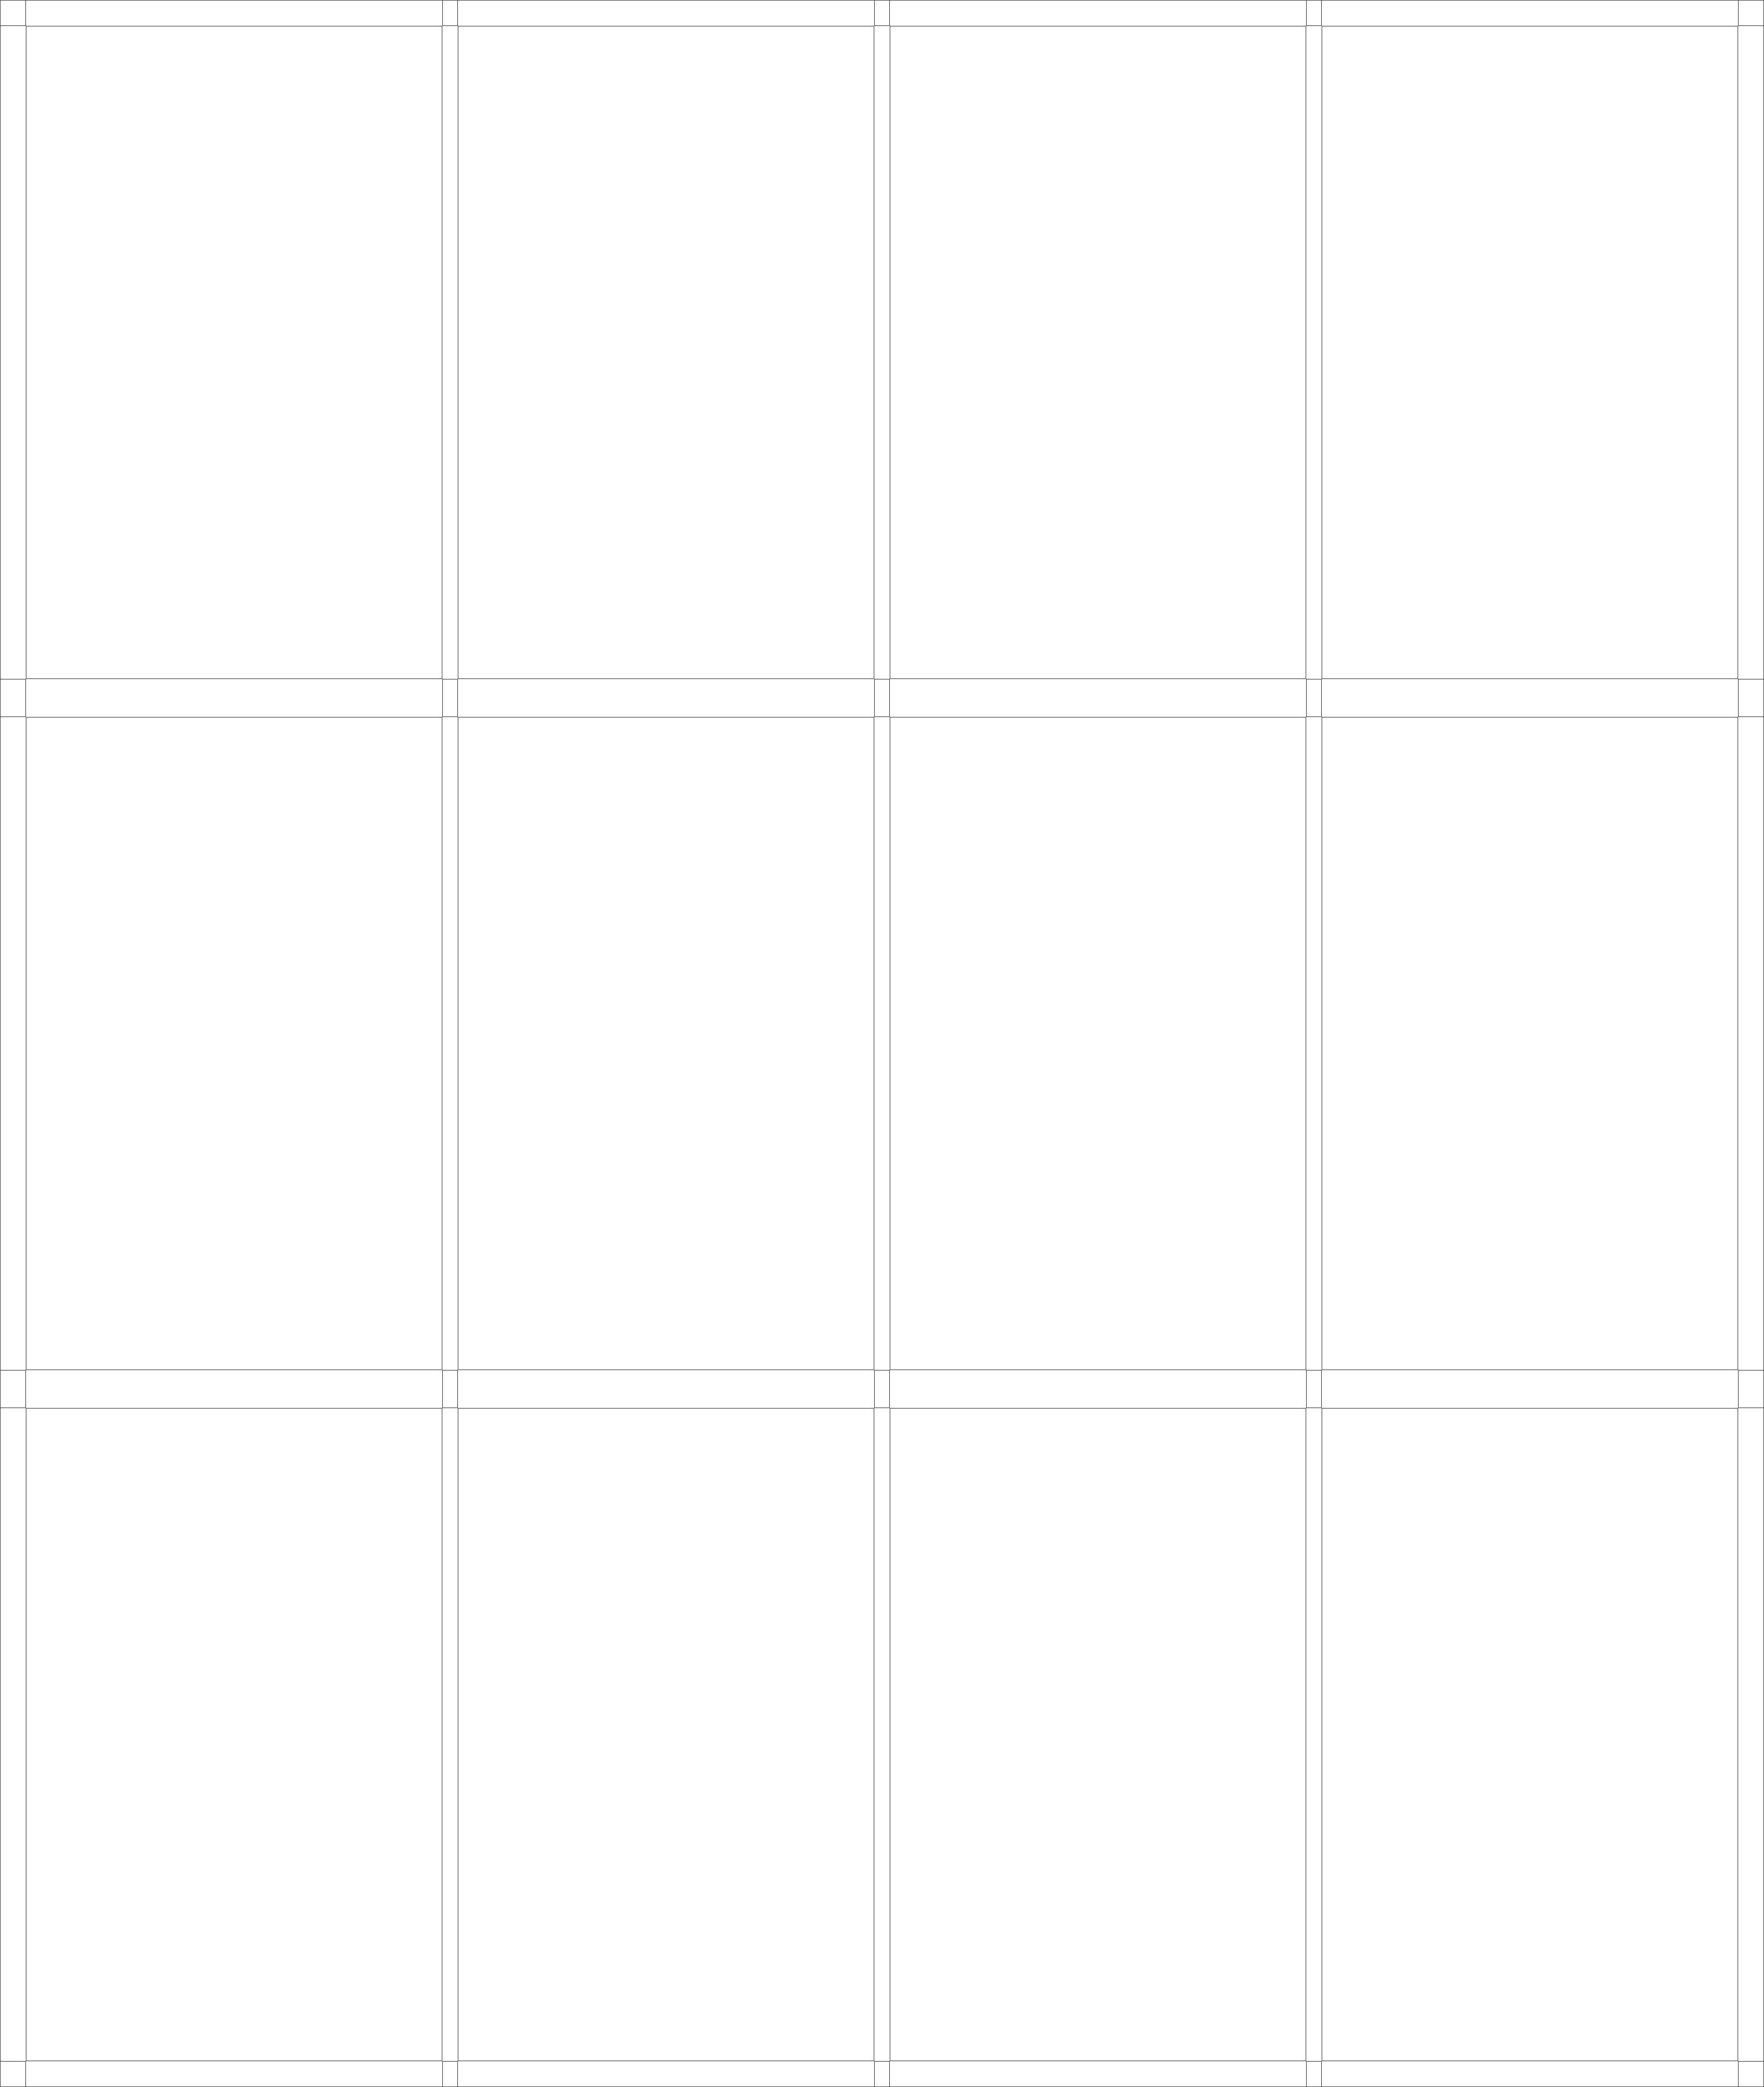
This part was actually the easiest to figure out, but the most time consuming to do manually. Basically, I just need to examine the resolution of the cards I was outputting and determine a reasonable offset from the edge and span (how wide or tall each card was). Then, I simply drew lines so that if the top left corner of each card was placed (say), 60 pixels from the top-left corner and every 1000 pixels across and 1600 pixels down (as in 600dpi mini chimera cards), they would line up with the lines.
No need for a light table
This was a major part of the design and the part that worked out the best. I found that no matter how hard I tried, prints would always be unaligned from the paper edge. This was especially true when I didn’t have control over the printing process (as when I took the cards to staples). However, it’s obvious that the printing would always be aligned with anything else that was printed on the same page. My solution, then, was to print a border around the entire page of cards so that I could cut that out first. Then, I could align everything to the border, and it would always line up (no need to look through one page to make sure that the cards lined up). This, along with automatic placement of cards, made sure that the front and the back were always correct, and easy to align without the need for a light table.
Use a Paper Cutter not a Roller Cutter
While I have a roller cutter, and I can understand its utility, I find that I don’t like using it as much. It takes a lot more work to make sure everything is lined up, and it takes a lot more energy to actually roll it across the paper (ok, yeah, I’m lazy). Instead, I like to use a paper cutter because I get nice clean cuts and I don’t have to worry about my ruler slipping or using a cutting mat. To make this work, I made sure I overlay my template over the cards, rather than vice versa. This makes sure that the lines are visible until the last cut, and it only takes a few extra lines to make it possible to line up both edges with a paper cutter (I align to the blade rather than aligning it to be flush against the flat edge).
Alright, enough rambling – here are the templates that I used for the Arkham Horror cards. They’re not going to be very exciting yet as they are just a bunch of black lines on transparent background, but I did promise images in this series. You’ll also want to click on each image to see the lines, as they are unlikely to show up when shrunk.


