
I have a 3D printer, and I’m often looking for cool new things that I can make. Since I’m not an artist nor a designer, this can be quite tricky, and instead I have to rely on my other skills, such as programming to do interesting things. A while back, I learned how to write STL files (the standard file format understood by 3D printers) via C++ or perl. This really opened up what I could do, since I could now create designs programmatically.
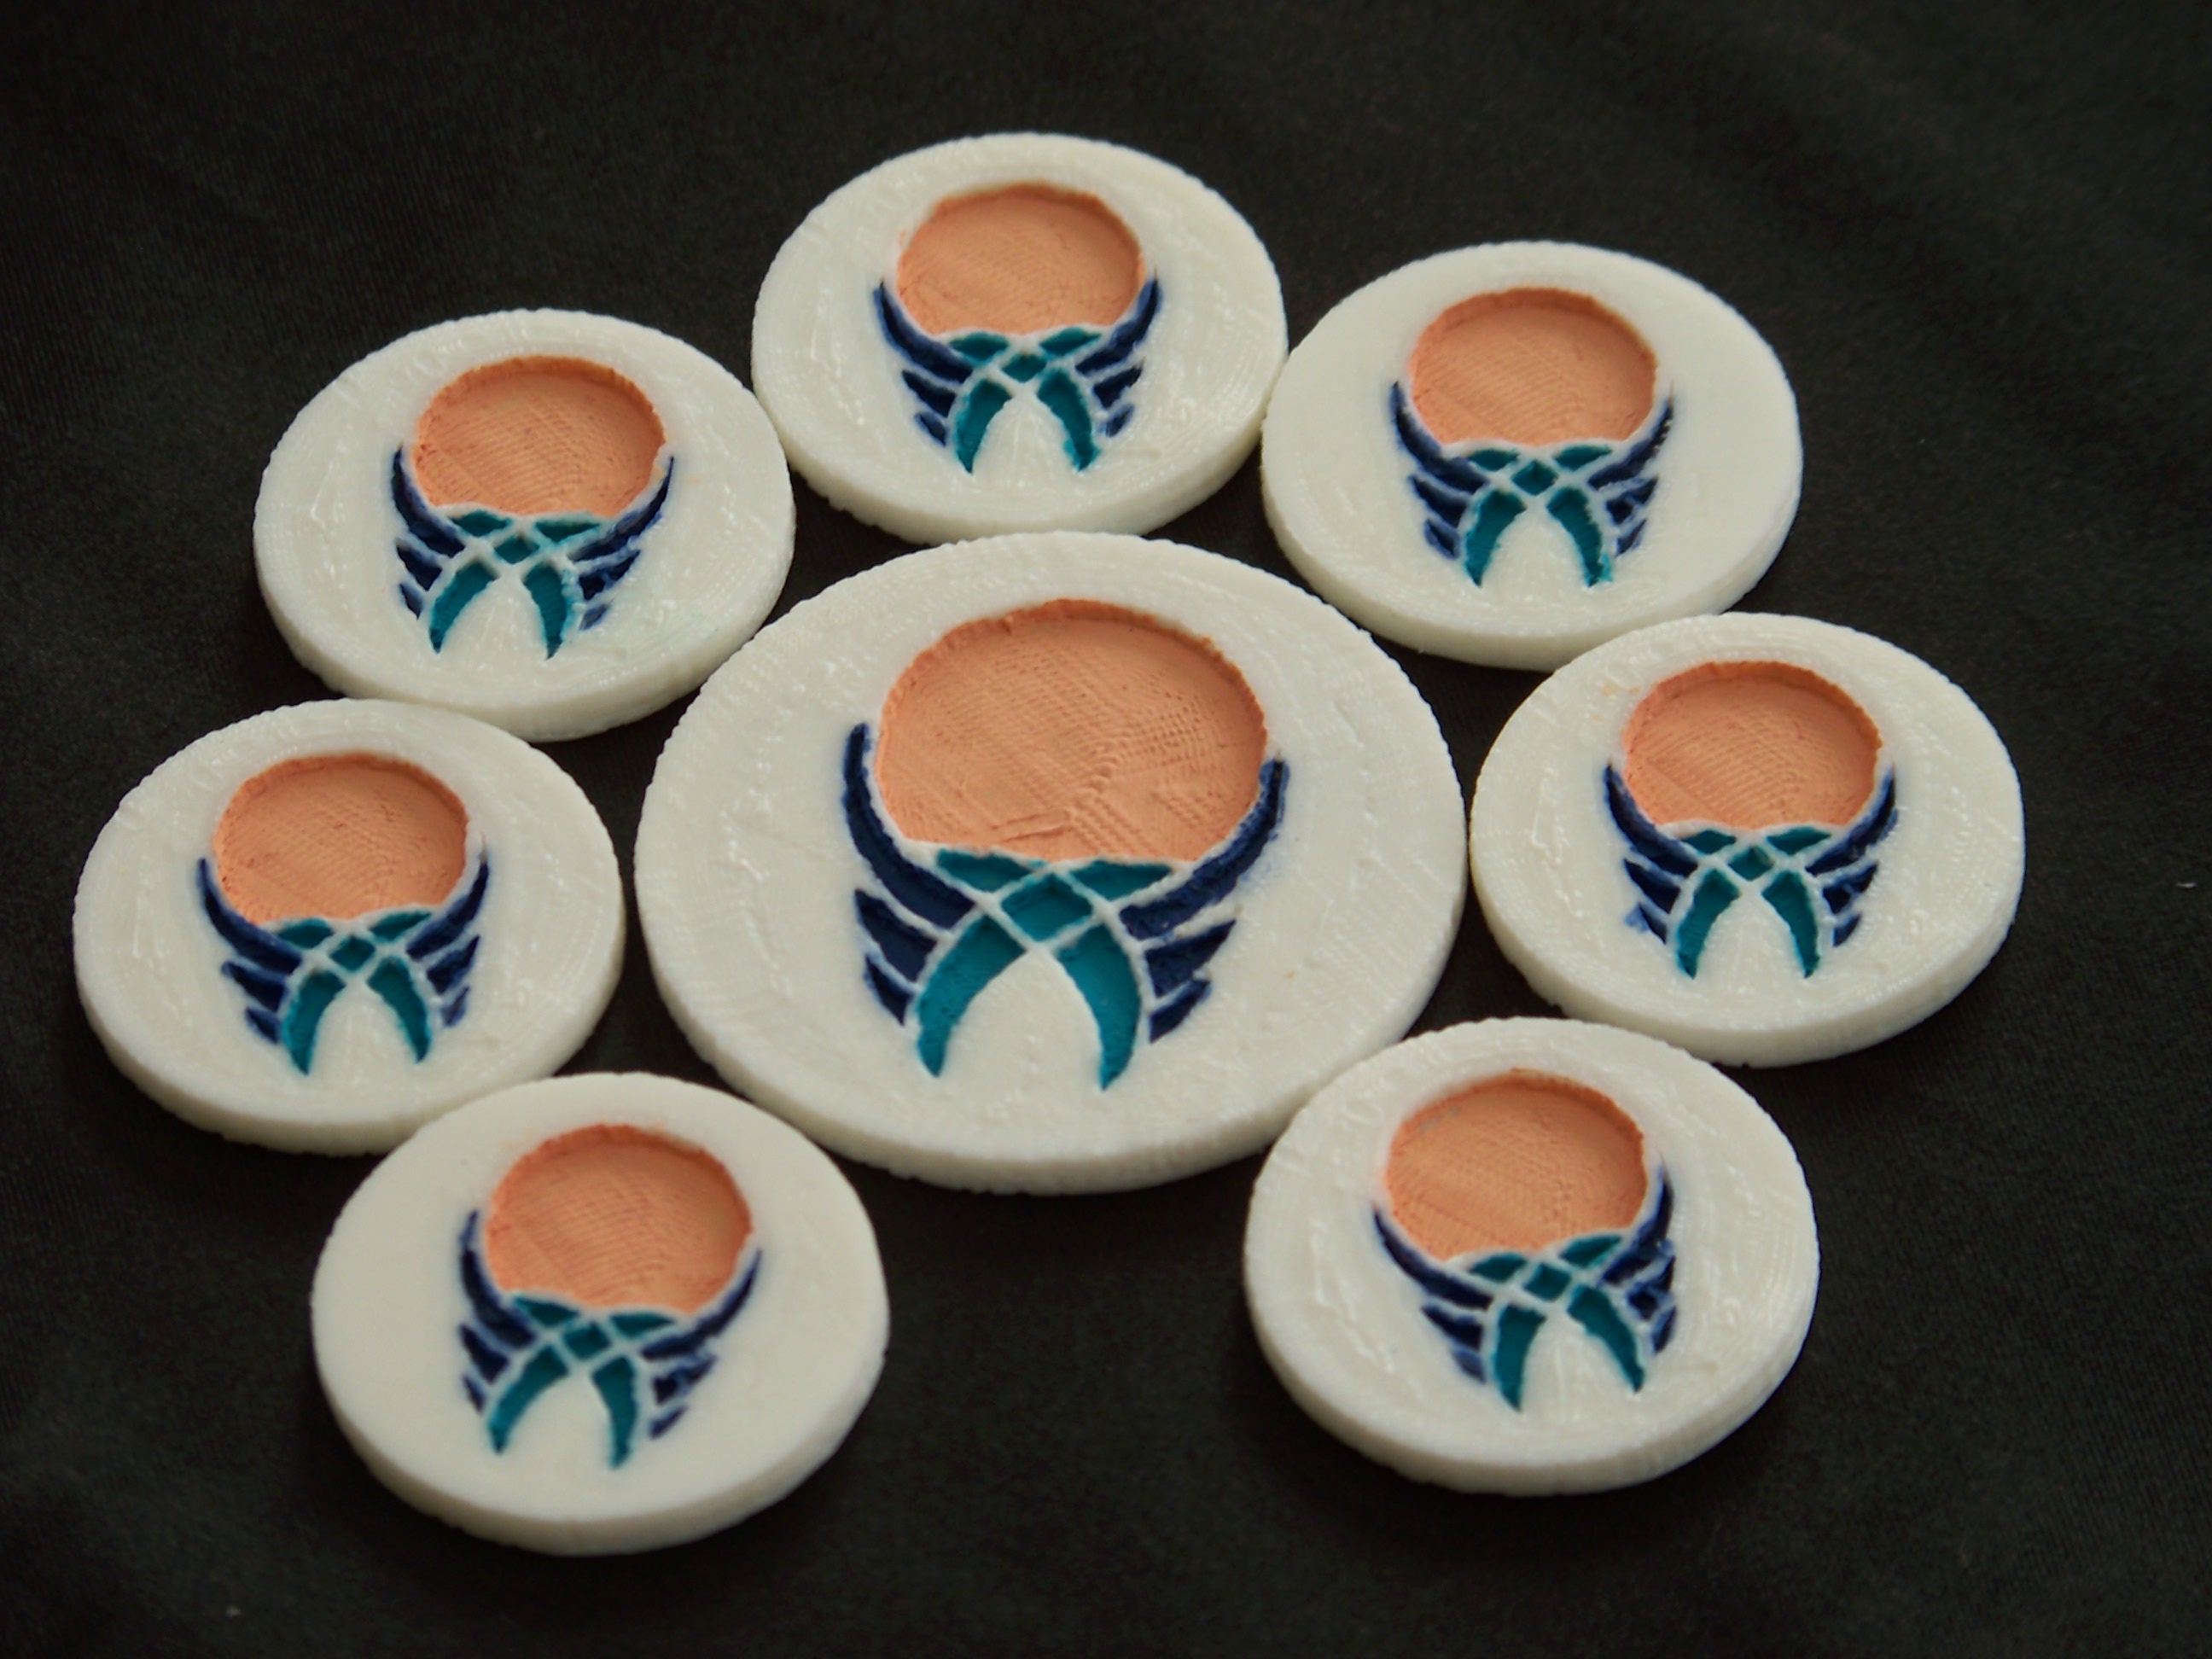
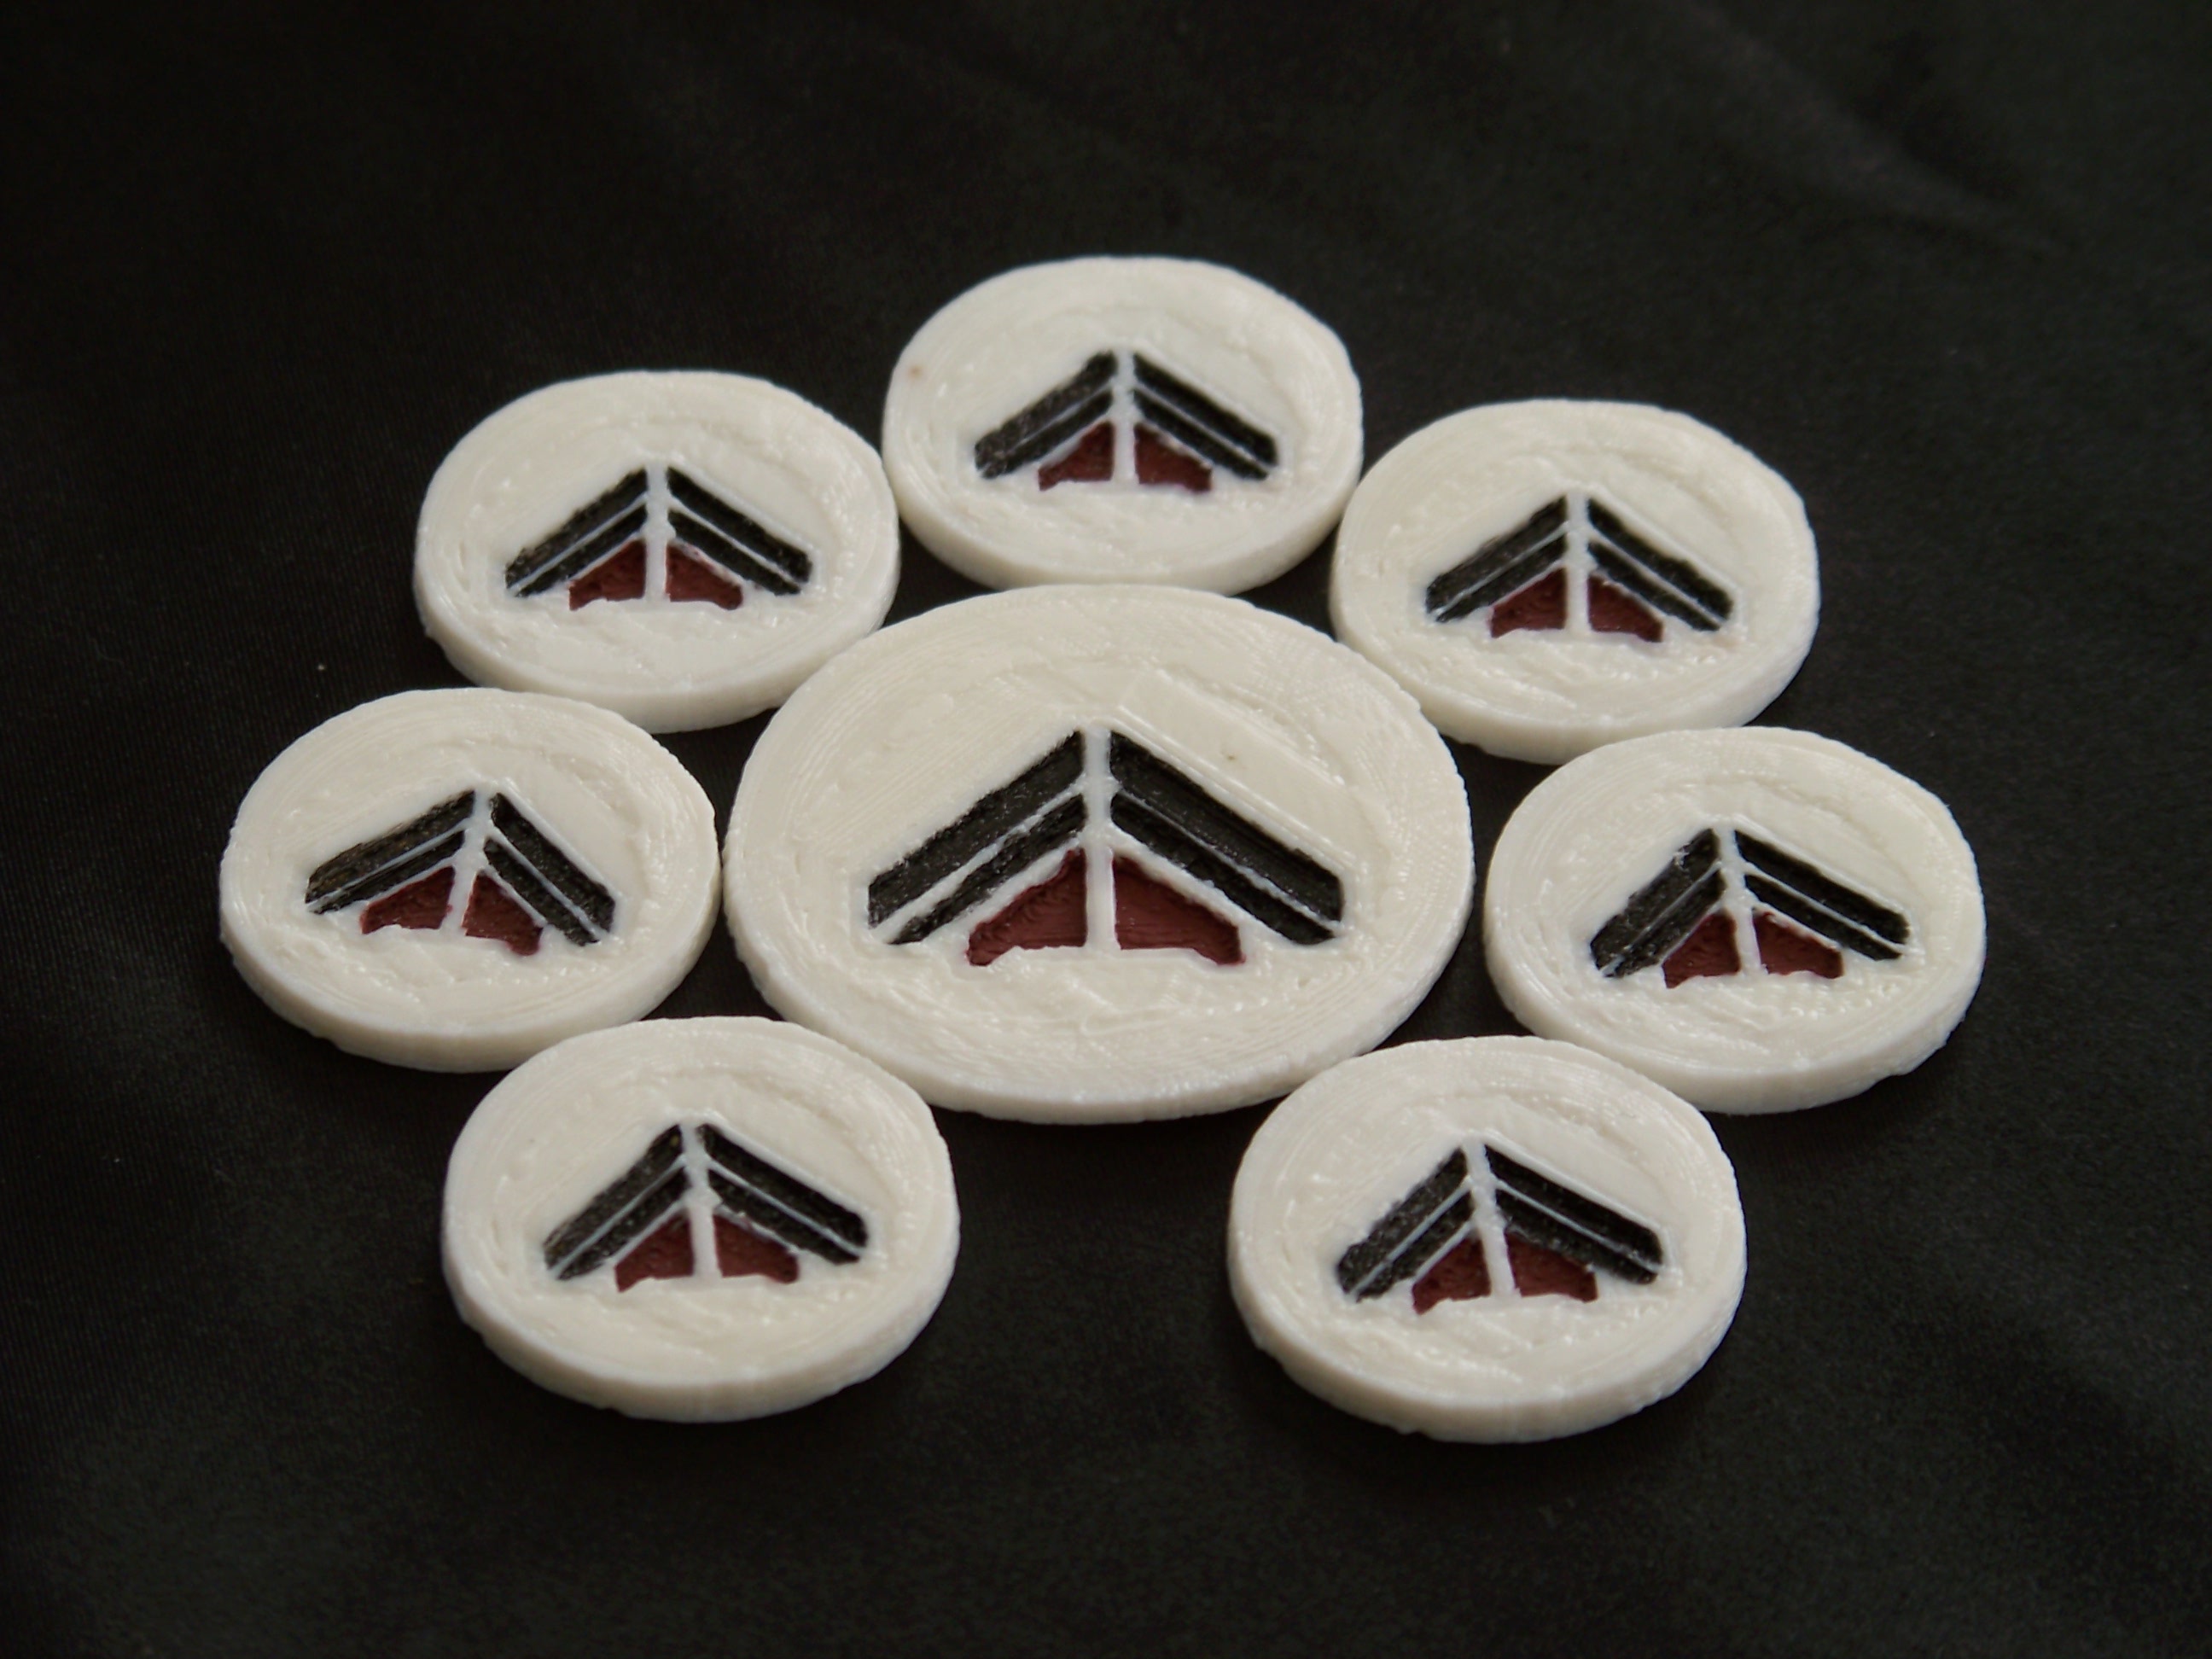
One technique I have spent a fair amount of time working with is embedded raster imagery. Namely, given an image or icon, I want to create a 3D object with that icon extruded, embossed, or otherwise present on the object that I’m making. A few examples of this are my Aquan/Kurak Alliance command tokens:
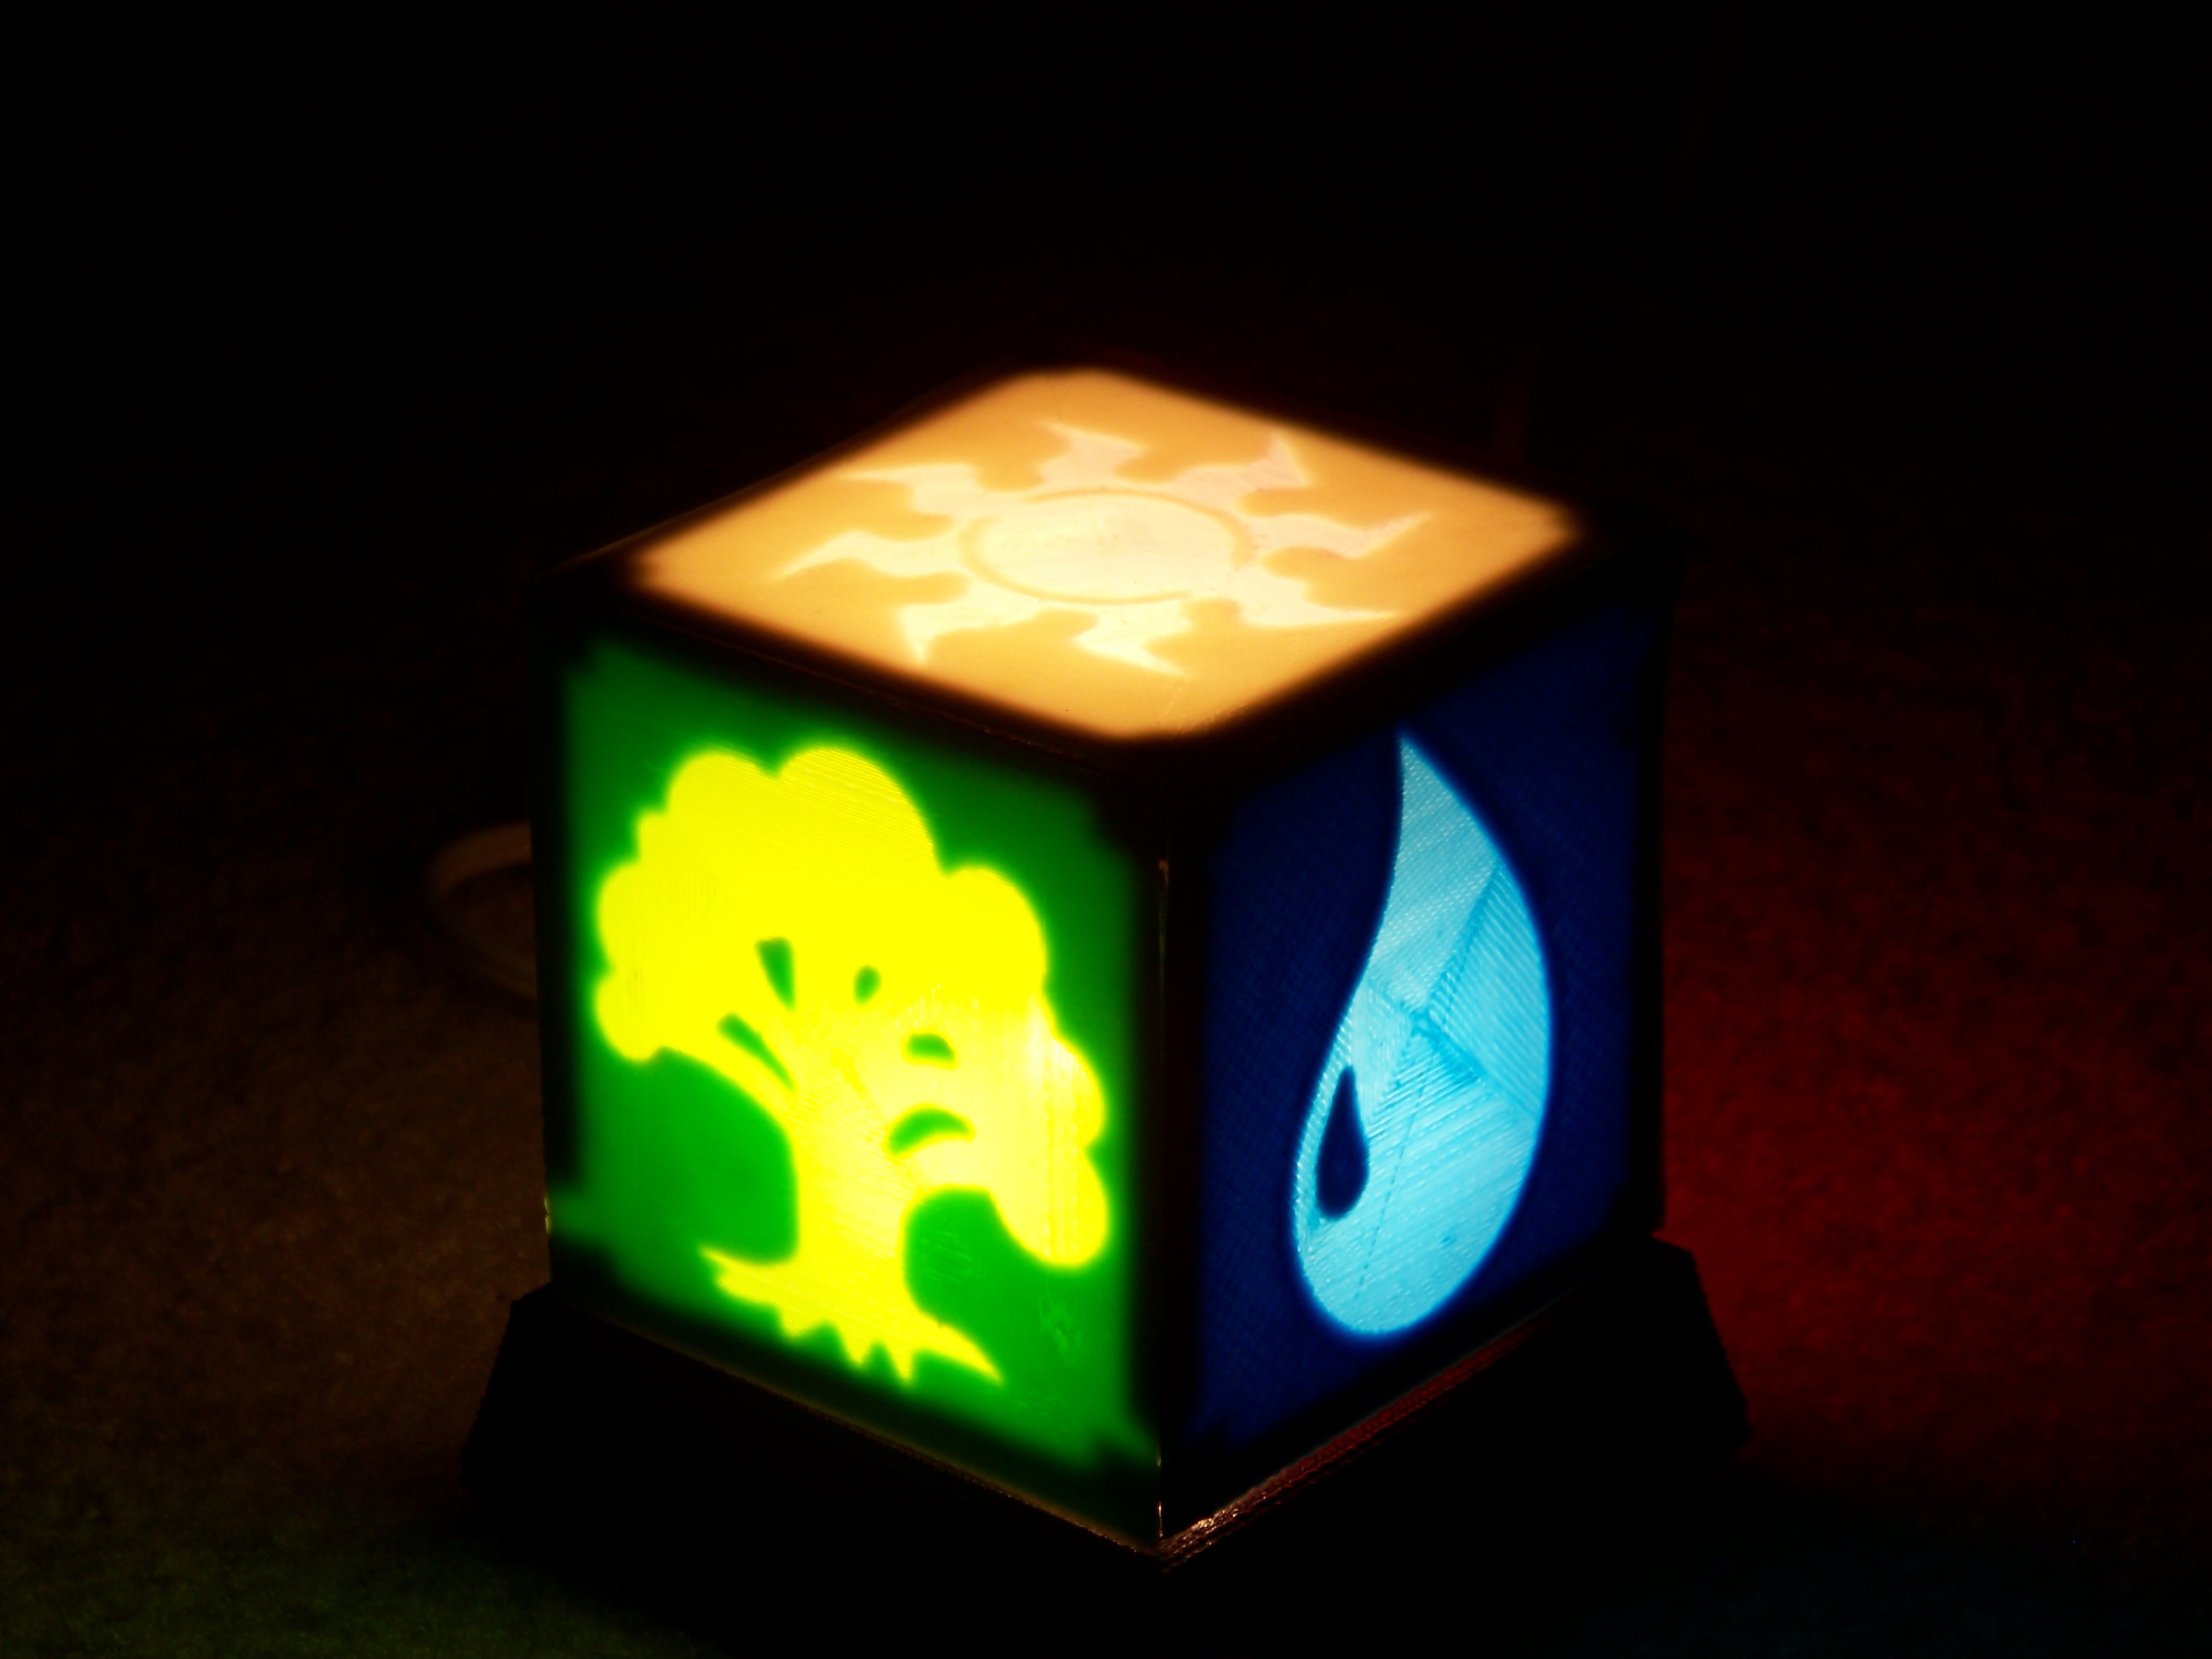
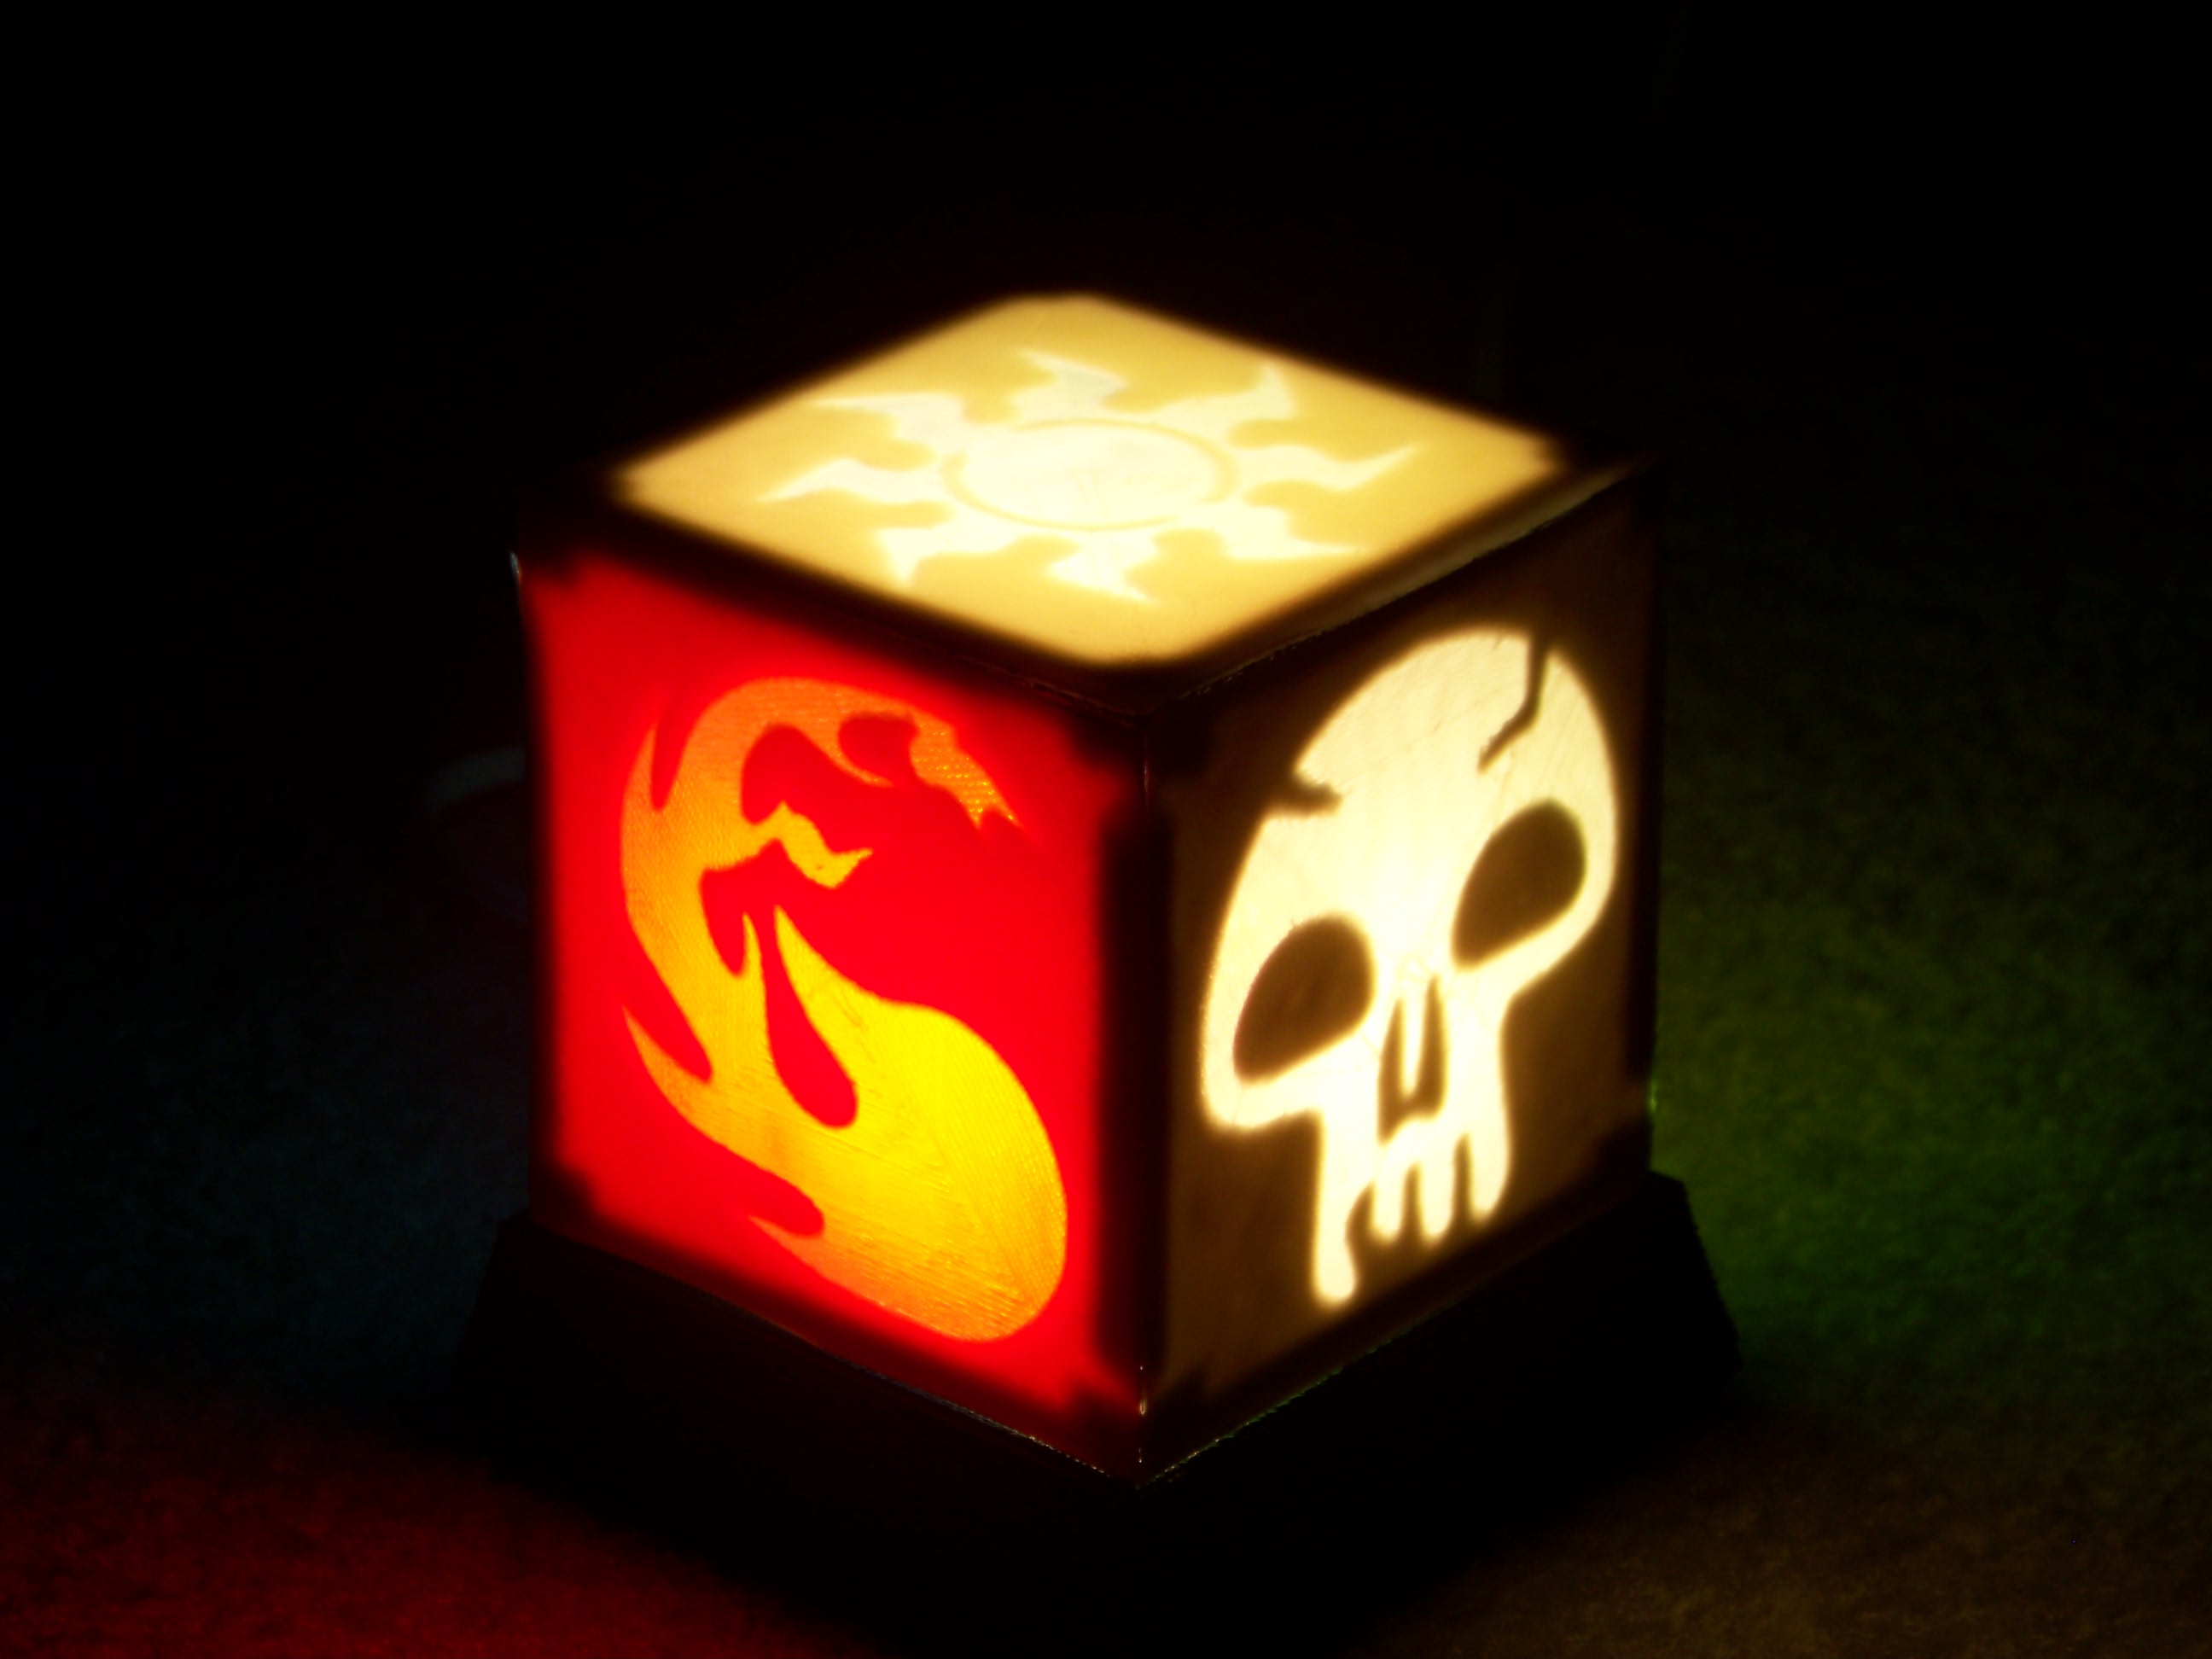
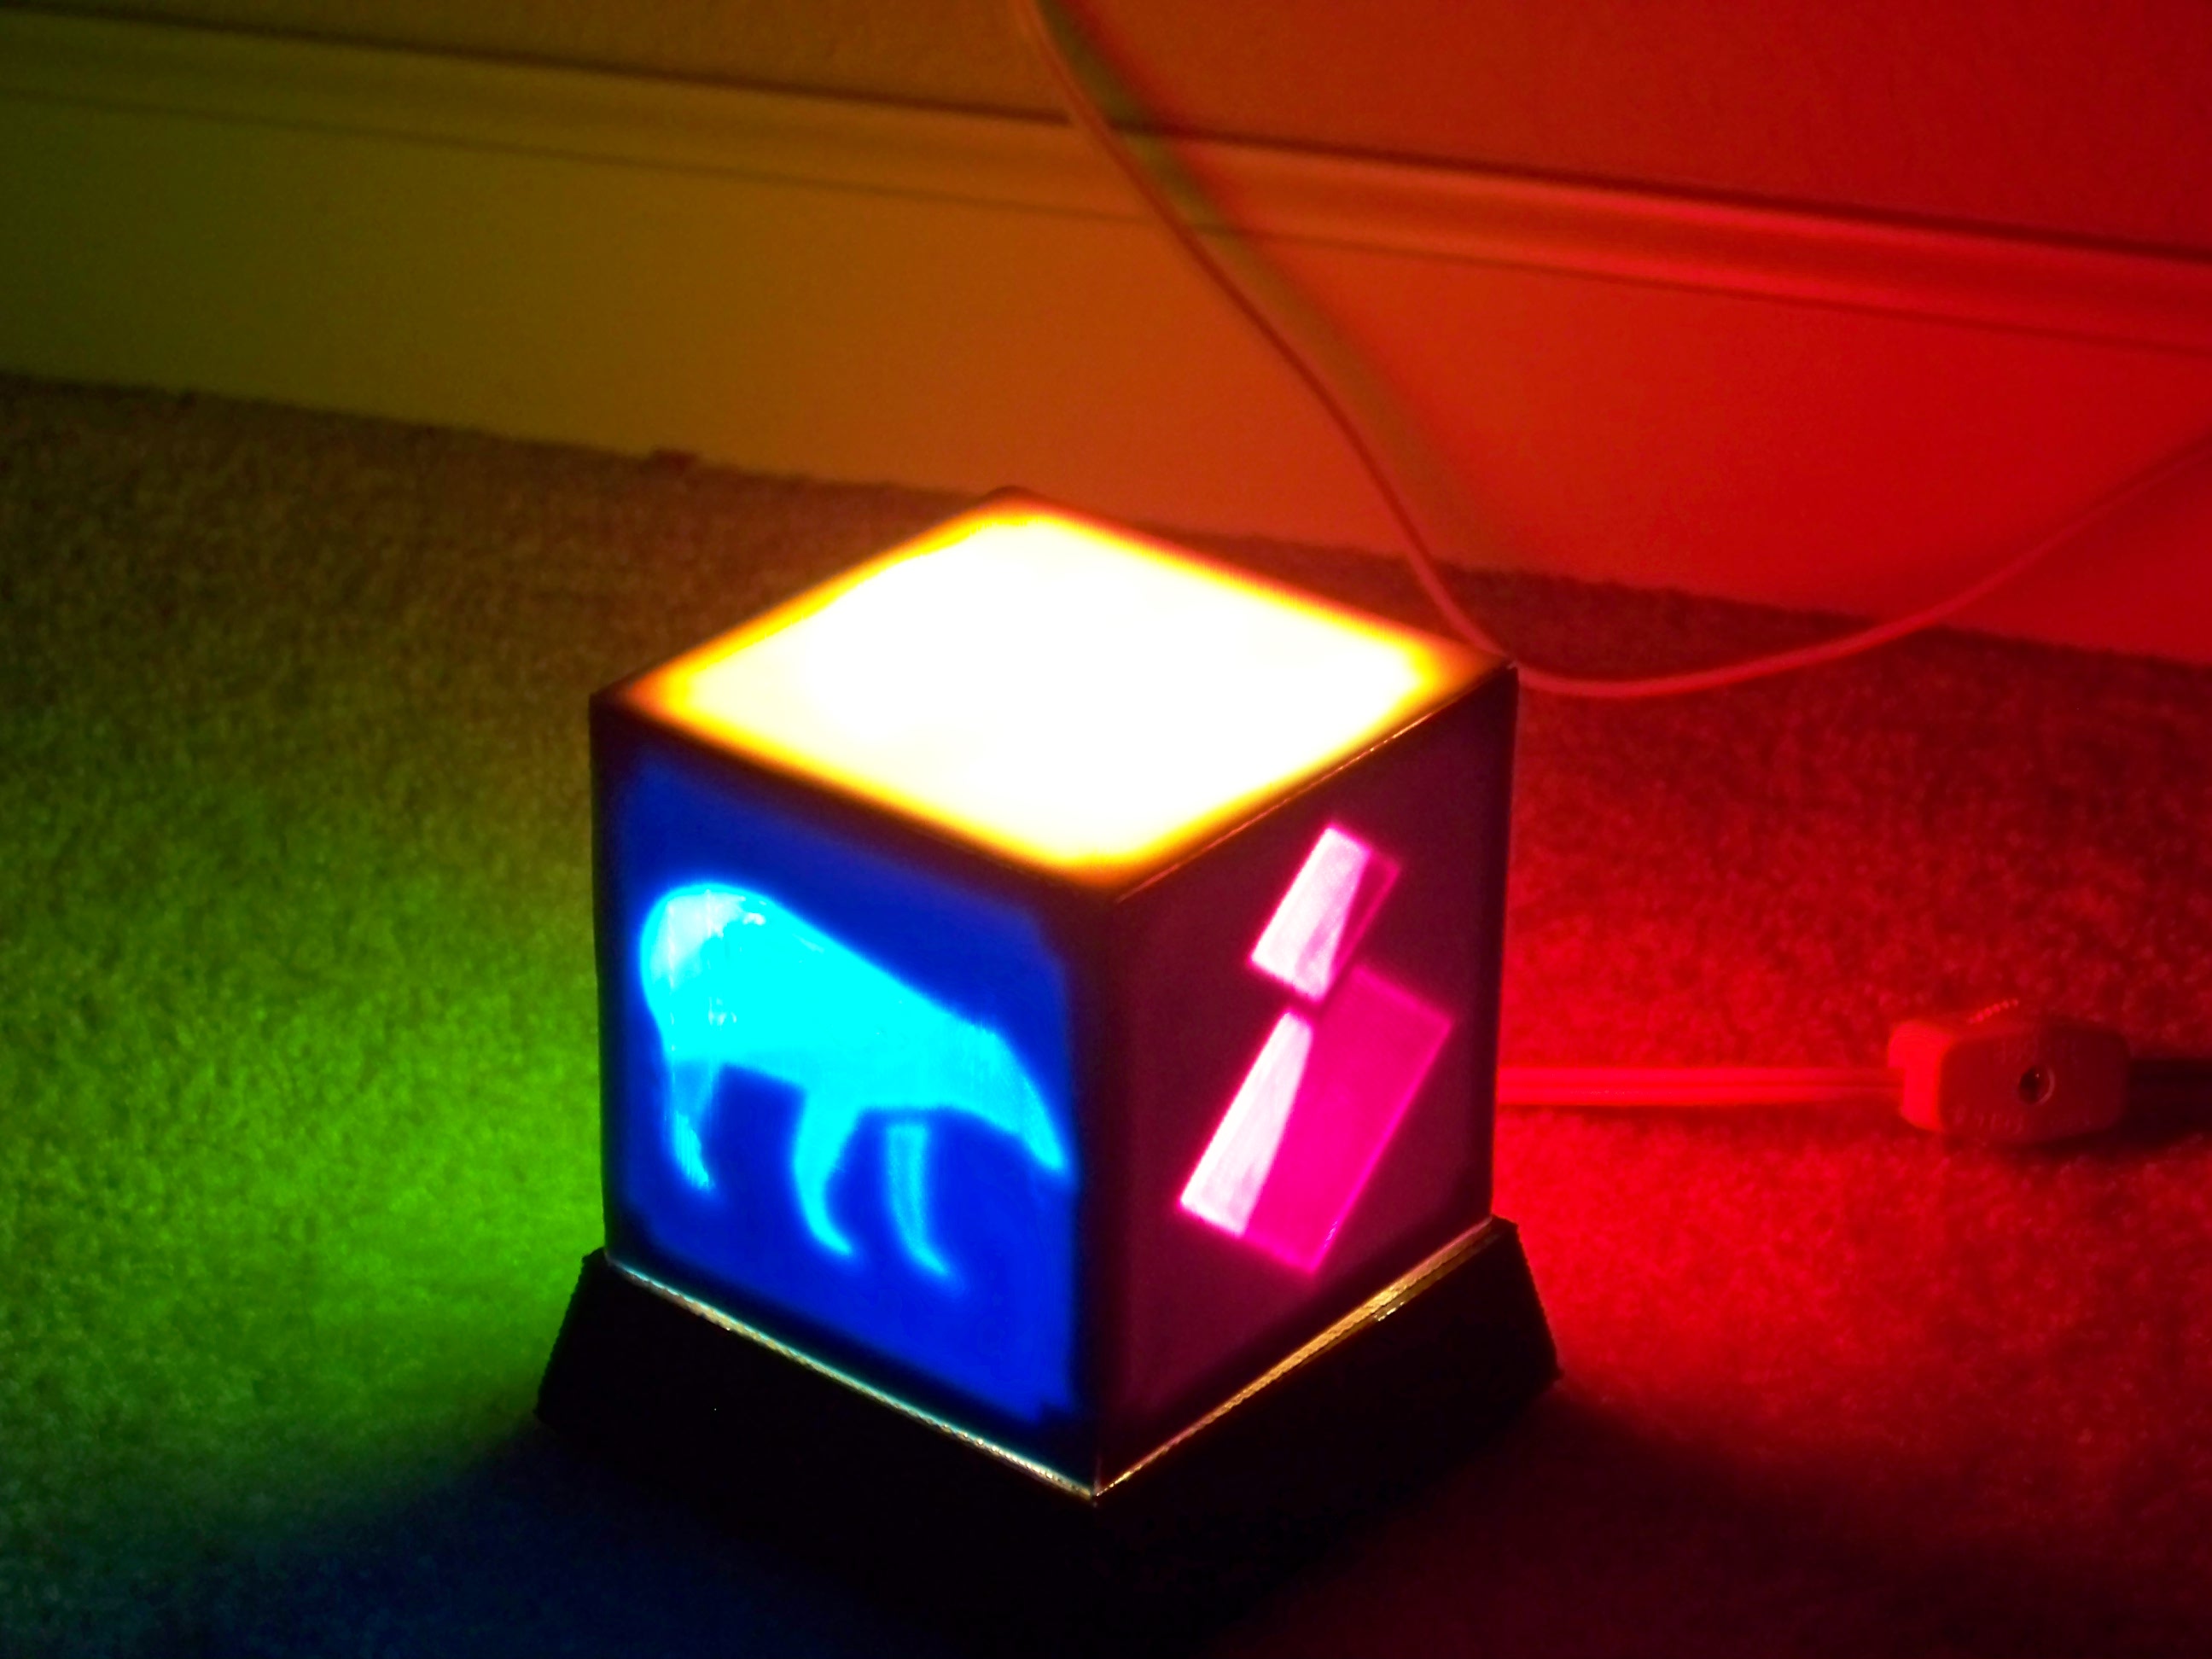
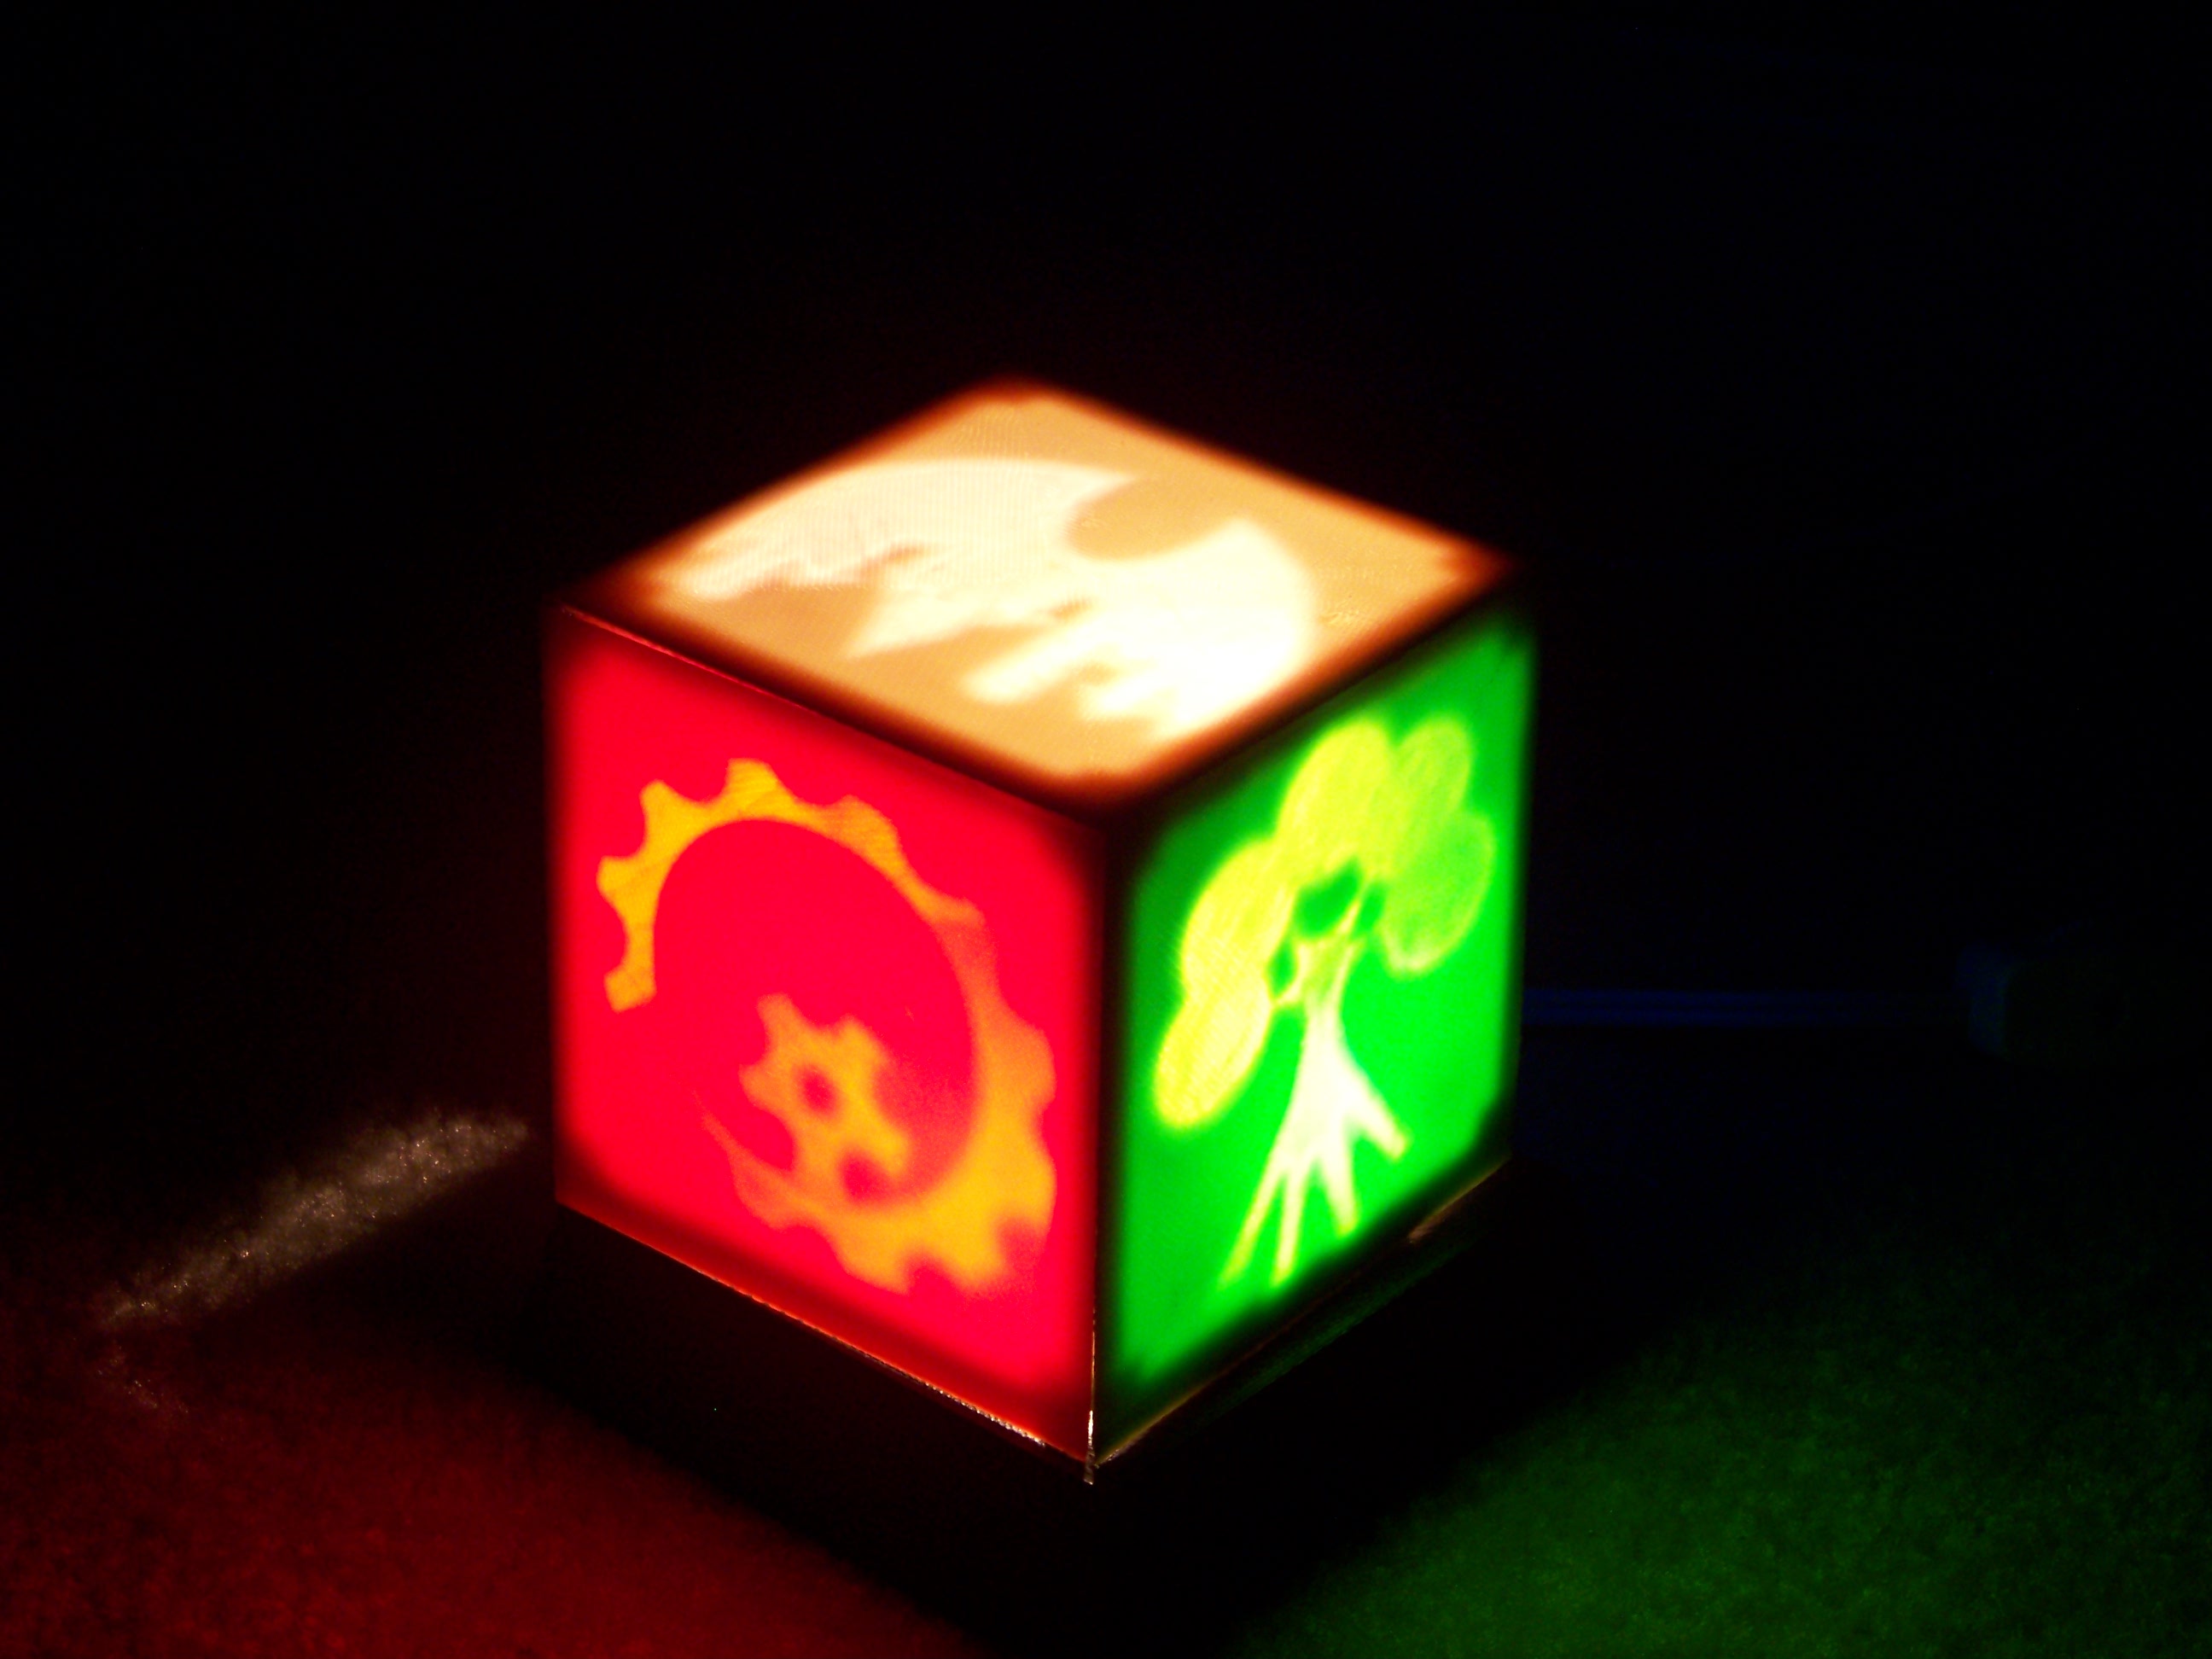
The Magic: The Gathering/Guild Wars 2 Lamps:
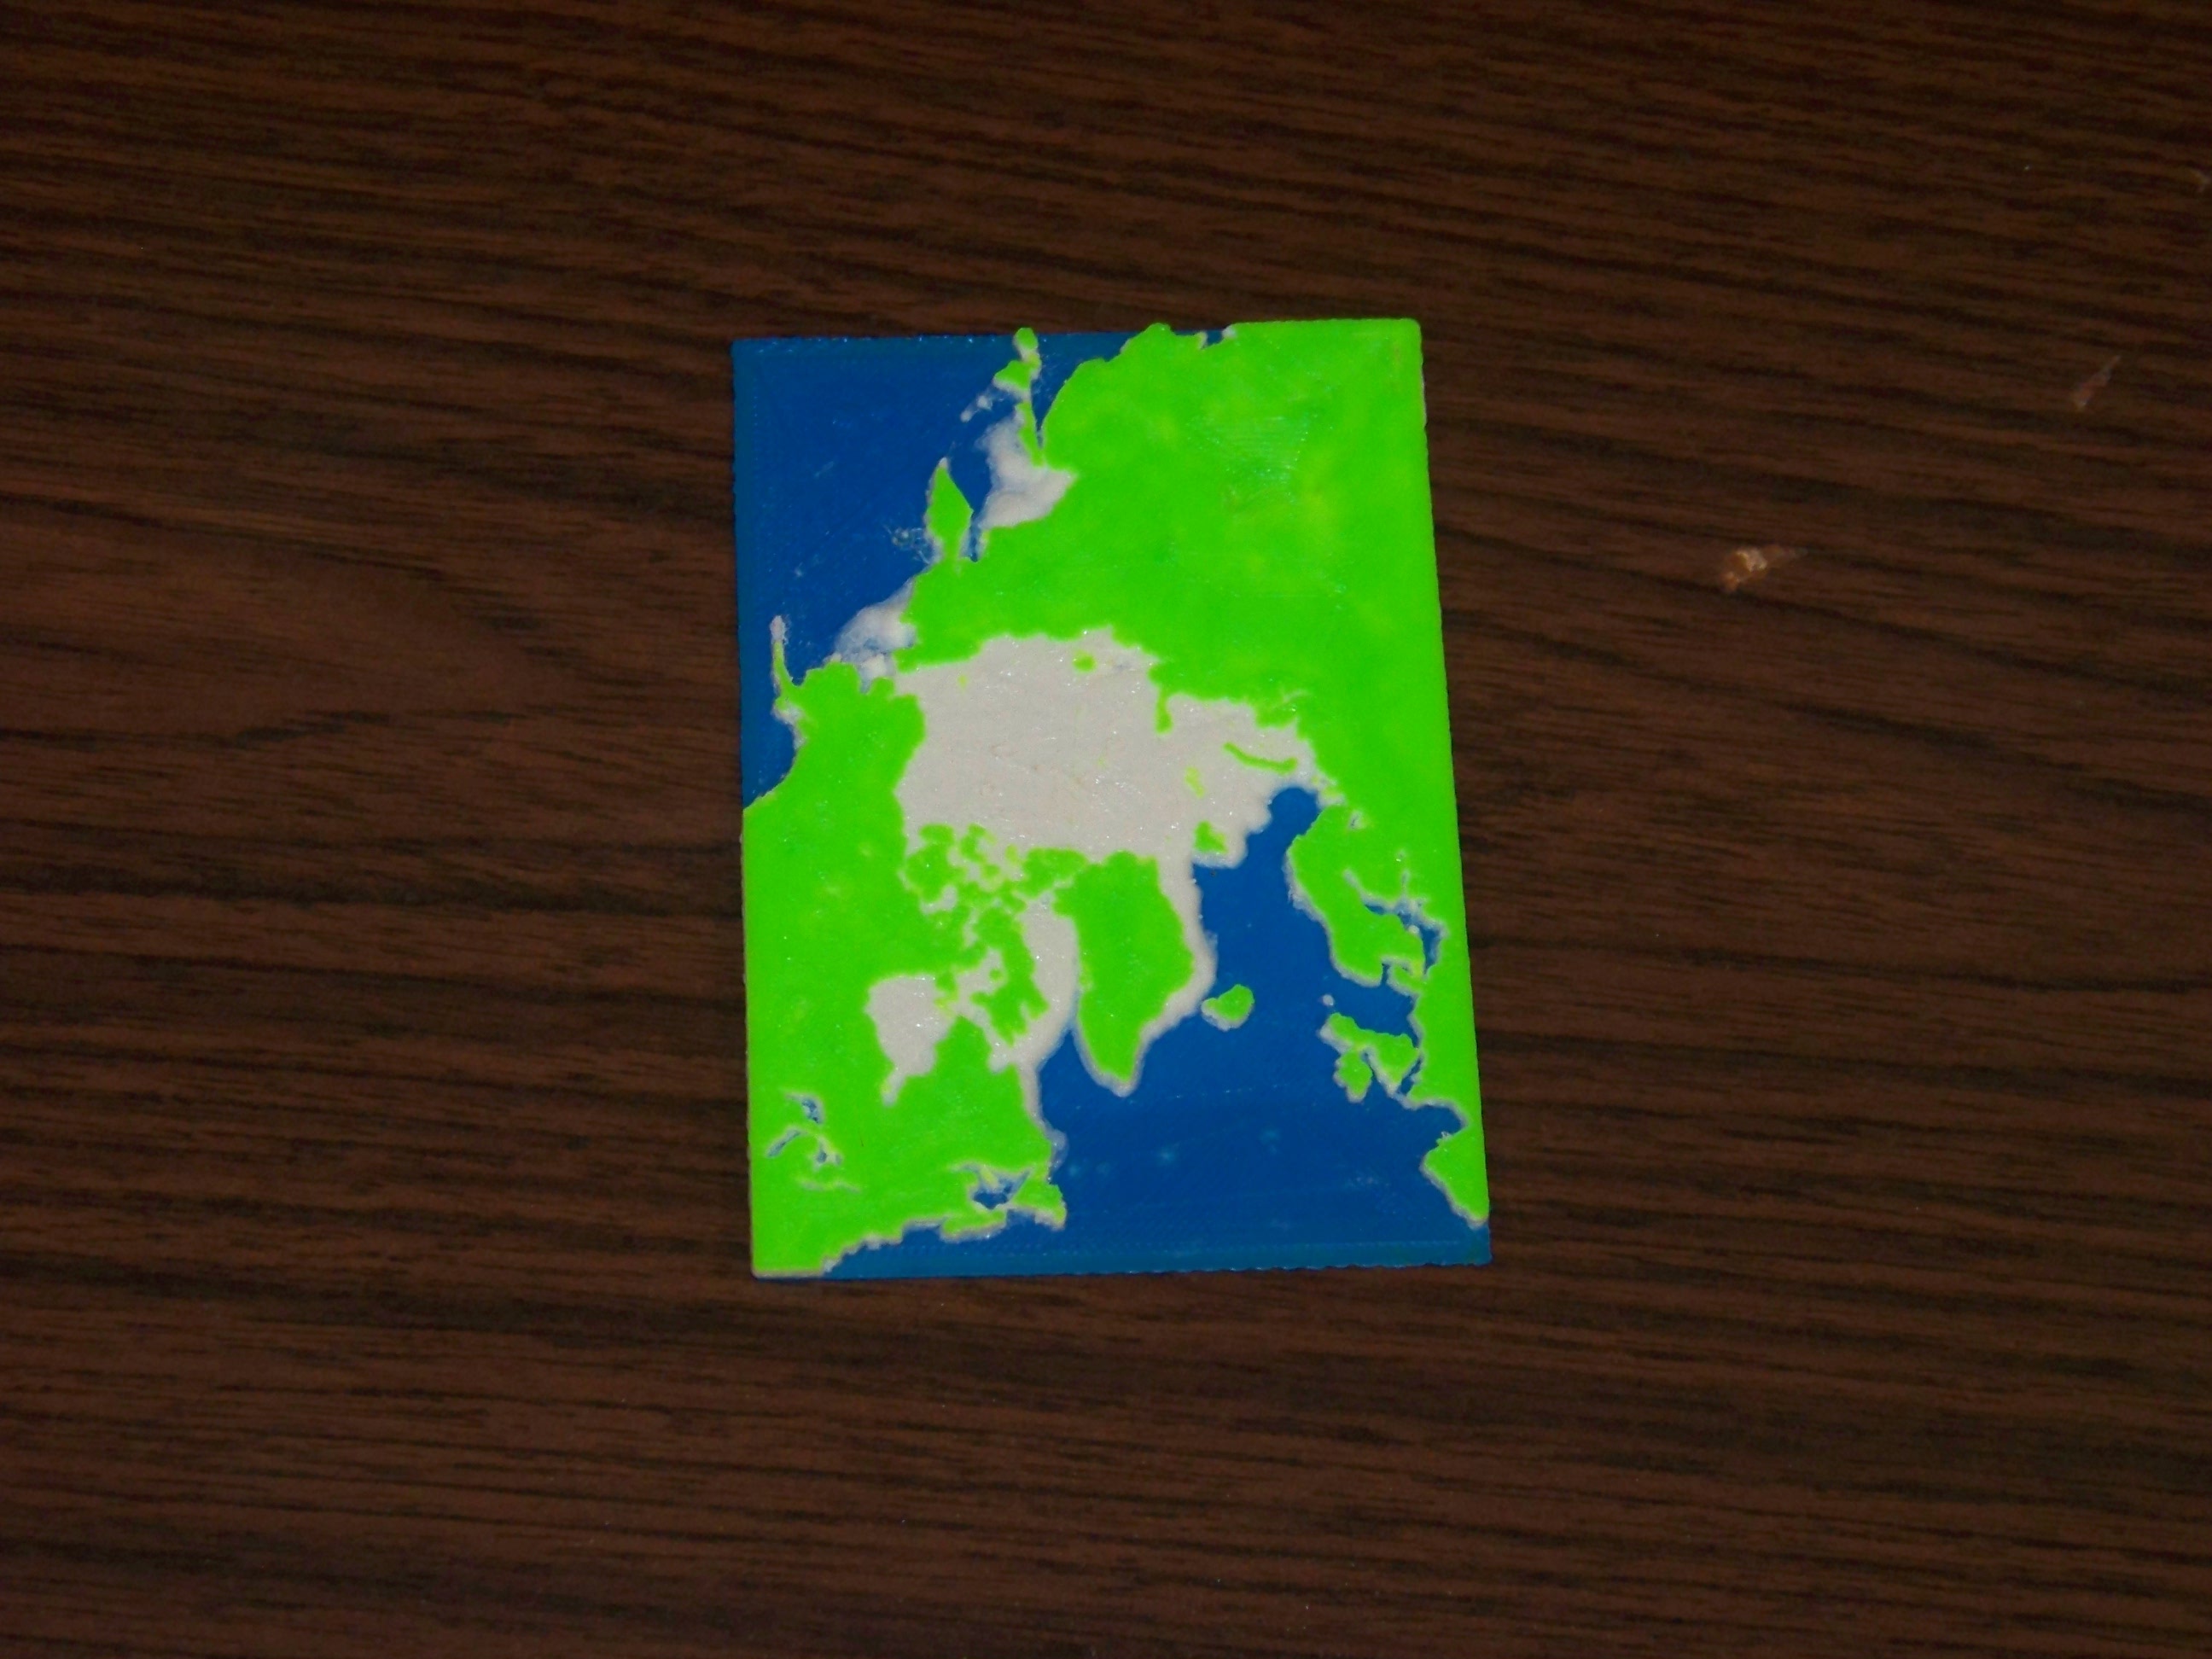
And the Arctic Sea Ice Concentration map:
I have two different algorithms for this right now, primarily taking different philosophies about how to interpret a pixel. In my first algorithm, I interpret a pixel as a single point, and create faces by linear interpolation between those points. This gives me shapes like this:
     /|\
___ / | \ ___
   |  |  |
   | / \ |
___|/   \|___
The nice thing about this algorithm is that within an nxm grid of pixels, there are only 2(n-1)(m-1) triangles (need two triangles per square face) and the linear interpolation between pixels is quite trivial. The catch with this particular algorithm is that there are no shear vertical faces – you’re always interpolating between two adjacent pixels. This caused some strangeness in the perimeters in particular because they were truncated pyramids rather than proper prisms. However, this also provides smooth transitions in greyscale images, and helps hide pixilation.
In my second algorithm, I interpret a pixel as a square of the given height, then create shear faces up or down to adjacent pixels. It creates shapes like this:
    ___
   |   |
___|   |___
   |___|
   |   |
___|   |___
This uses about three times as many faces in the worst case as 2(3nm – n – m) triangles (consider a checkerboard image) and uses only slightly more in the best case 2nm (consider a flat surface). Using this algorithm cleaned up the perimeter issue, and led to significantly smoother prints with round tokens. For icon-like images, it also provides a bit more crispness to edges, which I suspect (though haven’t proven) helps the slicer a bit.
Overall, I’m generally happy with this process, but am continually trying to improve upon it. One thing both of these algorithms have is that they are simple and easy to understand. This was my primary goal to start, as it can be very tricky to understand why slicing/printing fails if the geometries are very complex. On the other hand, they both generate a lot of triangles which limits the size of things I can make. I’d like to have an algorithm that reduces this in post-processing or, even better, during processing. I’m also working on whether I can run my algorithm on a graphics card – it is embarrassingly parallel and is really just constructing triangles, so this seems like it should be easy.