
The last couple of weeks, I have talked about how I got started in 3D printing, including setting up my software toolchain, and selecting the 3D printer I wanted to get. This week, I wanted to talk about a project I’ve been poking at for a couple of weeks, and have finally gotten to the point where I have produced some positive results.
You see, I like spaceships. And games that feature spaceships. While the first game that probably comes to mind is EVE Online, the project I started with is actually for Sins of a Solar Empire. In particular, Sins of a Solar Empire has a very active modding community, and Ironclad has provided the community with a great tool chain for doing just about anything to the game – including messing with the models. So, with very little effort, a little bit of perl (and, actually, without having to download anything), I was able to extract the meshes for the capital ships and export them to .stl files. If you remember from my first post, getting an STL file is the first step toward getting something to print on a 3D printer.
I say the first step, because, as I would find out, it’s not perfectly plug-and-chug from there. Up until this point, all of my objects have been very simple: the discs were basic convex solids; and the card holders were really just hollow boxes. Simple models lead to very simple gcode, and my printer was able to crank them out without too much fuss. On the other hand, spaceships are complicated – with overhangs, wingy bits, and turrets. To give some context, the discs had 48 vertices and 92 faces, and the card holders were 28 vertices, 52 faces, while the first ship I extracted had 1883 vertices and 3235 faces. When I tried to slice this to gcode, slic3r and KISSlicer both complained about self-intersecting facets and holes, which made the gcode object into a big mess of silly string. Luckly Repetier-Host’s gcode preview ability prevented me from printing these early trials, but it still left me scratching my head on what to do next.
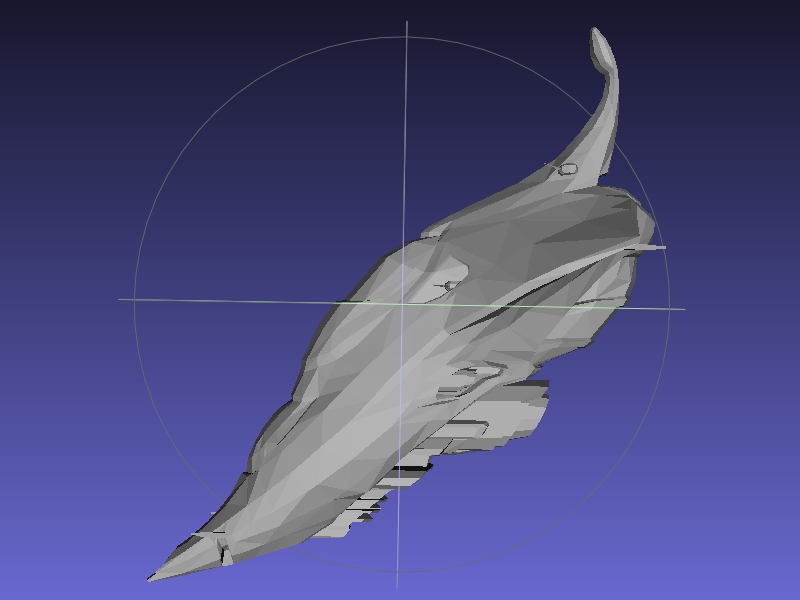
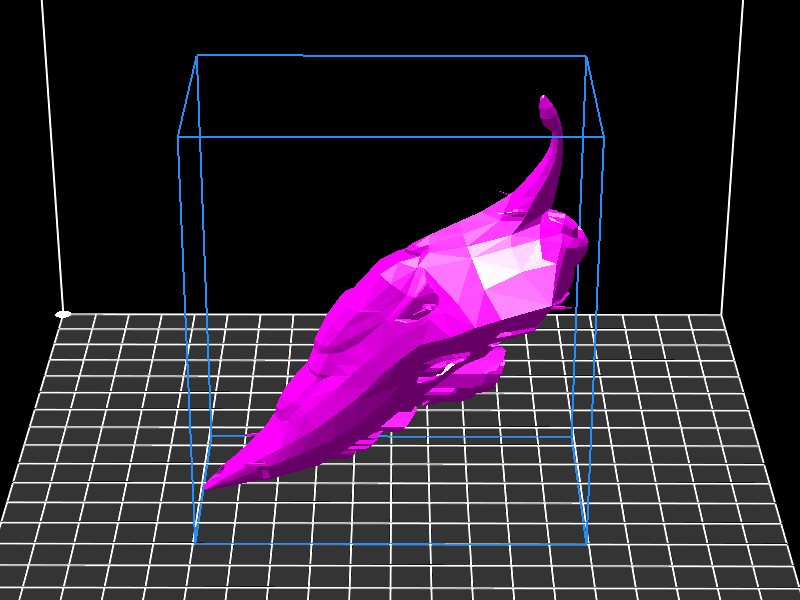
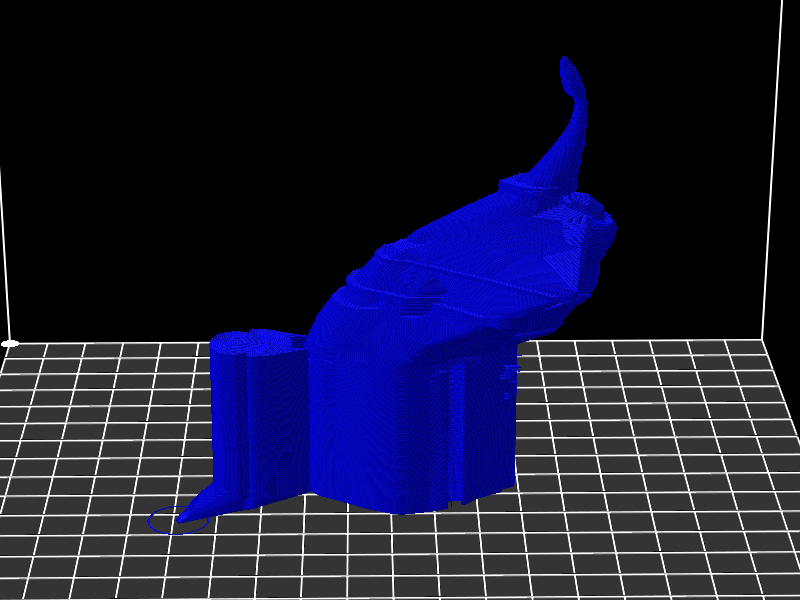
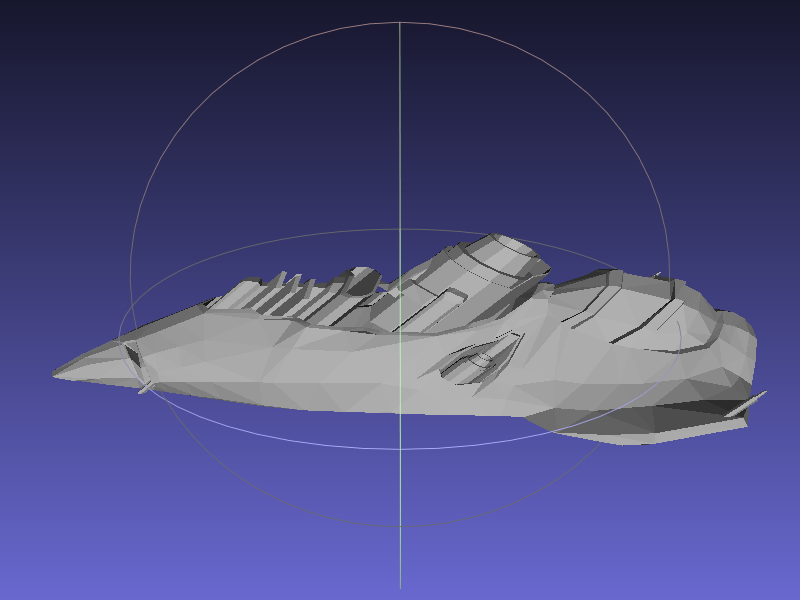
As an example, here is a picture of my favorite Sins capital ship – the Advent Revelation Battlecruiser (It’s the one that makes planets scream – Provoke Hysteria). The first picture is from MeshLab (a mesh visualization tool that I’ve been using to look at my stl files), the second is Repetier-Host’s visualization of the stl, and then its visualization of the gcode after slicing (without supports).
Thankfully, the Internet is the place everyone goes when they have a problem, and, it turns out, lots of people have the problem of self-intersecting facets and holes in the models they want to print. There seemed to be very few good solutions, however, and only one viable free option that seemed to fix the problems I was having – it’s a cloud solution though, and I generally detest cloud solutions. After fussing around with as many other tools as I could find (that all failed), as well as attempting to do some massaging by hand, I decided I would try the cloud option, and promised myself that I would write something if the rest of this was still feasible. As an aside, the mesh I got back was 2626 vertices and 5248 faces, but at least it wasn’t any more complicated.
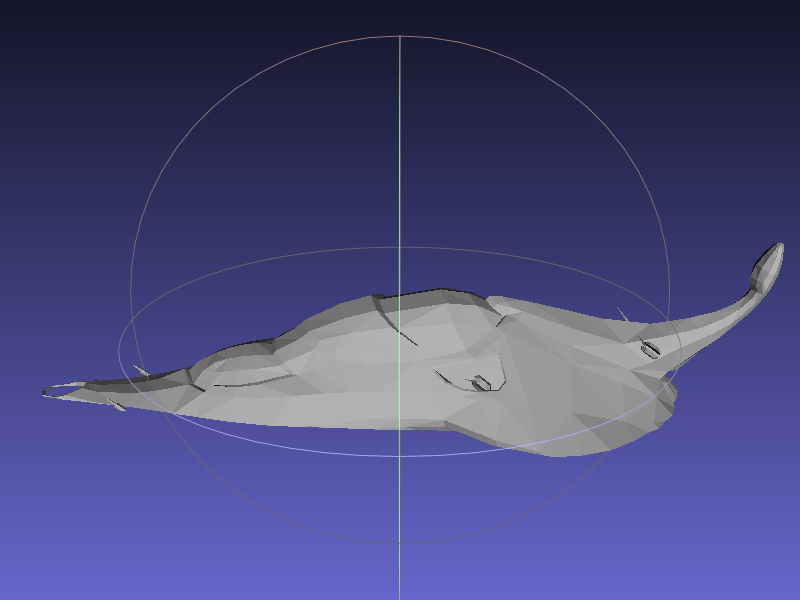
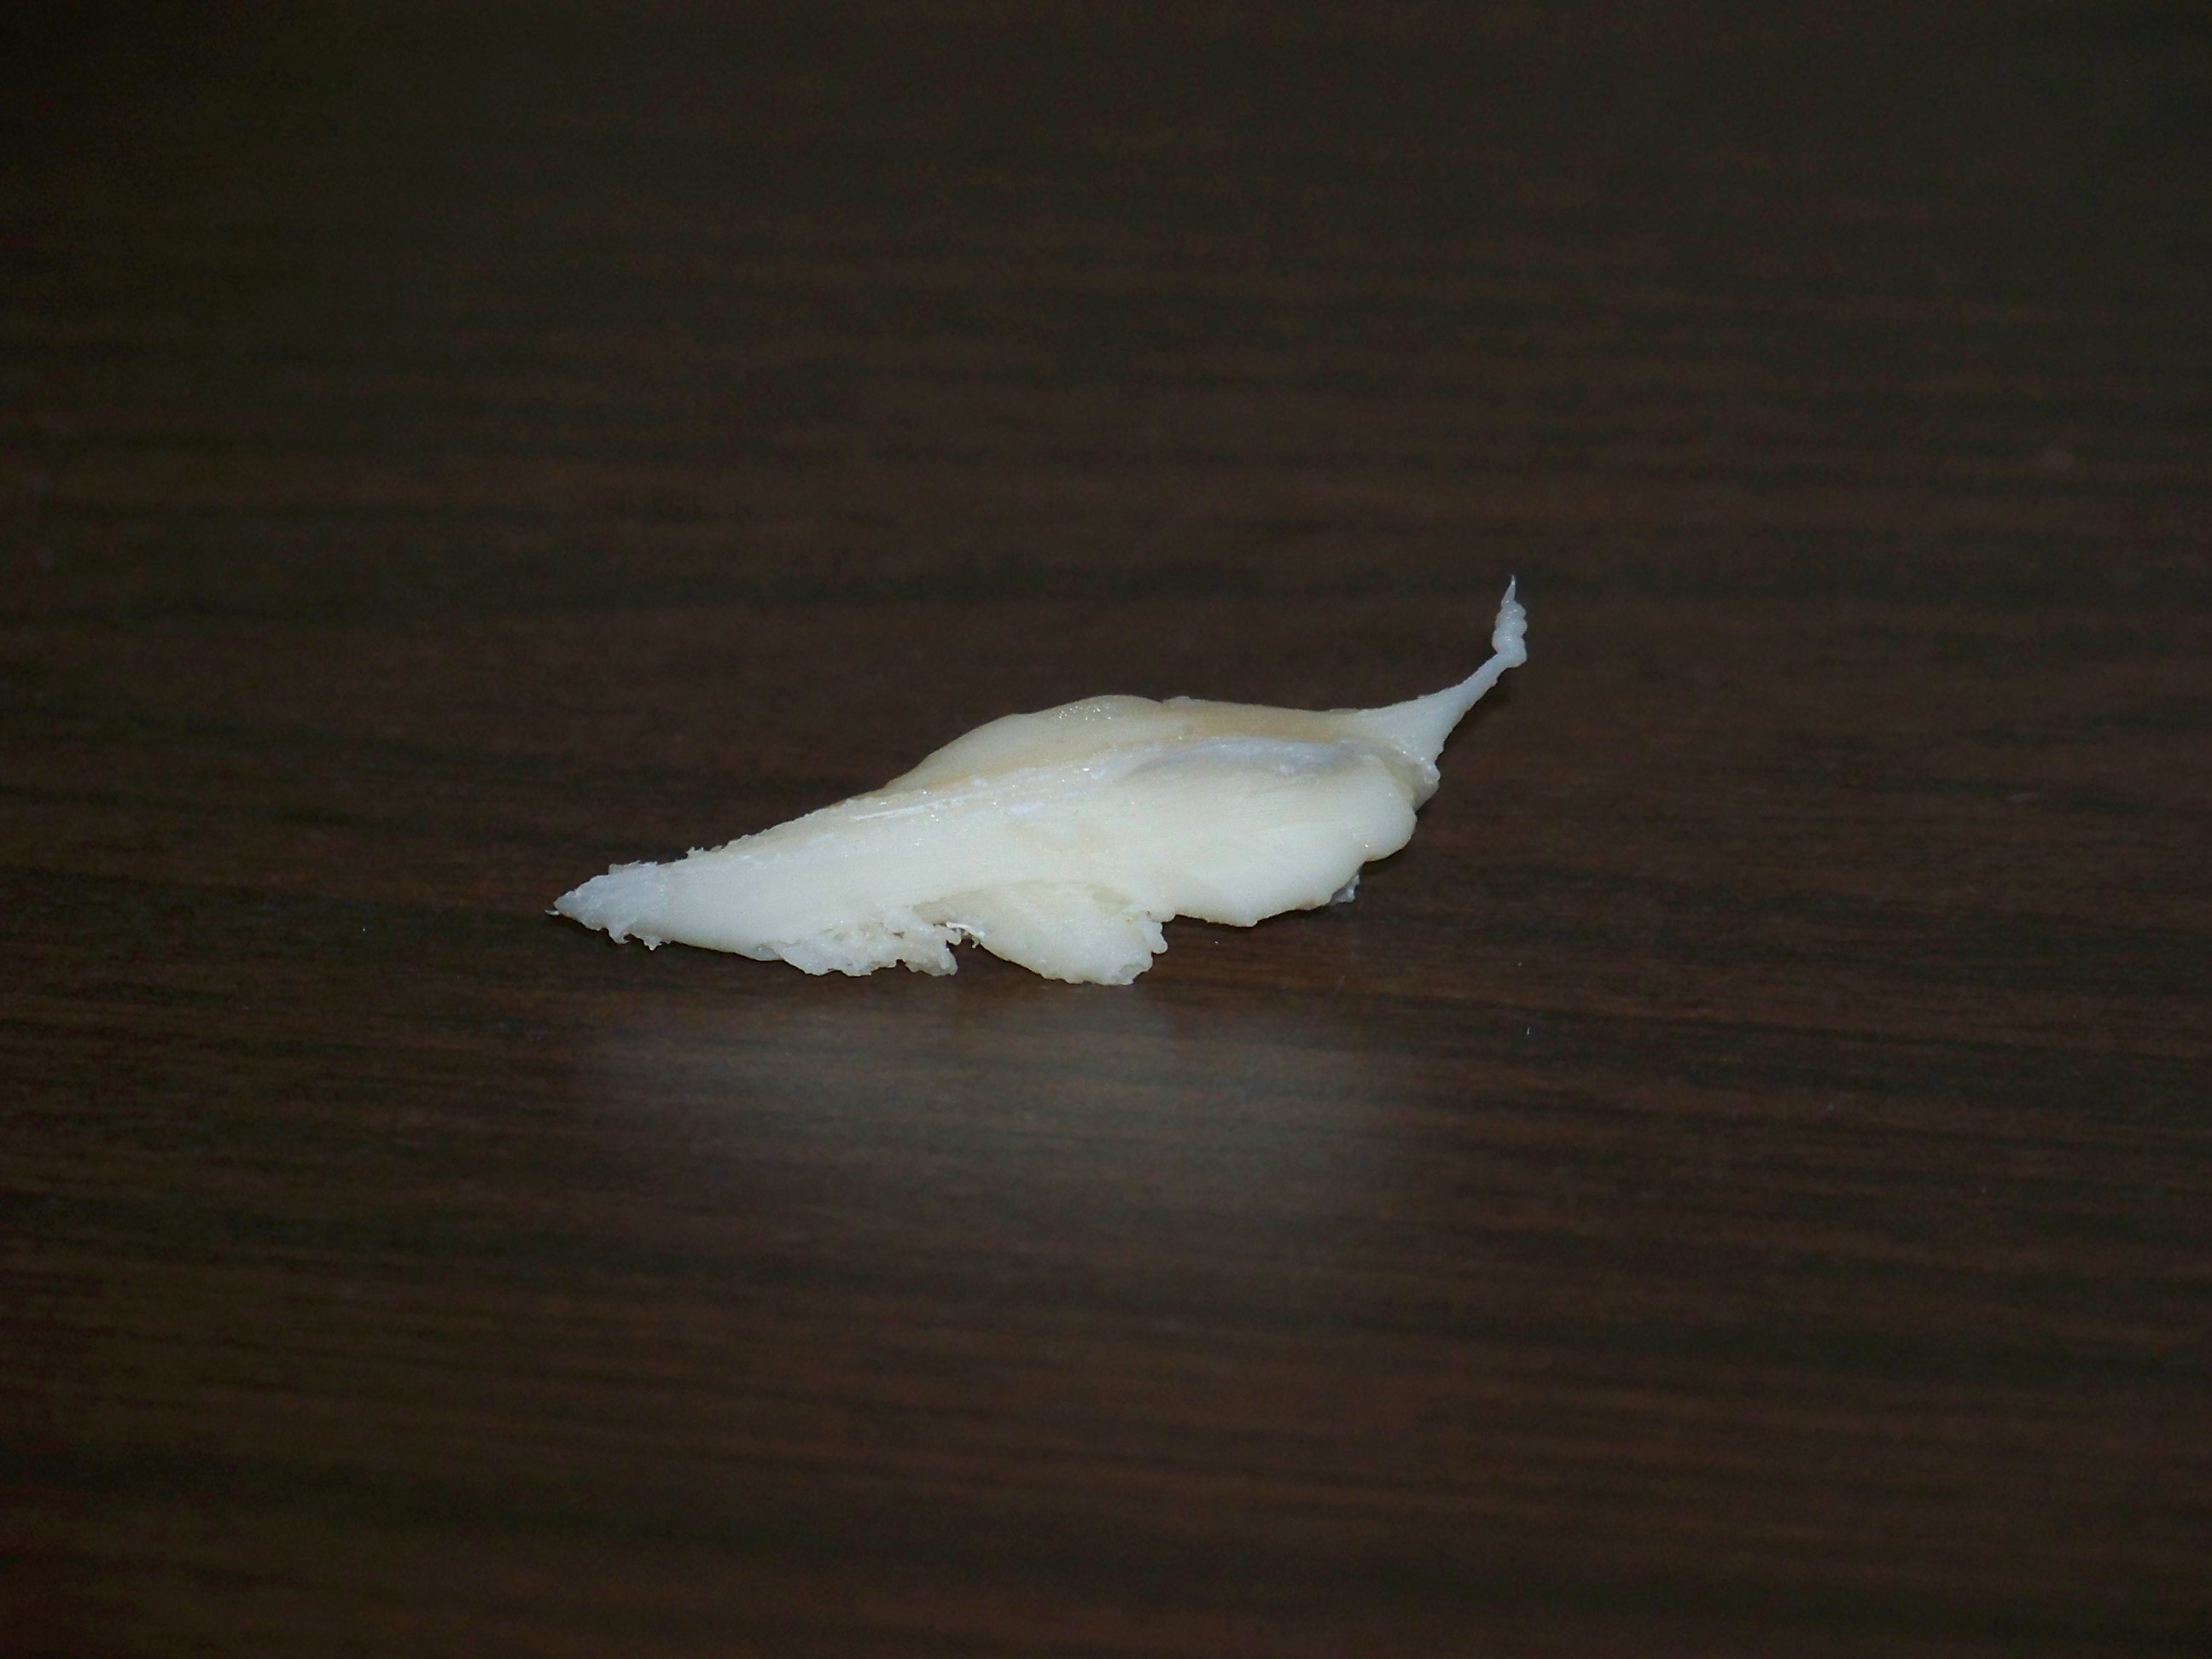
Once I got the fixed stl, I was able to rotate the mesh and slice it with support structures to get reasonable gcode. After trying to print it, however, I realized the problem that having a rough print-bed would cause… …The support structures didn’t stick well and I ended up with a couple failed prints of tangled plastic. In light of this, I devised a new script to add a raft to the stl, and resliced with the supports building on top of that. This worked well, and, after printing one normal, and one upside-down, I noted the lack of detail on whichever side was the bottom of the sliced mesh. It’s not horrible, but not ideal either.
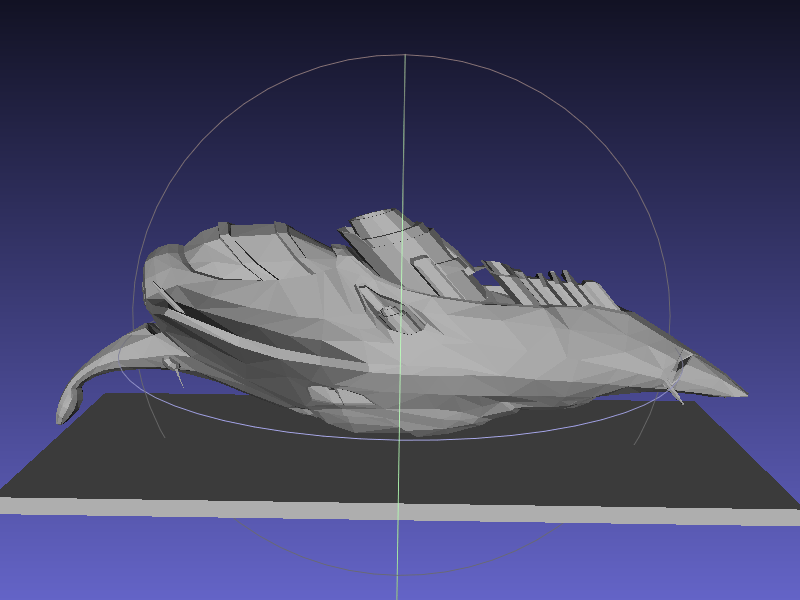
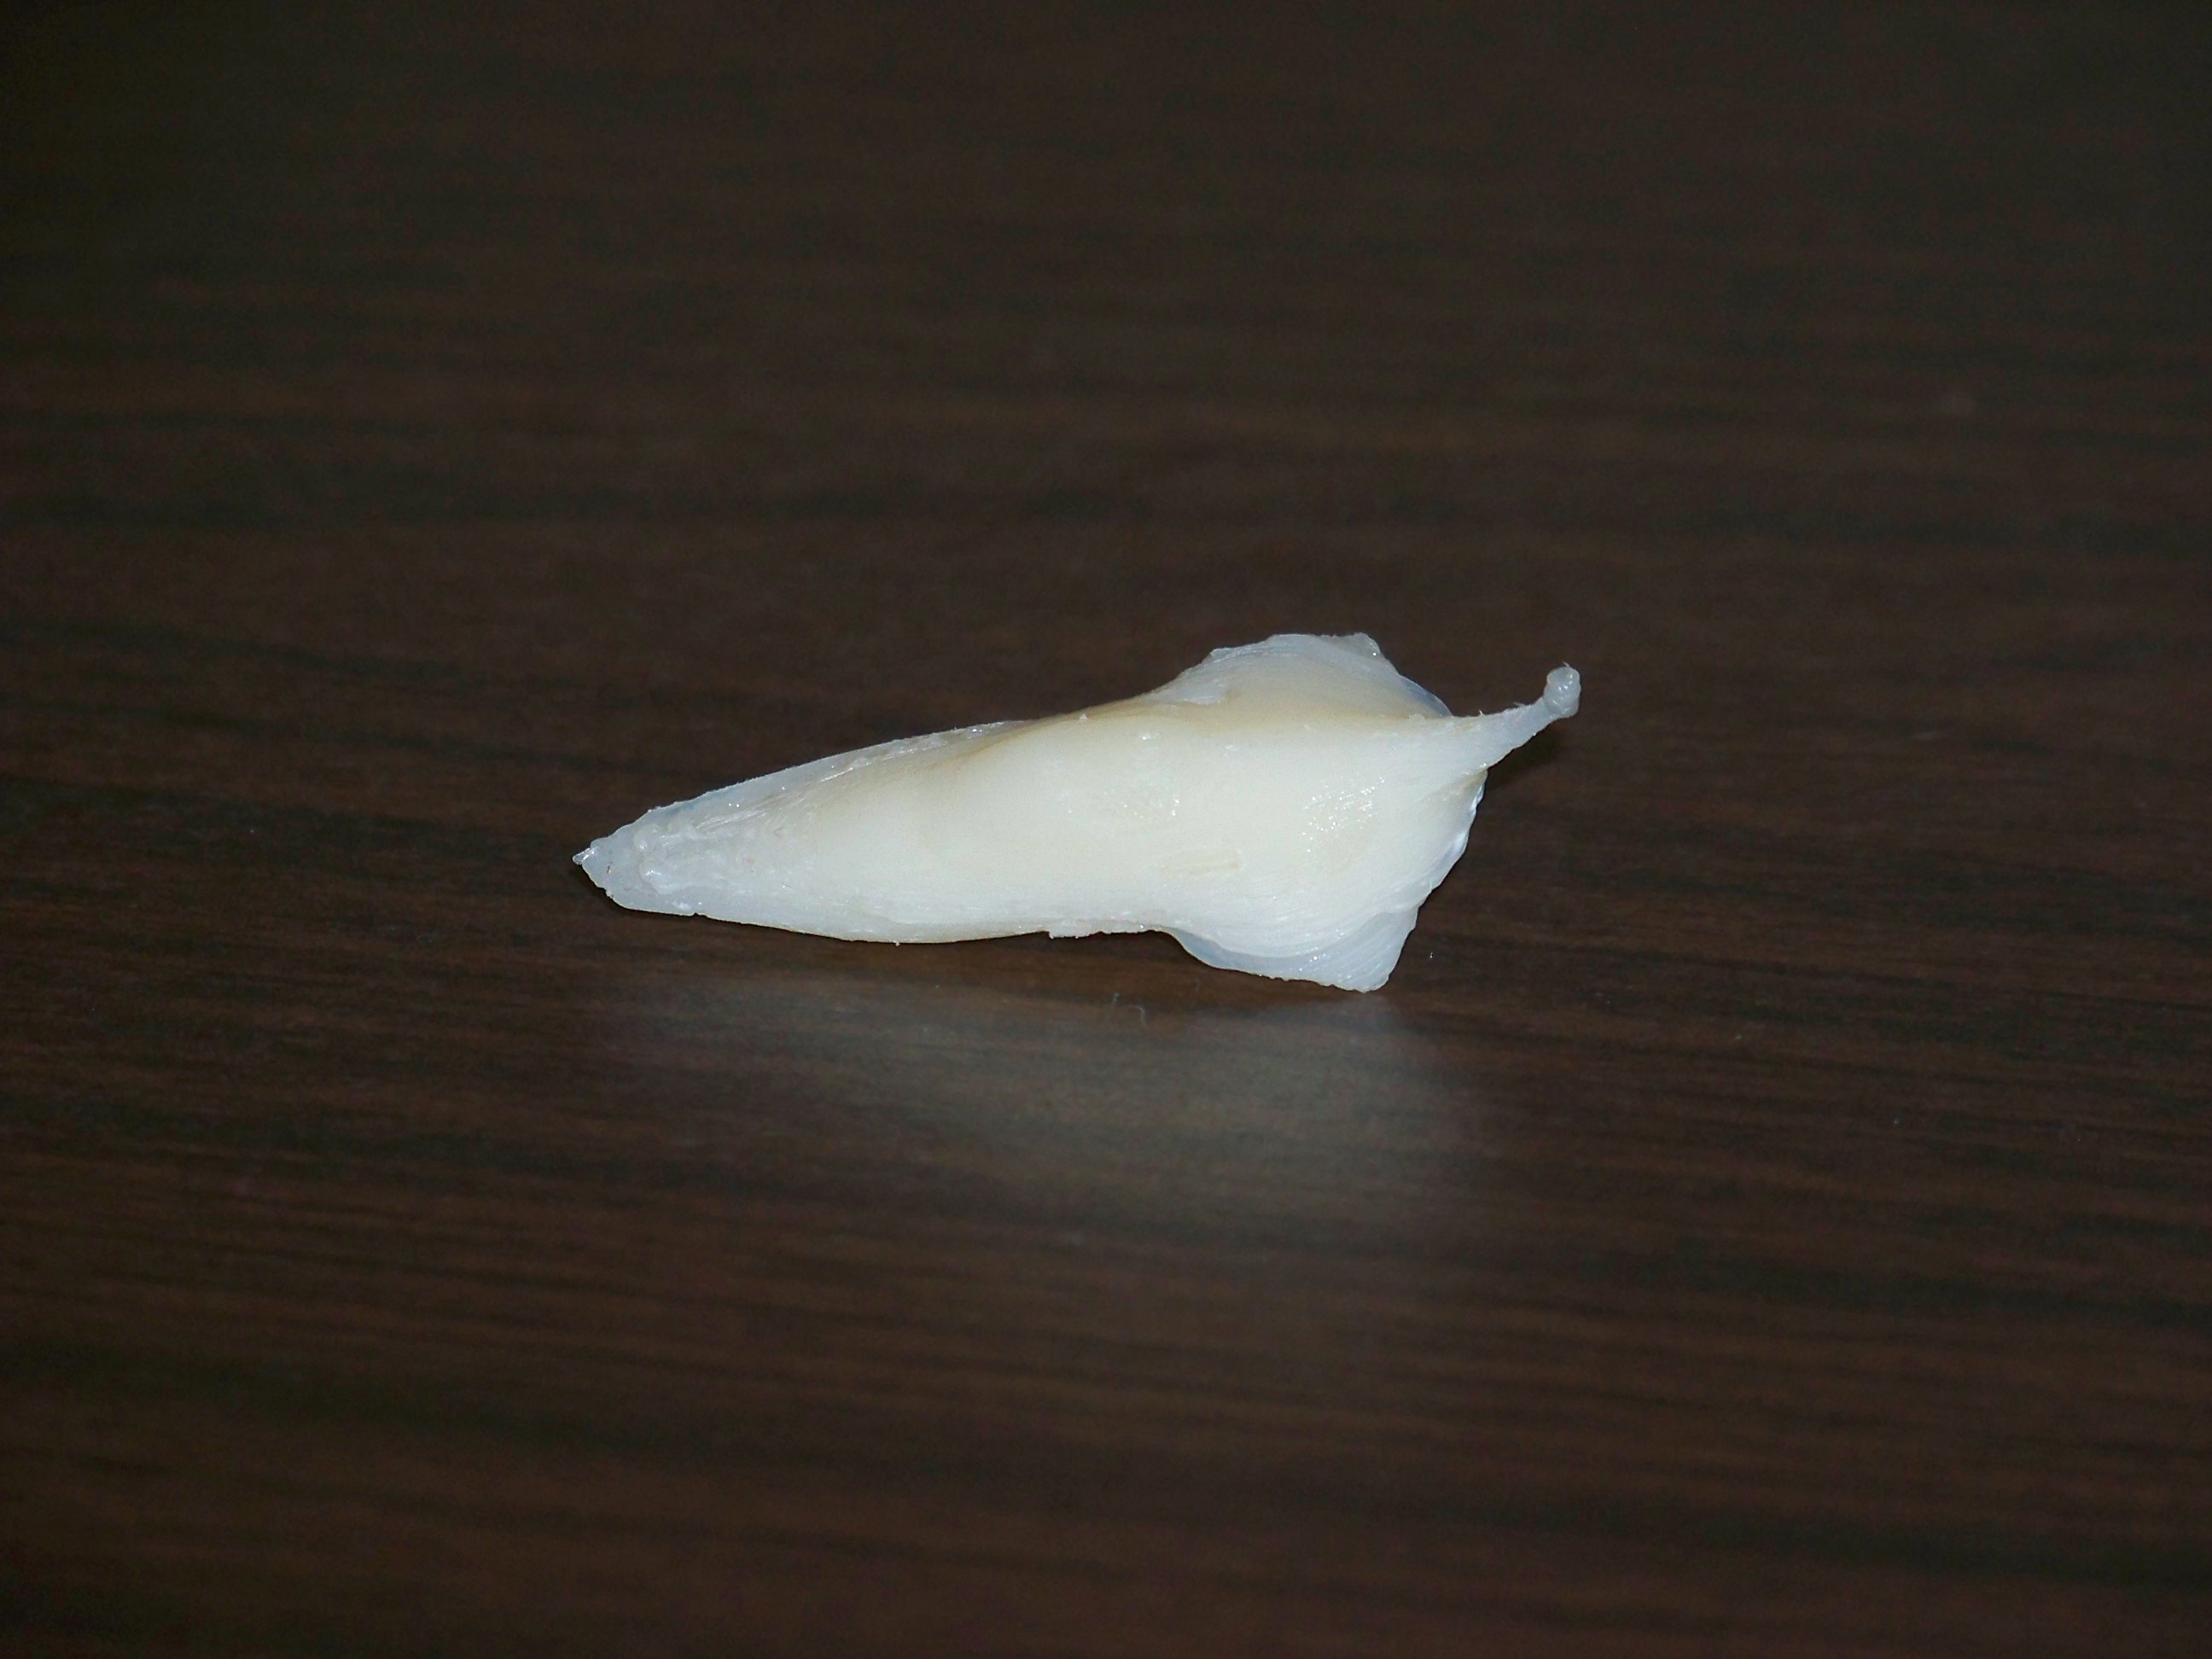
Here’s a couple of pictures of the model as output in MeshLab (for the upside-down case) and the two prints. The ship on the left is the right-side-up print, and the ship on the right is the upside-down case.
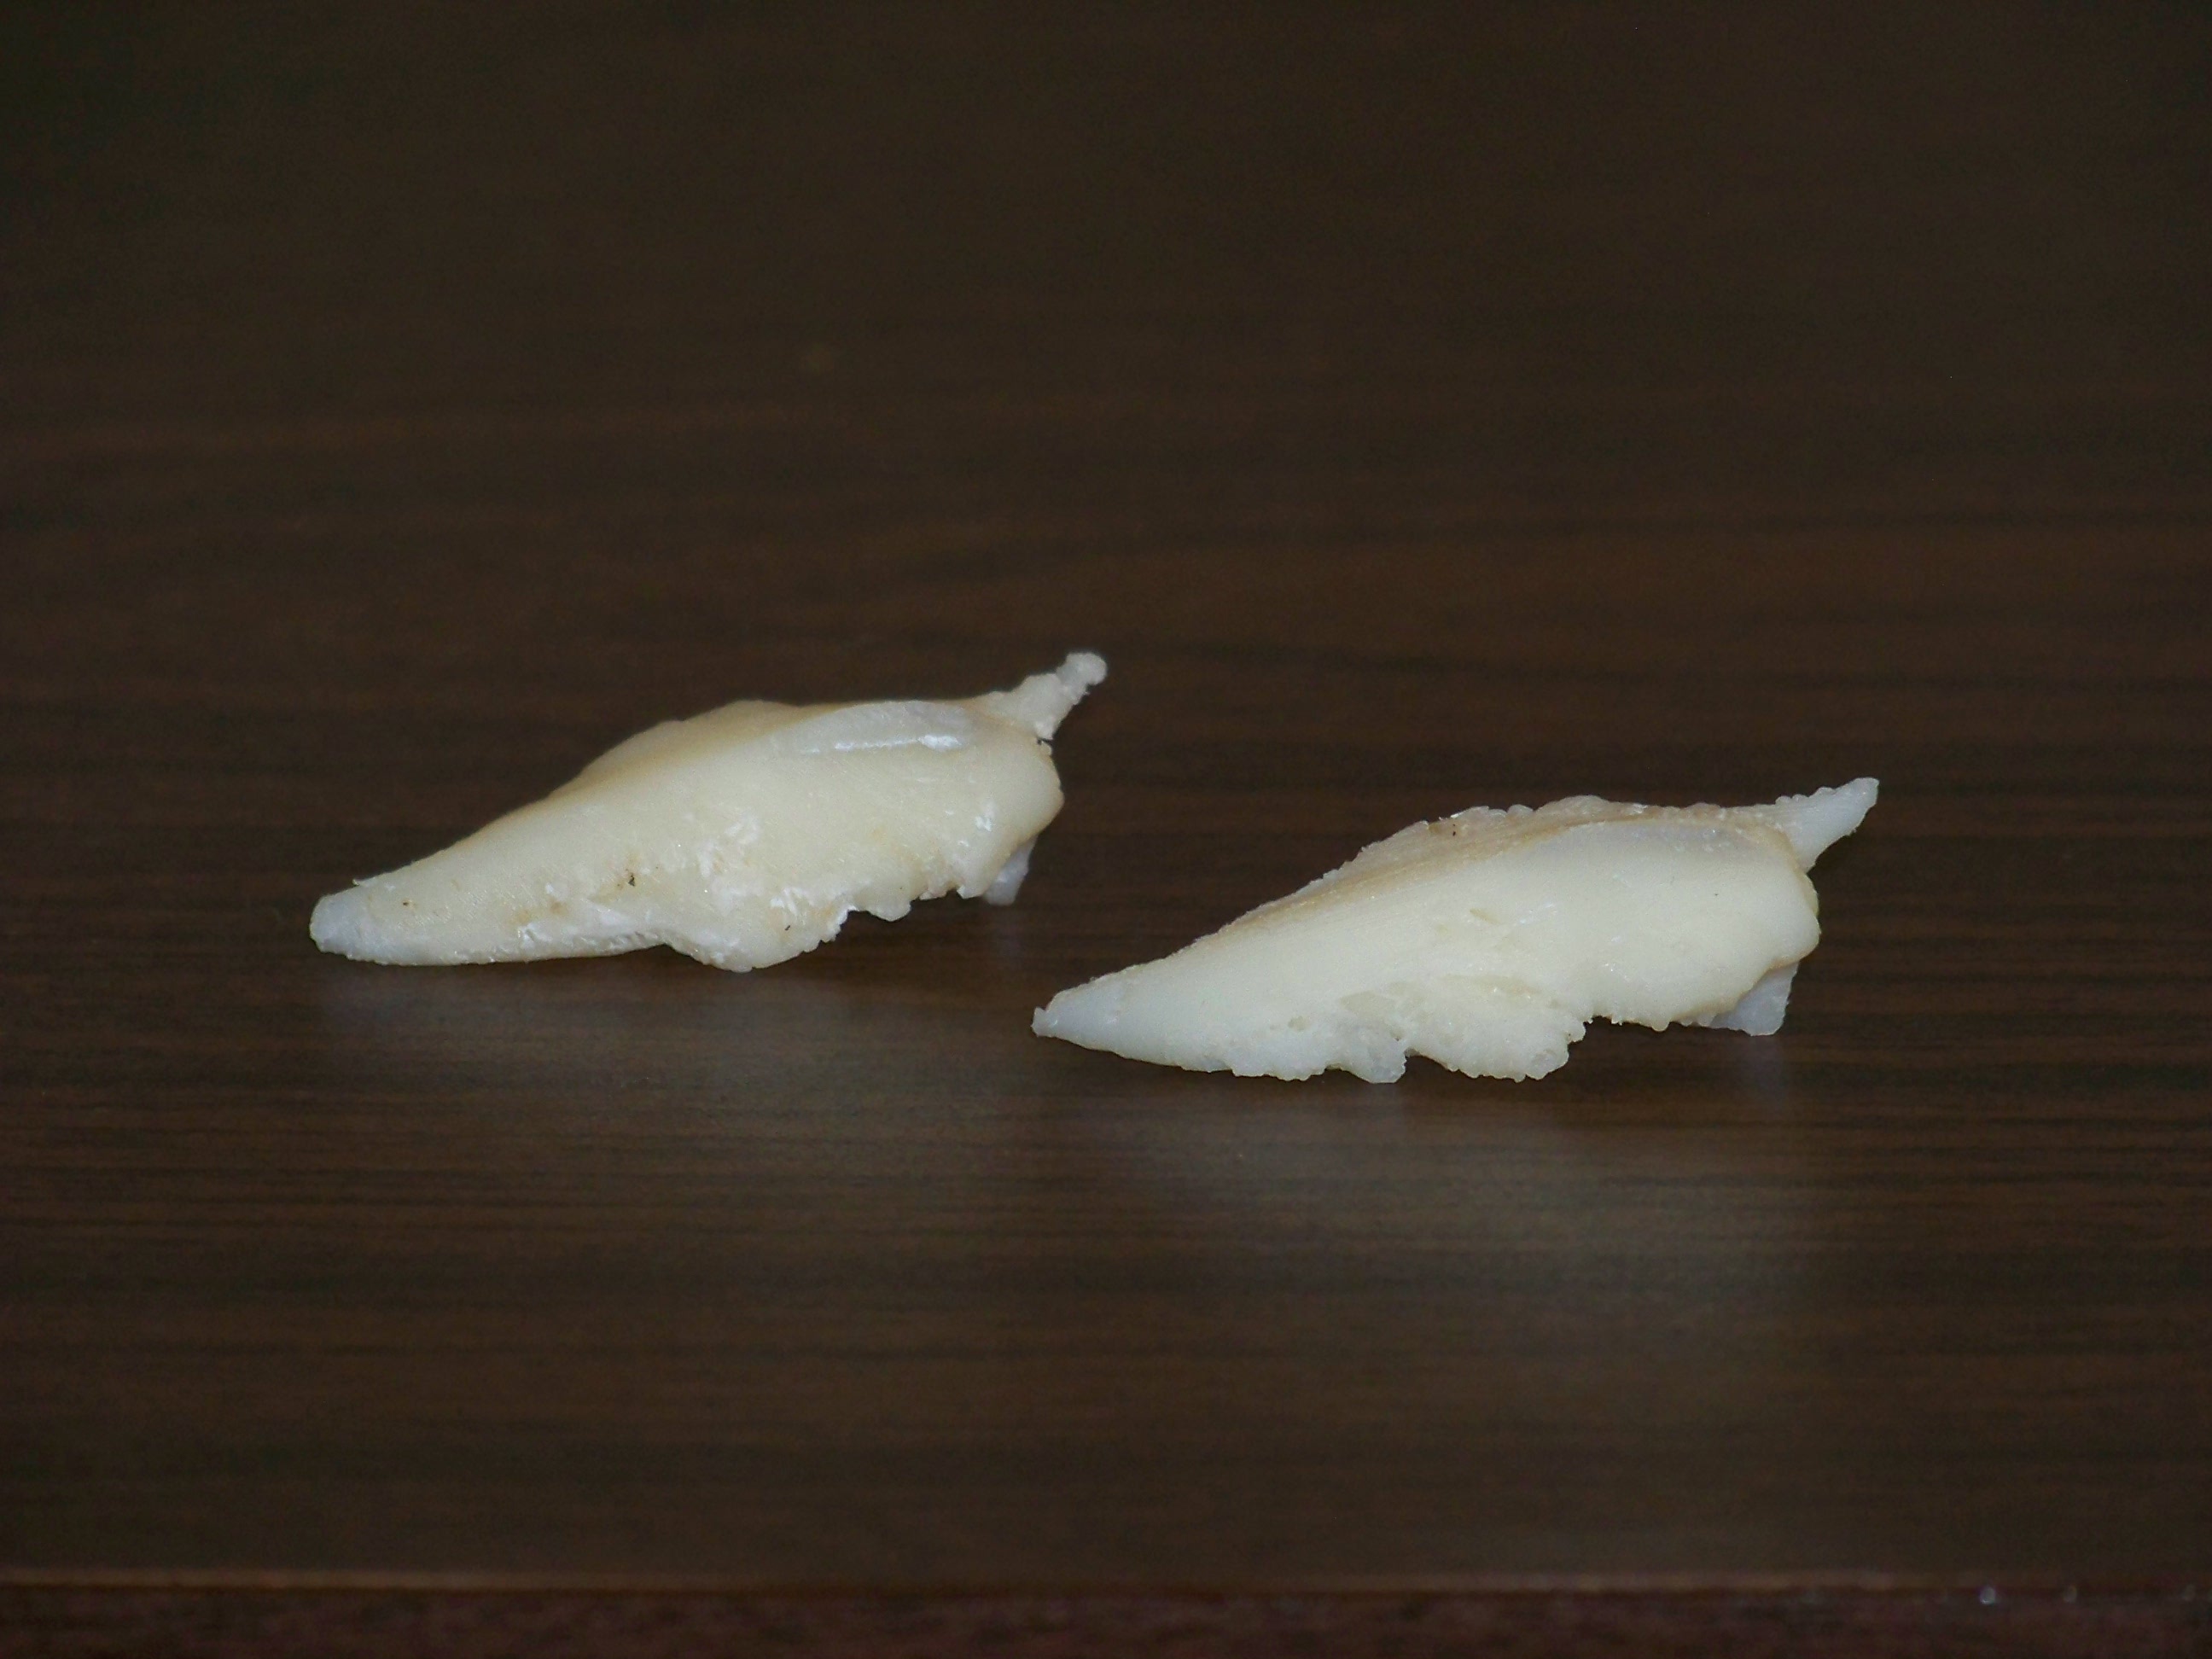
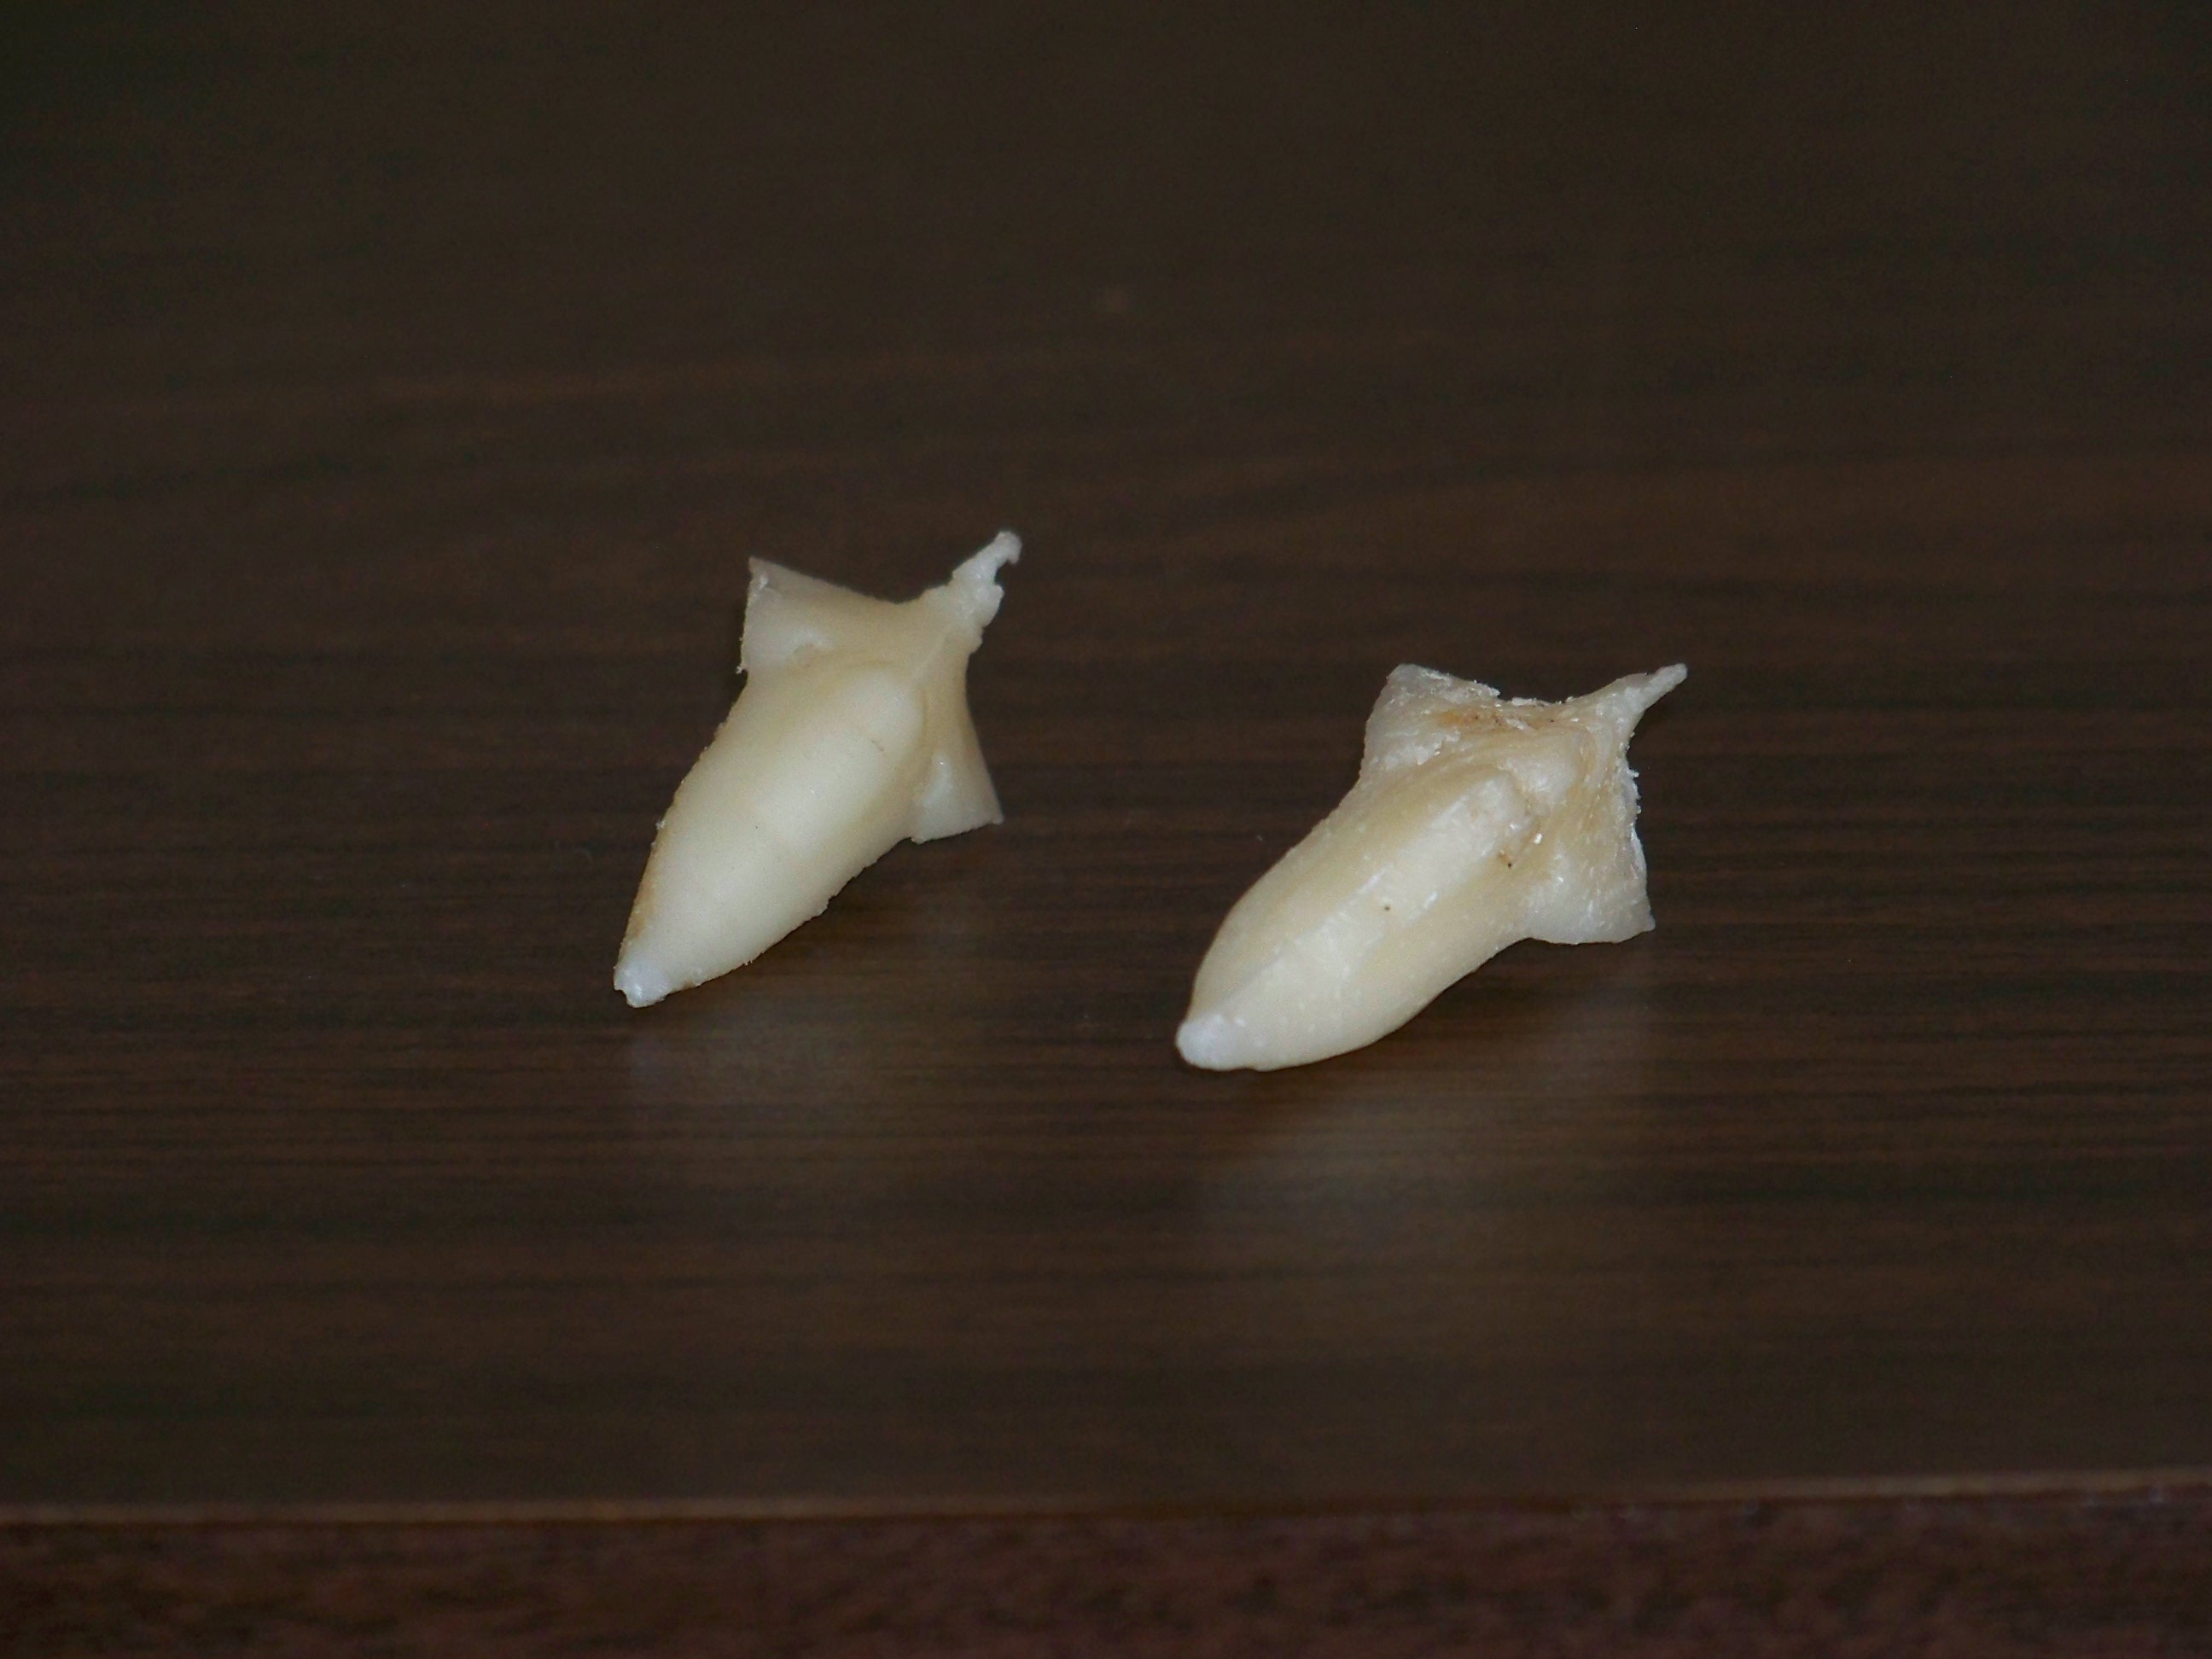
To fix this, I had one more trick up my sleeve. Utilizing more perl, I wrote a script to tear apart the stl, and cut it in half along a plane. This allowed me to print two half-models that didn’t require any supports (and thus no rafts either), and maintained the detail on both halves. From there, it was trivial to glue the two halves together into a fully detailed ship! Even with this setup there were a few challenges – lining up the ship halves is not-quite-trivial, so took a little bit of work. On my test model, I did this imperfectly and it just looks ok. I’ve also noticed that the first layer of many of my prints comes out a little squashed (I’m guessing this is because of a still maladjusted z-axis), which causes the nose of the ship to look flatter than it should. I’ll probably end up working a bit more on that detail before giving the large size a go.
Here are a couple of pictures of the top and bottom half of the mesh and the resulting glued model.
Overall, this has been a very fun project. I’ve figured out how to read and write stl files, which is really quite easy, and actually a joy to do. I’m also really close to being able to bring the spaceships from one of my favorite games to life – adding the Sins capital ships to my fleets will be awesome!
I wonder if some of the issues you experienced were partly due to scale considerations – it’s hard to get smooth details on such a small scale. What other options have you considered in getting the finer details to render correctly?